In this article I’m going to over 5 tips that will help transform your Landscape Photography game. I’m going to walk you thru my learning process, so you can see the progression as I learned to take better landscape photos over the past 10-15 years. My goal here is to give you lots of landscape photography food that you can naw on, so the next time you go out to take some landscape pics you have larger menu of ideas…
Like everything, practice makes perfect, so don’t expect to be a master Landscape Photographer after reading this article, and I am by know means claiming to be a master at anything either. What I am telling you is, that with these key tips and hard work via lots of practice, you can up your landscape photography game tremendously, just like I did over the years.
Landscape Photography is where it all started for me and it really made me fall in love with the “art” of photography.
Just like most of us when we begin doing something new, I had no idea what I was doing. I would just walk around and point and shoot like a typical tourist, but in my mind I managed to get some great shots.
At that point I finally got up enough nerve to share some photos on the internet in various forums, and that is when I realized just how much I sucked at taking Landscapes compared to the masters out there. That is the moment in time when I began to study. I wanted to know anything and everything there was to know about landscape photography! I wanted to take photos like those guys on the forums that everybody respected. I wanted to have photos hanging on my wall at home that I could be proud of and admire every time I walked in the house.
If you are like me and are eager to get better at something as fast as possible, you know exactly what I’m talking about!
So now I’m going to go over each one of my key tips in detail and then show you example photos so you can see exactly what I mean. Please buckle up and enjoy the ride my friends 🙂
#1 Get a Better Composition
So what is composition exactly? Well, it’s basically the elements of a given scene that are laid out in your photograph. A good compositions vs a bad composition is certainly subject to opinion and various interpretations, but over the decades certial rules have been established that seem to resonate with us humans. Certain angles and scenes tend to look better than others, because they just fit together in are mind and are pleasing to view. There are a lot of theories as to why this is, but the fact is we don’t really know why.
I have been told many times by many photographers that I have an “eye” for composition. This always fascinated me and I guess this aspect of photography just came to me easier than others for whatever reason. I can’t draw for crap, and some people can just pick up pencil and draw away effortlessly. Over the years I have learned that many people are just born with natural talents that vary dramatically from human to human.
WIth that being said, let’s get into some key compositional tips for landscapes I have learned over the years that will really help you out!
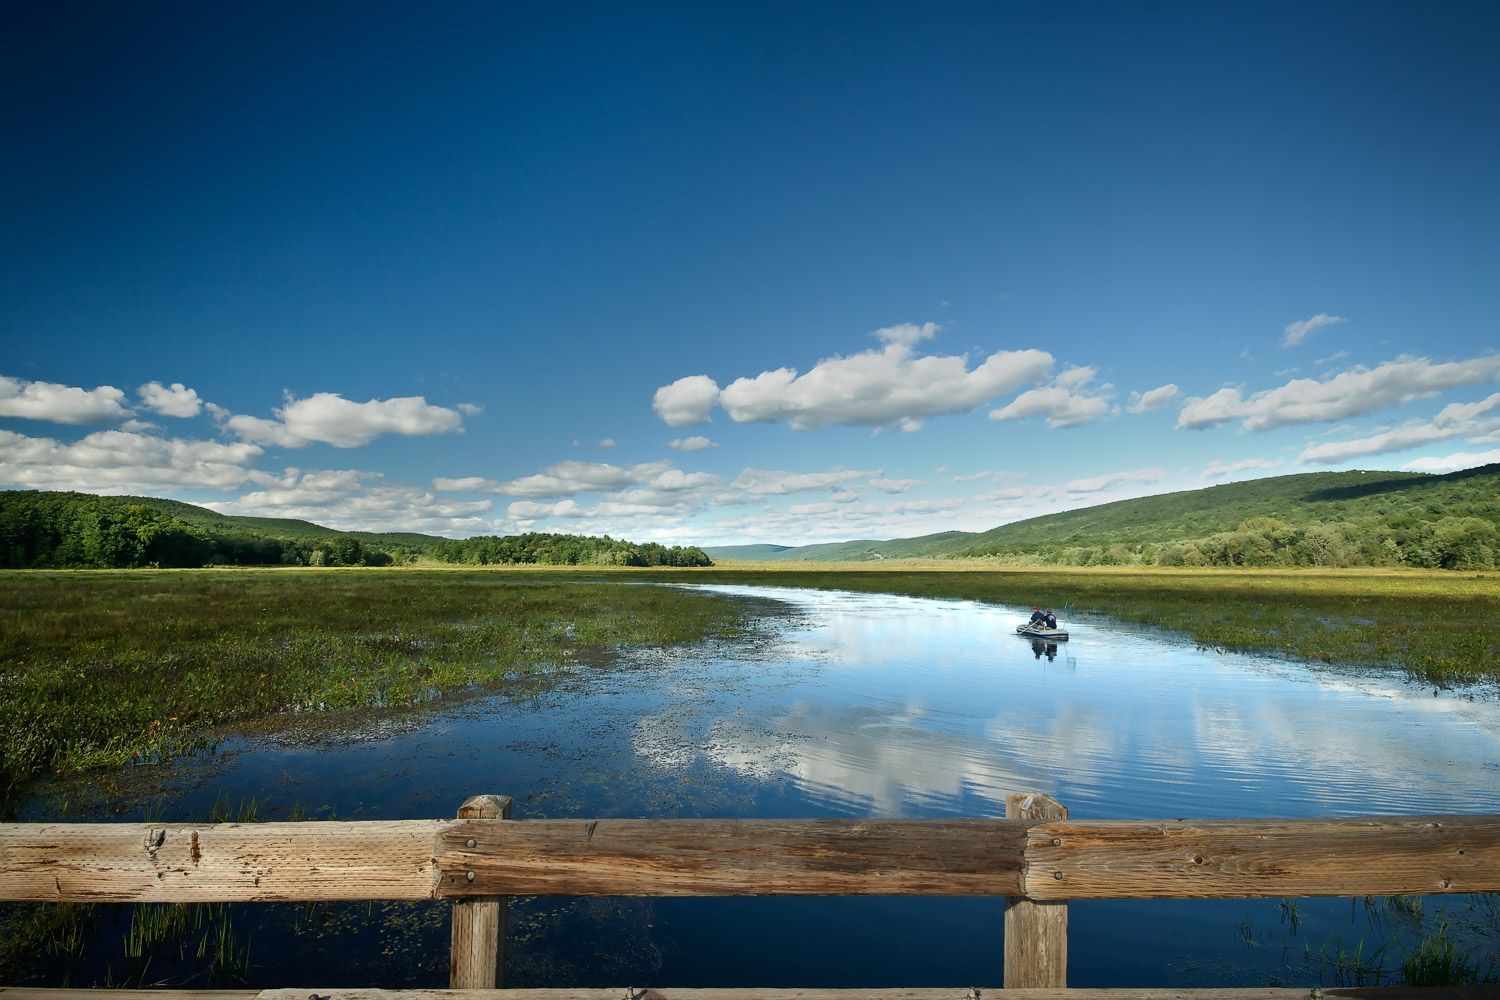
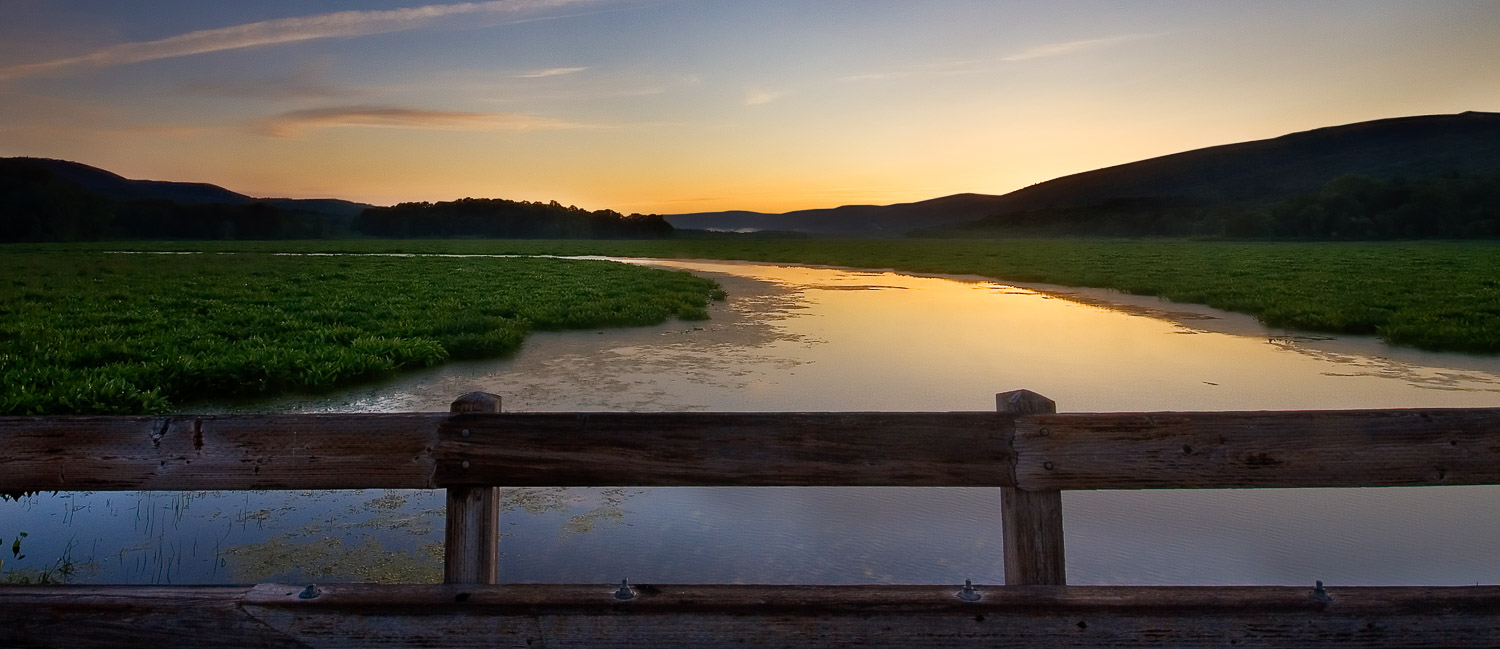
Layer your Composition
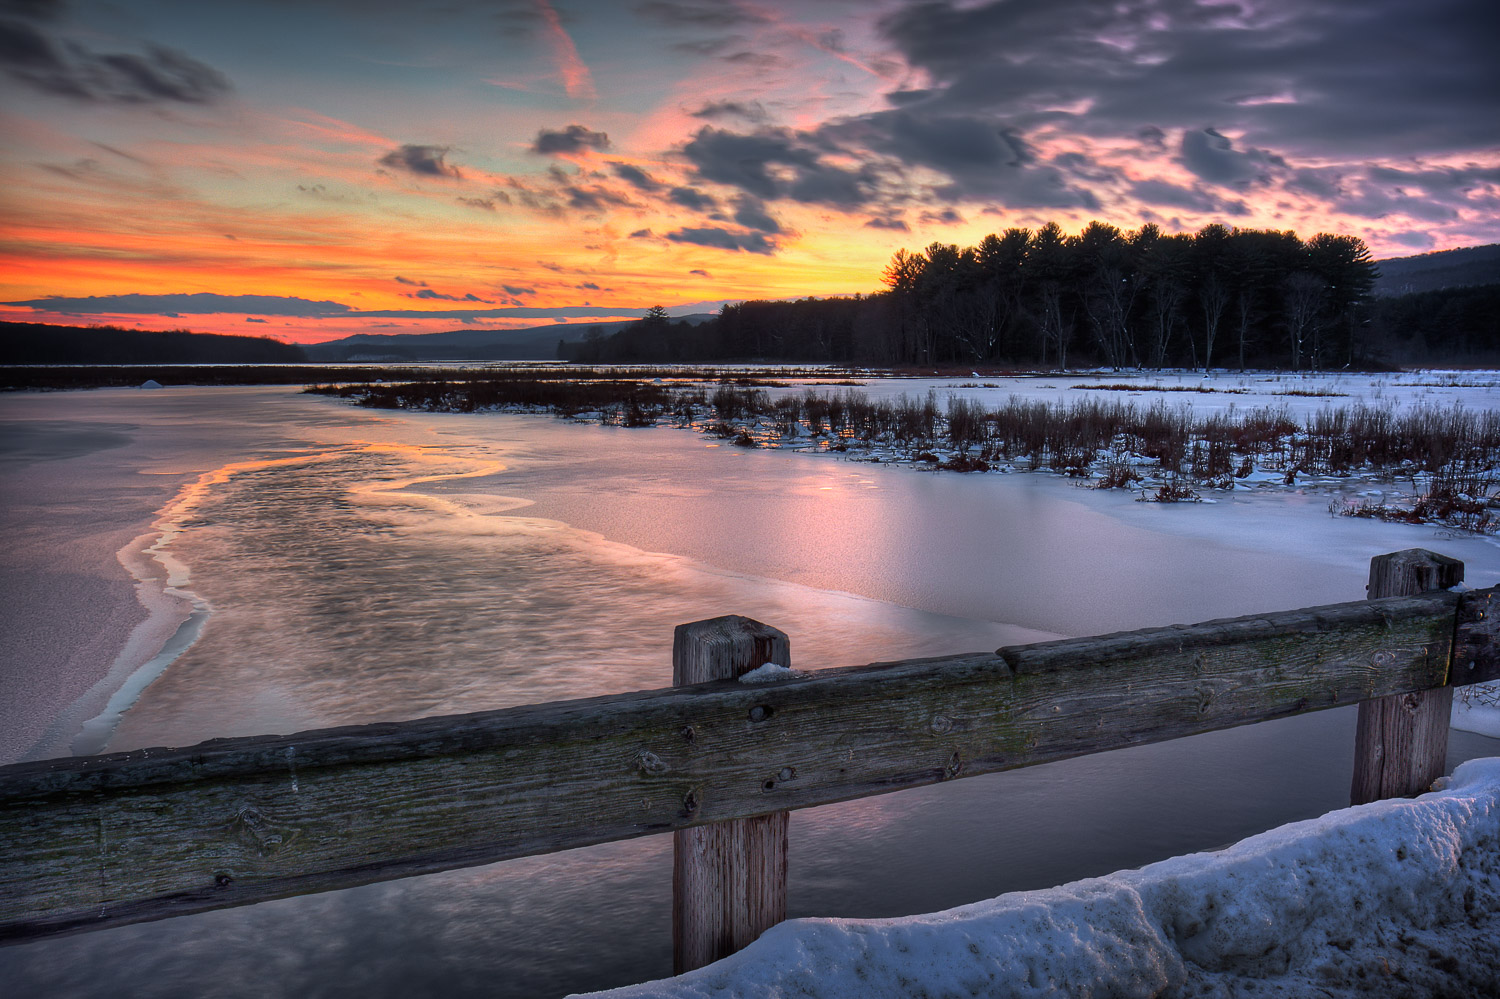
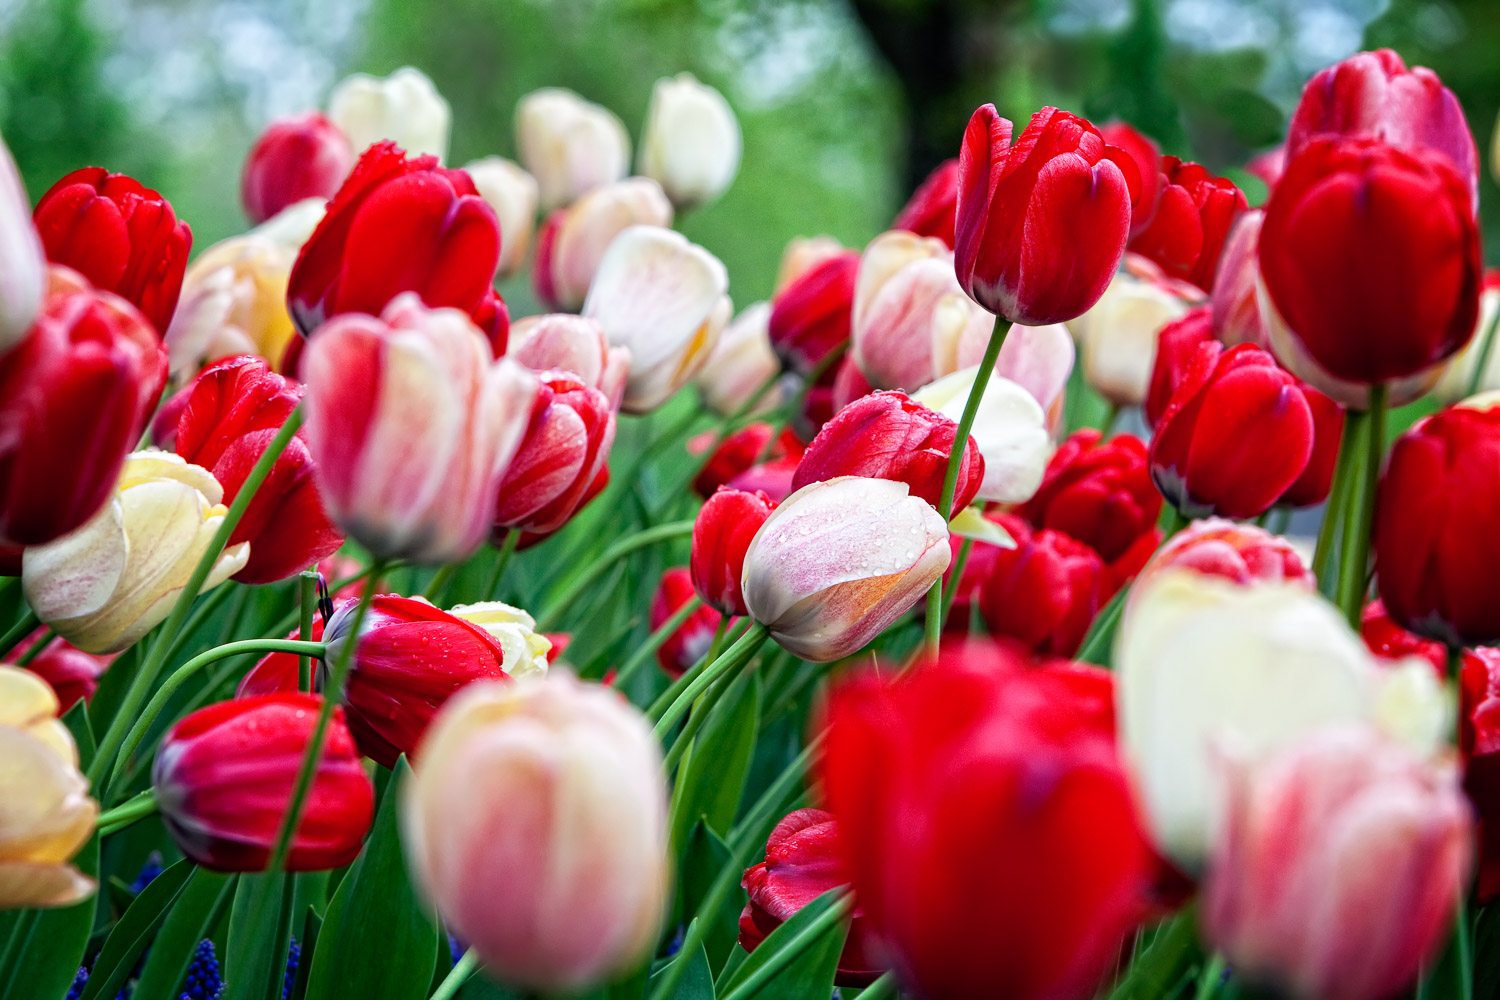
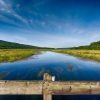
By layering I mean getting a foreground, middleground, and background to the capture. Usually somewhere in the scene there will be a “subject” of interest, but not always. Here is an example of the layering I am talking about. Note the foreground fence, the guy on the boat for the middleground “subject”, and the background treeline and sky to bring it all home.
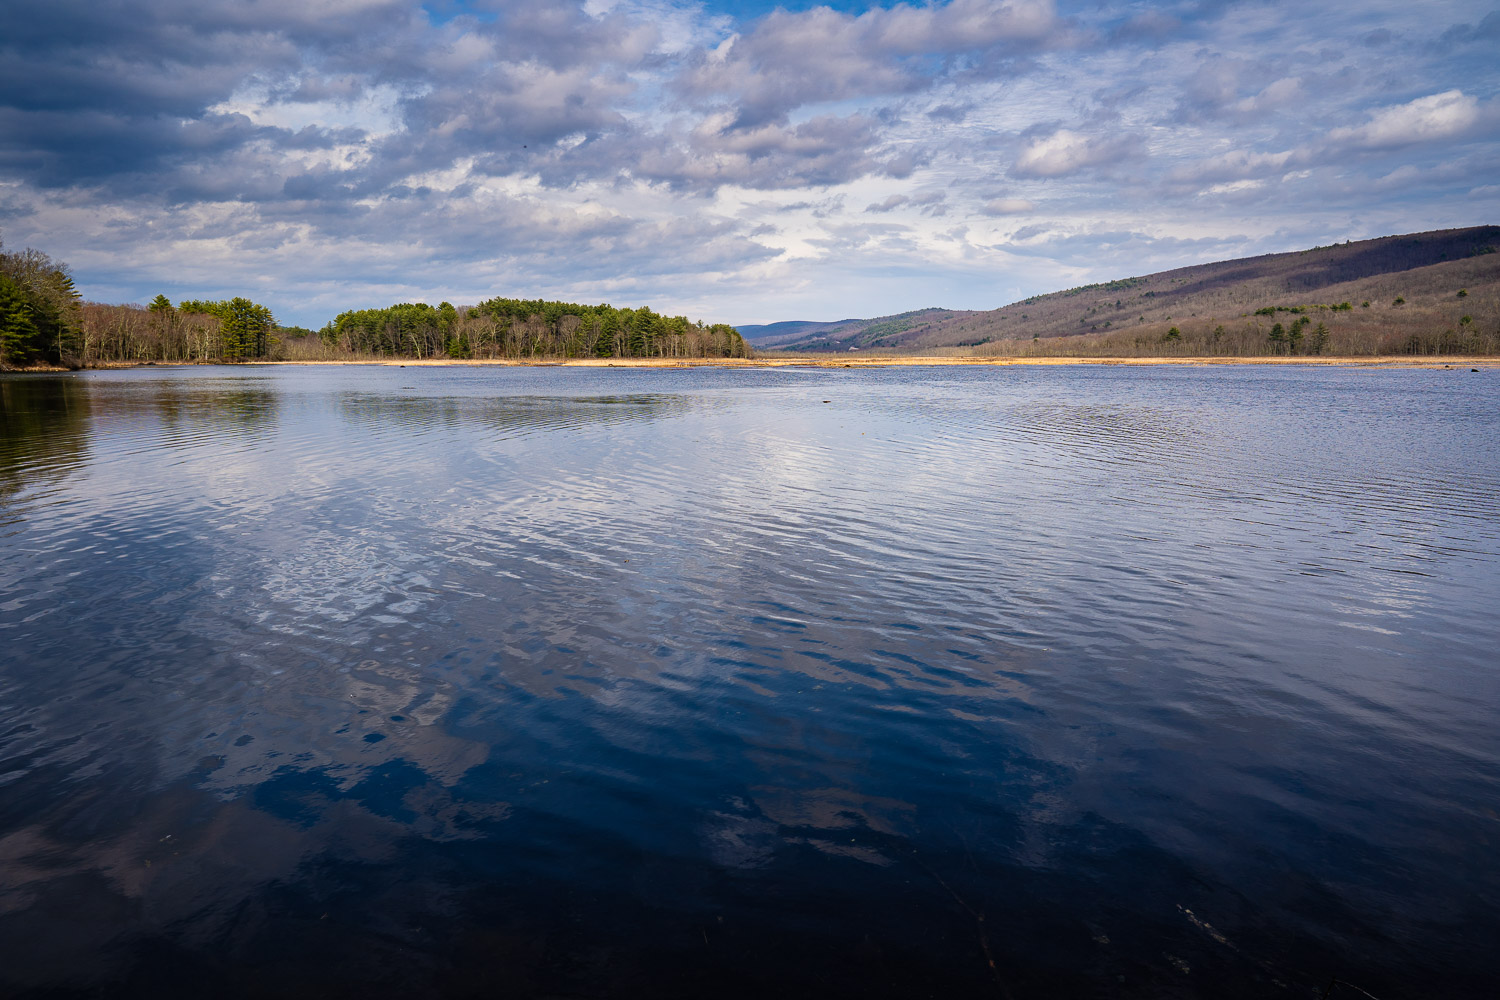
Here is another photo from just the other day I took as an example that does not have a strong foreground element, and in my mind seems weak to the eyes…
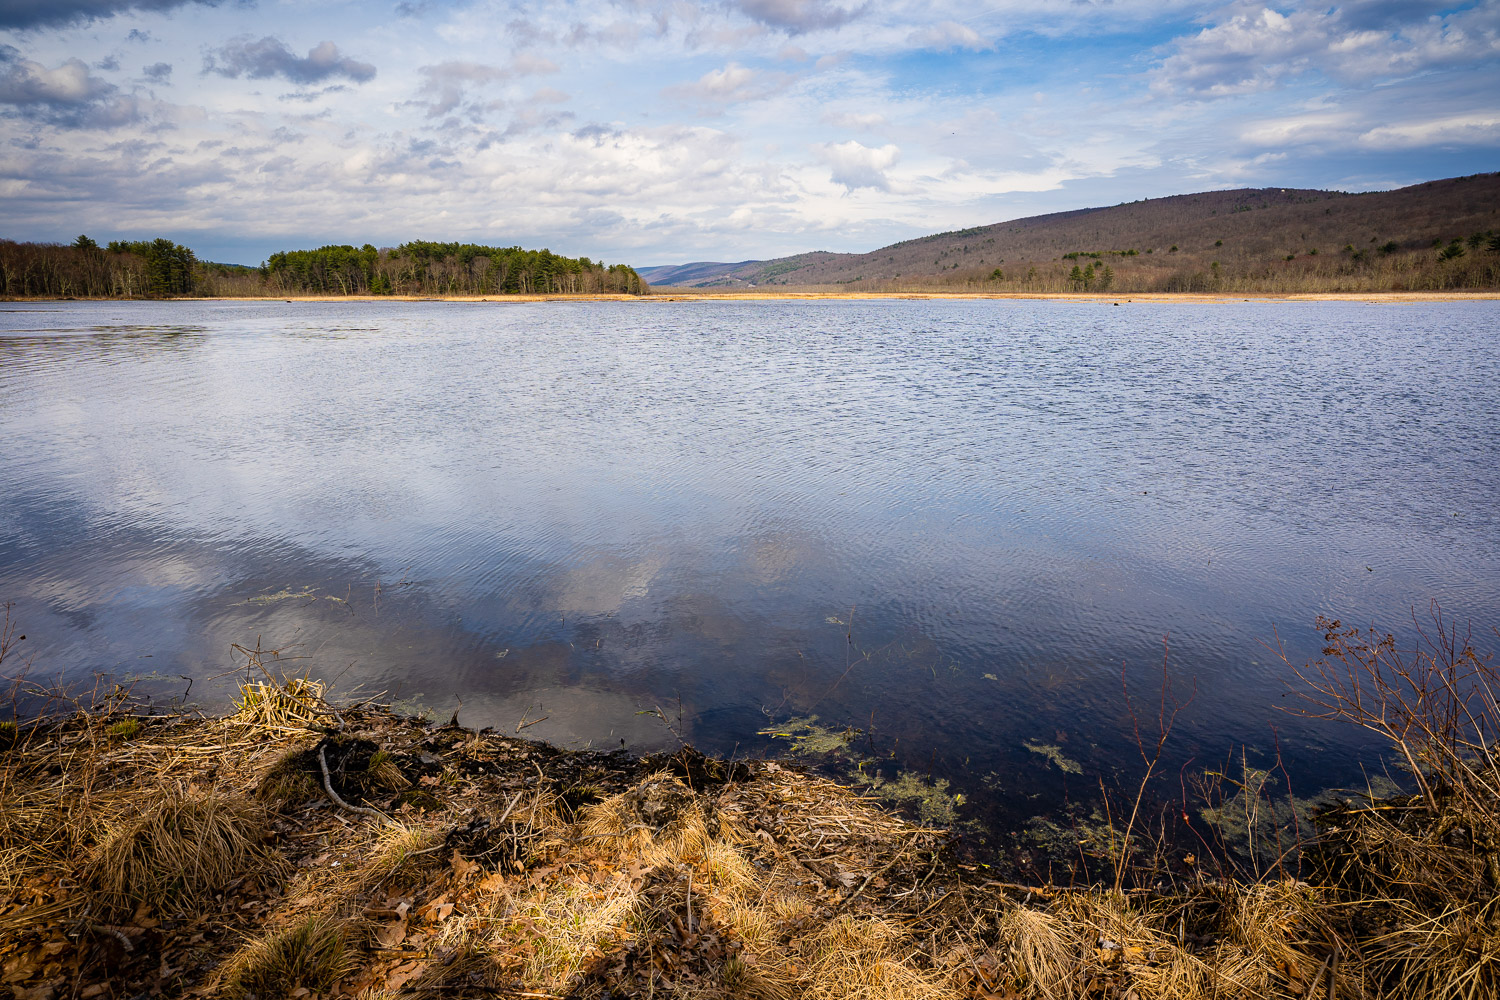
Now here is basically the same exact shot, but I used the layering tip and by getting low to the ground I was able to add some foreground interest into the composition which helps make it more pleasing to the eyes. Not necessarily the greatest photo, but I want you to see how adding that foreground element adds something to this very simple scene.
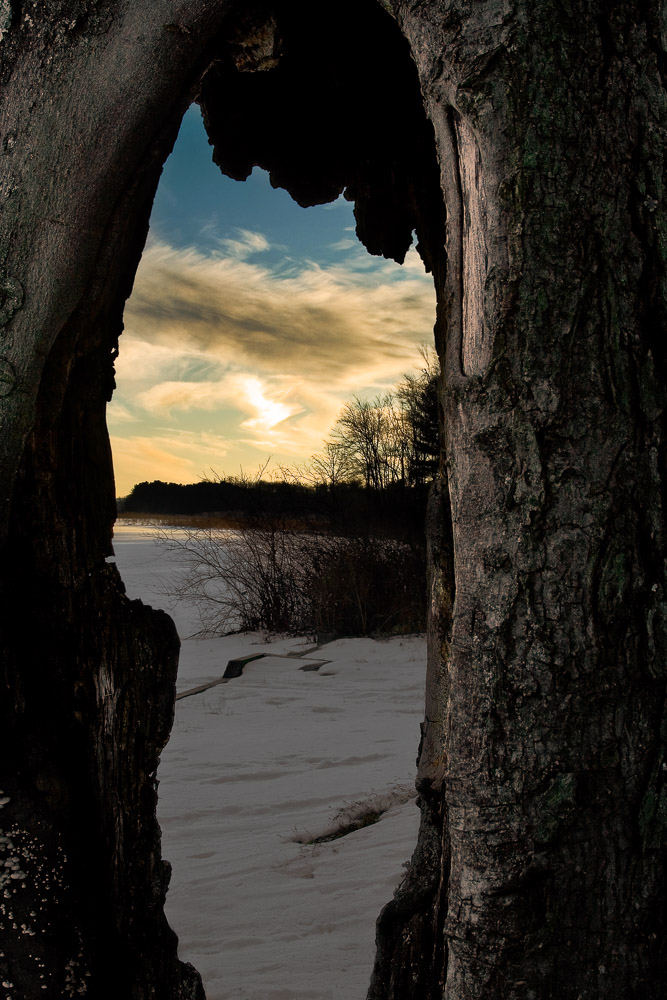
In this next example, I’m actually using the tree as the foreground, the snowy scene as the middleground, and then the sun in the background which is ultimately the subject. Again, not necessarily the best photo, but I’m trying to illustrate this concept and how it can be applied differently, to help open your mind to various possibilities.
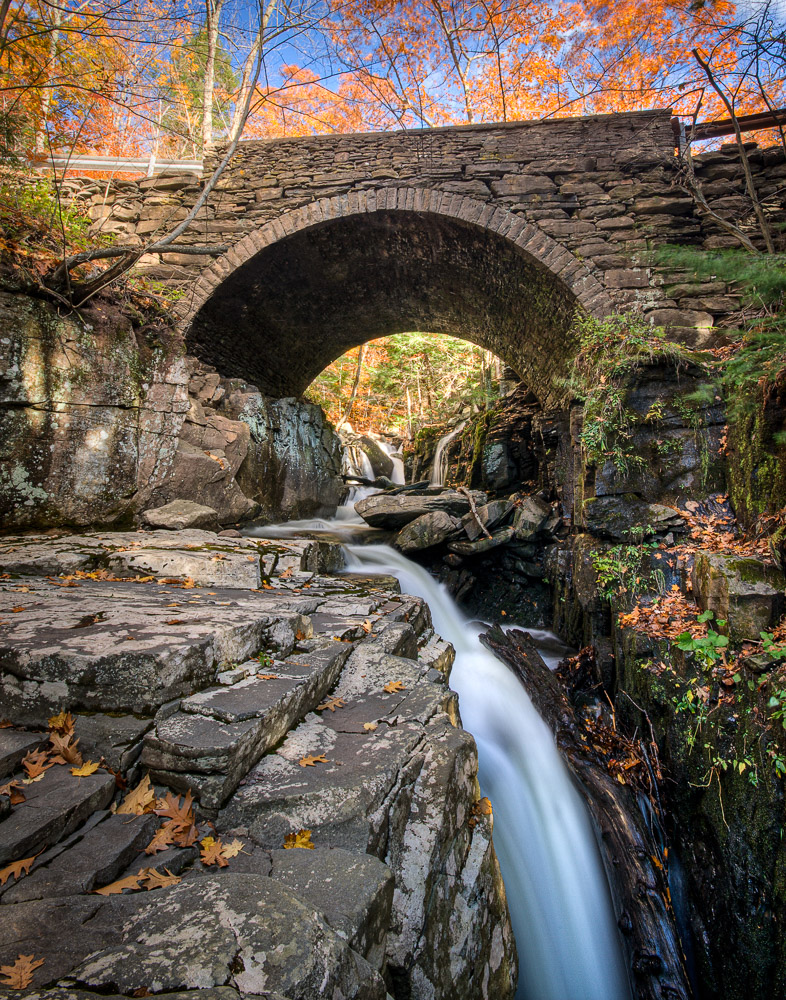
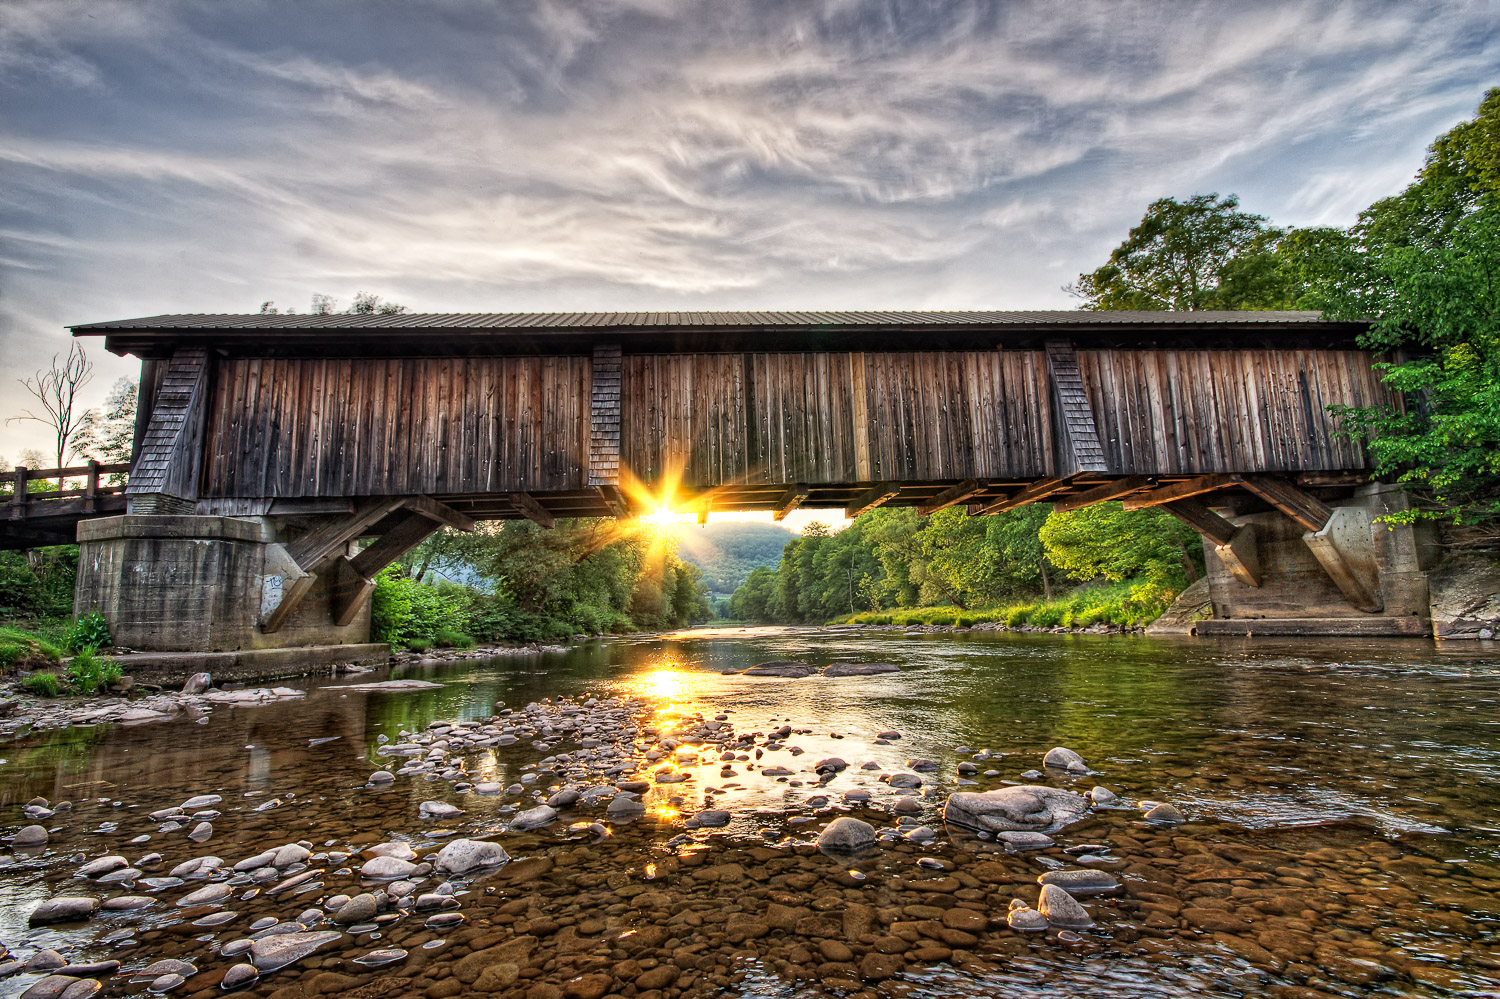
Use leading Lines
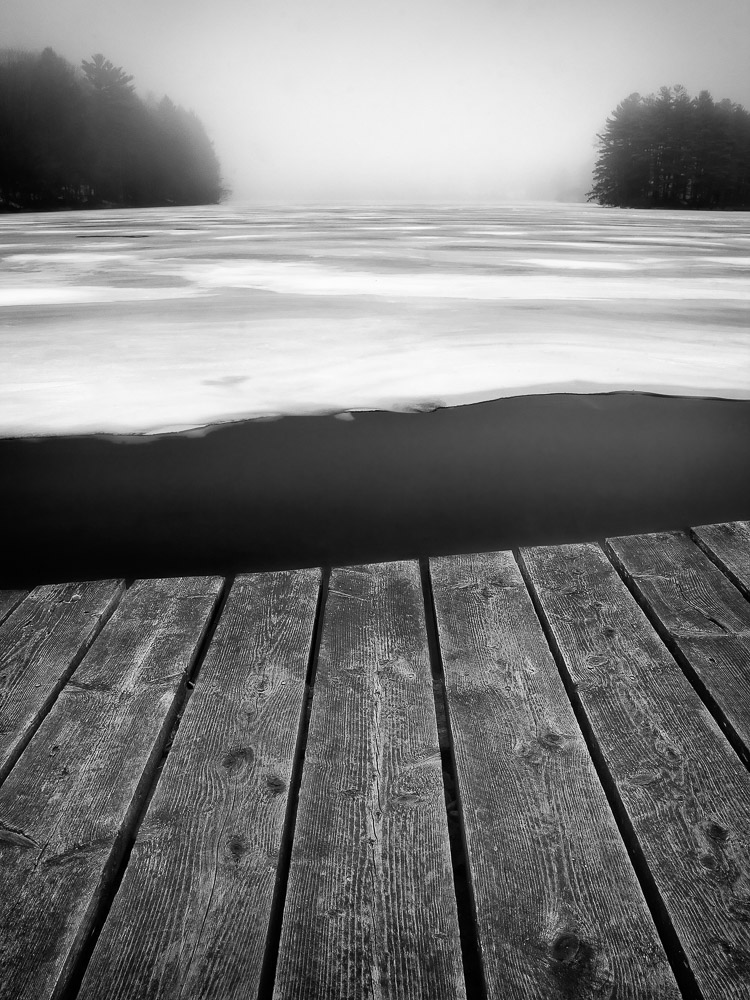
Using leading lines creates amazing visual interest, because we humans love to fallow lines. A good lead in line will force the viewer to follow that line thru the photo. This method can be used in a ton of different ways like this dock below for example. You see how the eyes just get drawn upward without your control, They eye just naturally follows them up into the fog…
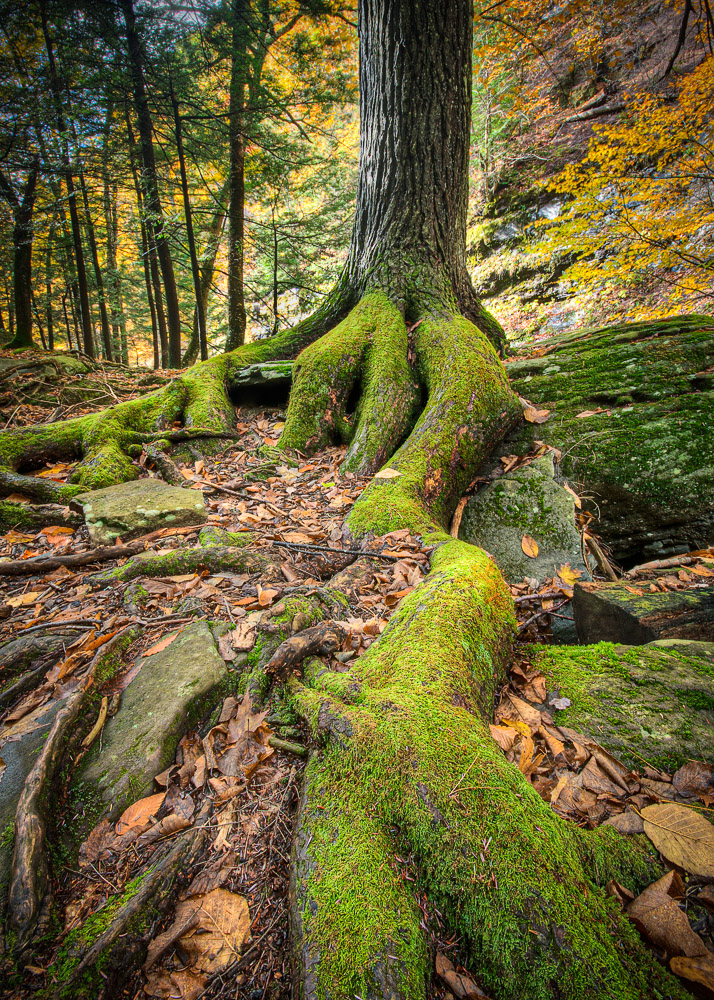
I always enjoy a good S-Curve for an nice lead in line element… Keep in mind back in 2007 I was just developing my eye to this concept and when I saw this root I was like “Oh Man this is going to be awesome!” It came decent I thought…
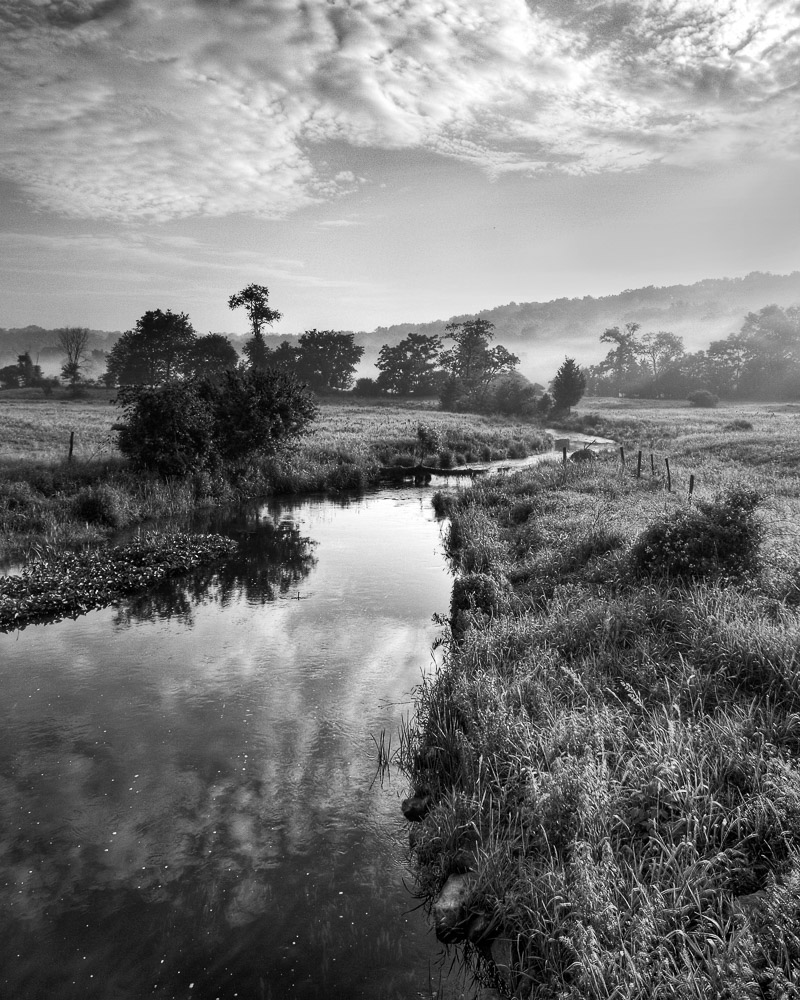

Here is another image where I tried to combine lead in lines and the layering concept. In this case it’s more porno of a z type lead in line with the fence, and sort of an s-curve with the water.
The rule of thirds
The rule of thirds is also another key compositional concept you may have heard of. Pretty much all of my images embrace this fundamental concept and it simple places key points of your capture on or near the grid lines. You can actually turn the grid line feature on in the Sony cameras so it’s always displayed. This can really help frame your shots nicely and help develop your eye for composition. See below for an example of the rule of thirds grid and how the lines intersect on various elements of the scene. At the end of the day it helps balance out the photo for the mind’s eye…

#2 Use the “correct” aperture for given scene
Aperture, for the most part, is what controls depth of field in a given scene. For example, if you want the entire scene to be sharp from foreground to background, you will want to dial down the aperture to f/8 and possible all the way to f/16 even, and focus on something about 1/3 of the way up from the bottom of the frame. This is what I did in the example photos above and below. lens focal length also has a hand in depth of field, and I will address that in a second below.
Note: If you were to focus on something right in front of the camera towards the very bottom of the frame, the background will end up being soft due to the depth of field fall off. Even at higher apertures like f/11 or even f/16. This is why you want to focus around 1/3 of the way up depending on how close to the ground the cameras is.
Focus Stacking?
You can resolve this depth of field fall off issue by taking multiple photos at various focus points, and then combine those images in post processing. This is known as focus stacking. It’s a bit more advanced photography and editing is involved on the computer as well, but it’s a great trick for certain shots where you need absolute sharpness from front to back.
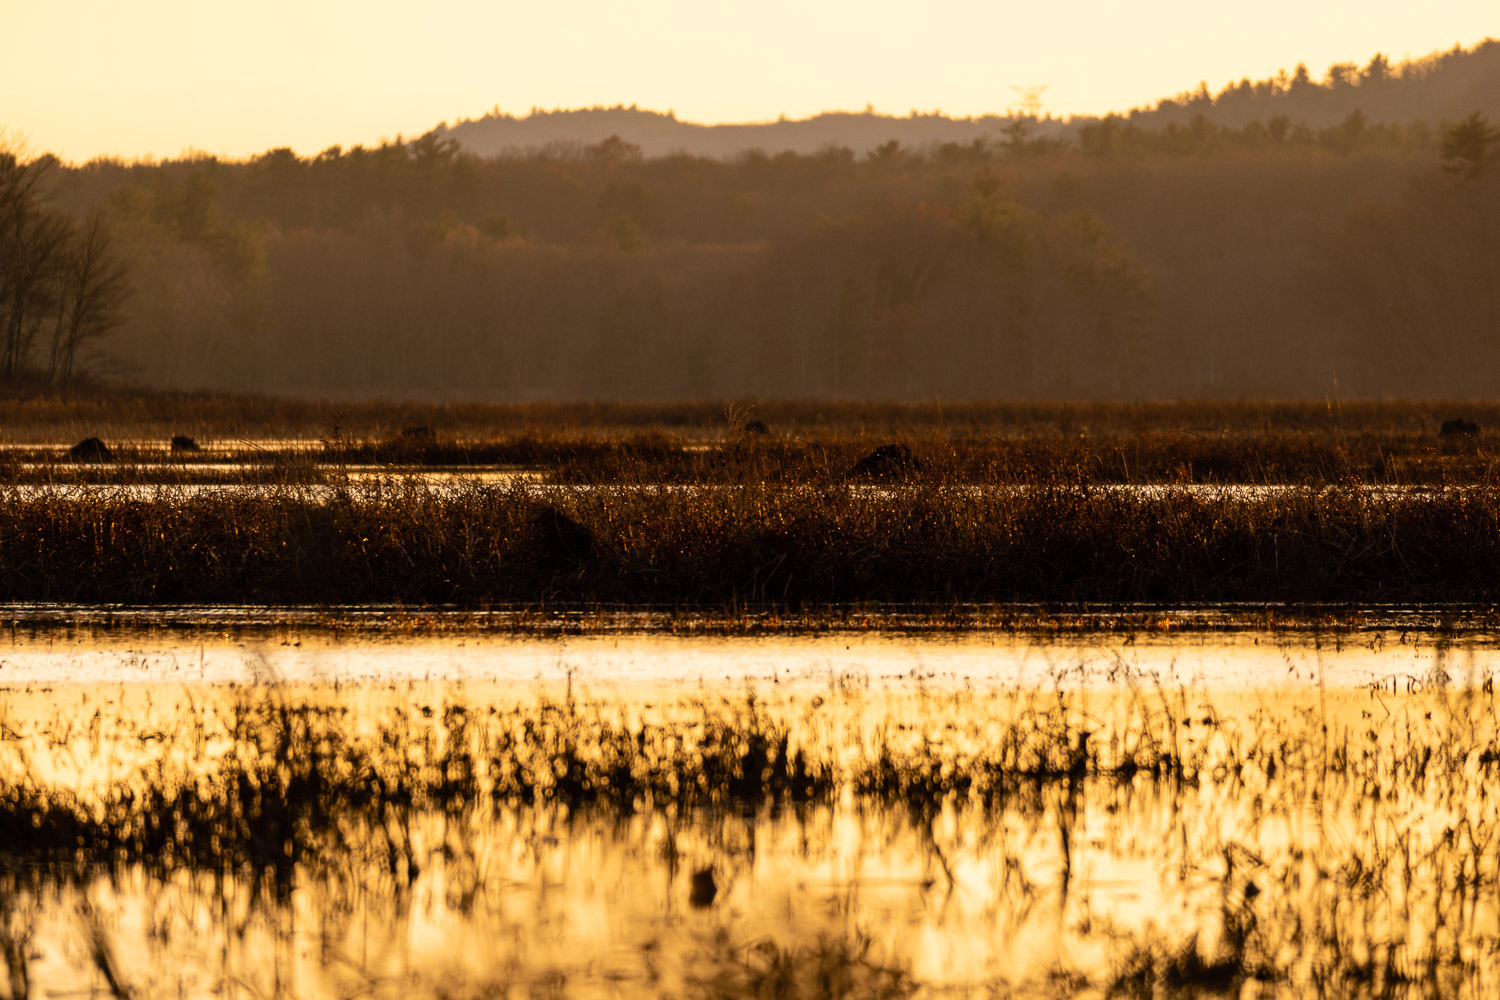
Depth of field layering
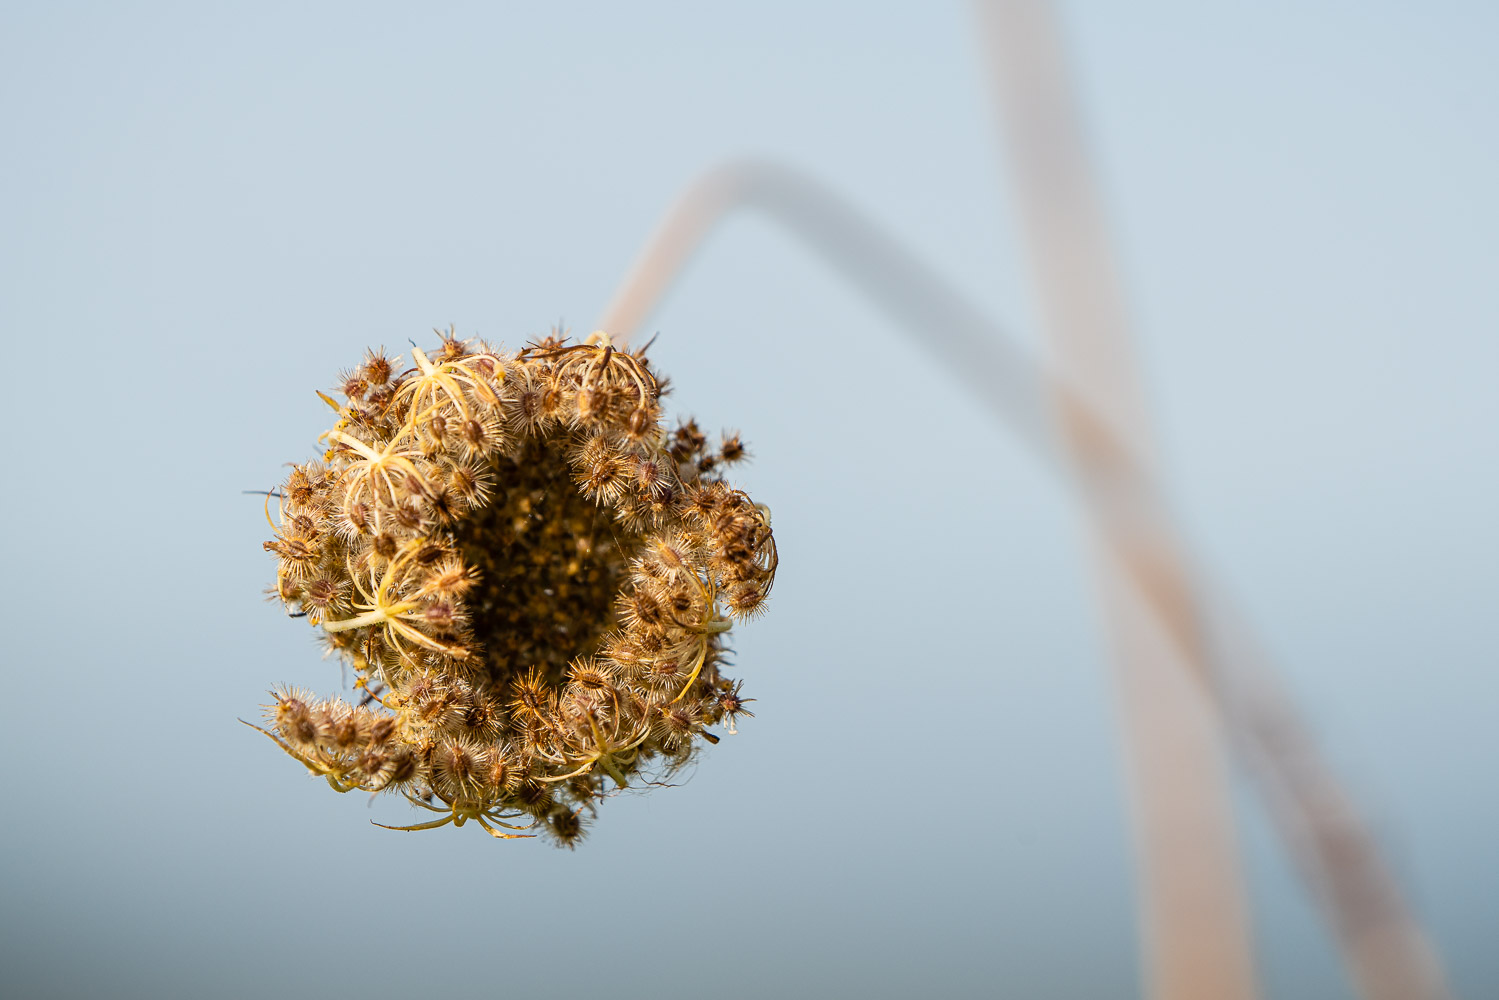
If you want the background to blur out, or you want to create a layering effect using depth of field, then you can open up the aperture up and/or zoom in to the maximum focal length with your given lens.
Focal length also affects depth of field, but for the most part aperture is the driving force when it comes to wide angle landscape photography. If you are zooming in using a telephoto lens on a subject like a tree branch or something for example, the background will tend to blur out due to the depth of field. The aperture will still affect the overall depth of field though as you will see below.
Let’s take look at a few sample photos for reference…
Note the depth of field layering effect I achieved in this image below by shooting at 200mm and f/2.8 courtesy of the Sony FE 70-200mm f/2.8 GM Lens.
Here is another similar example of the depth of field layer effect you can achieve by zooming all the way in with a telephoto lens. In this case the Sony E 70-35mm G OSS Lens..
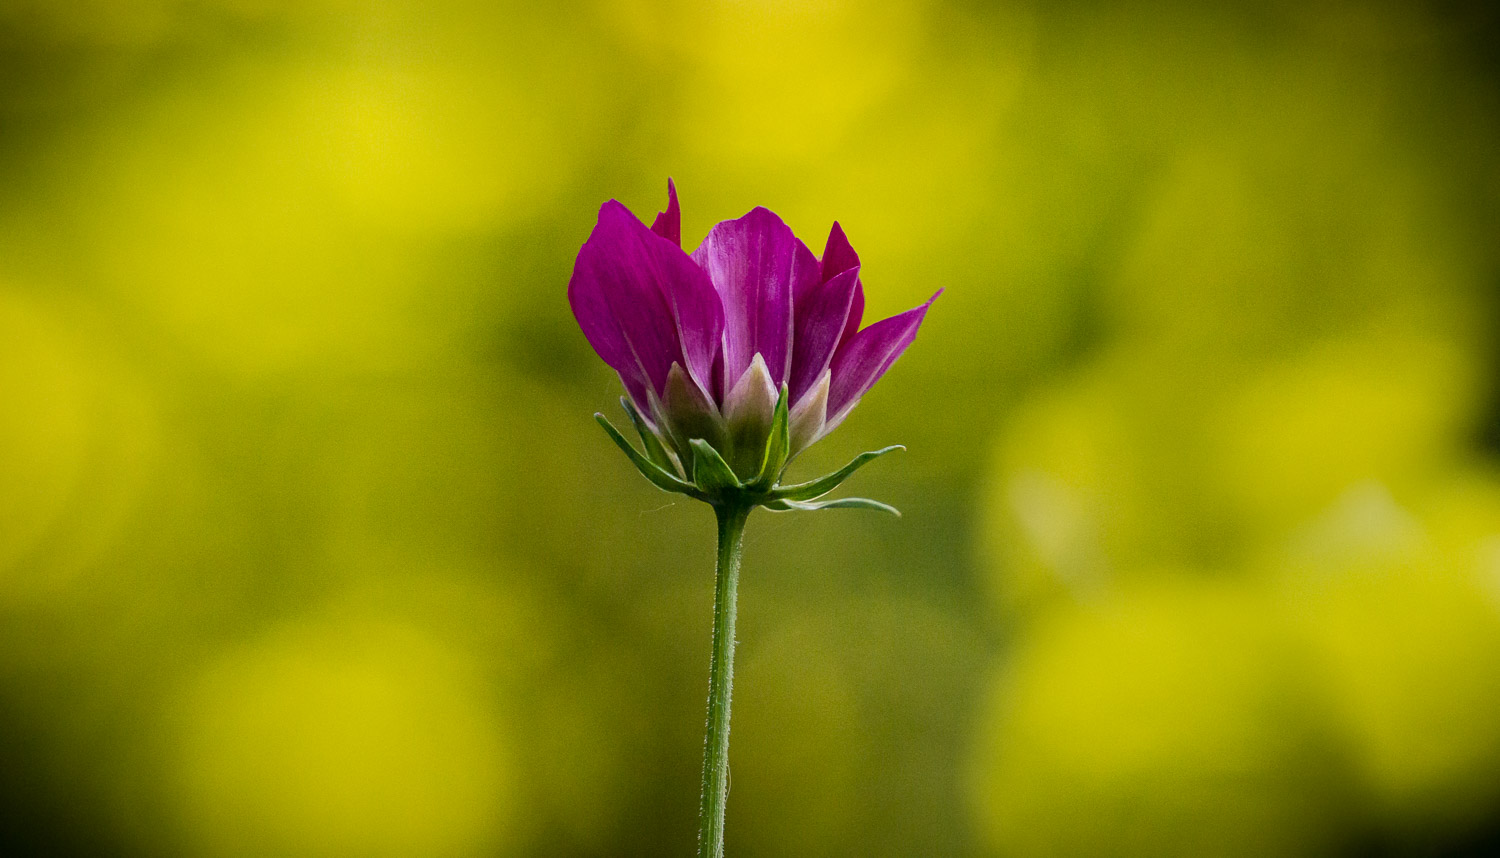
This next depth of field layering shot I was very close to the flowers and I wanted the middle area to be very sharp, so I zoomed into 140mm and set the aperture to f/8. The result was a nice layering effect with a nice sharp section in the center area.
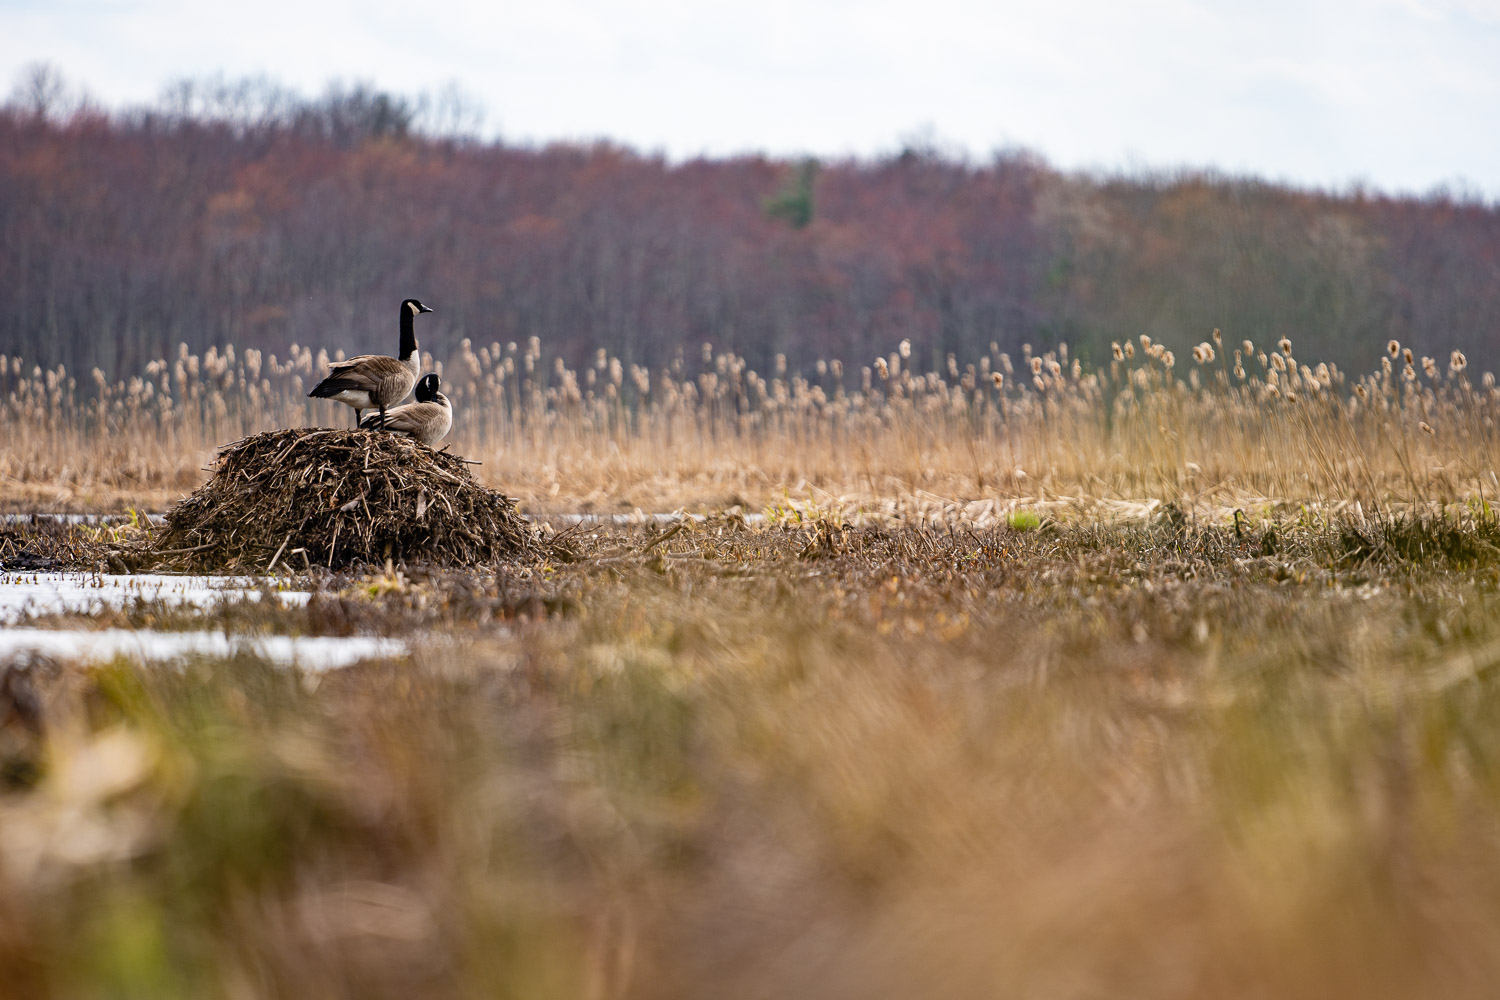
Now these next few frames I zoomed in all the way with whatever lens I was using and basically wanted the background completely out of focus for maximum separation/ subject isolation.

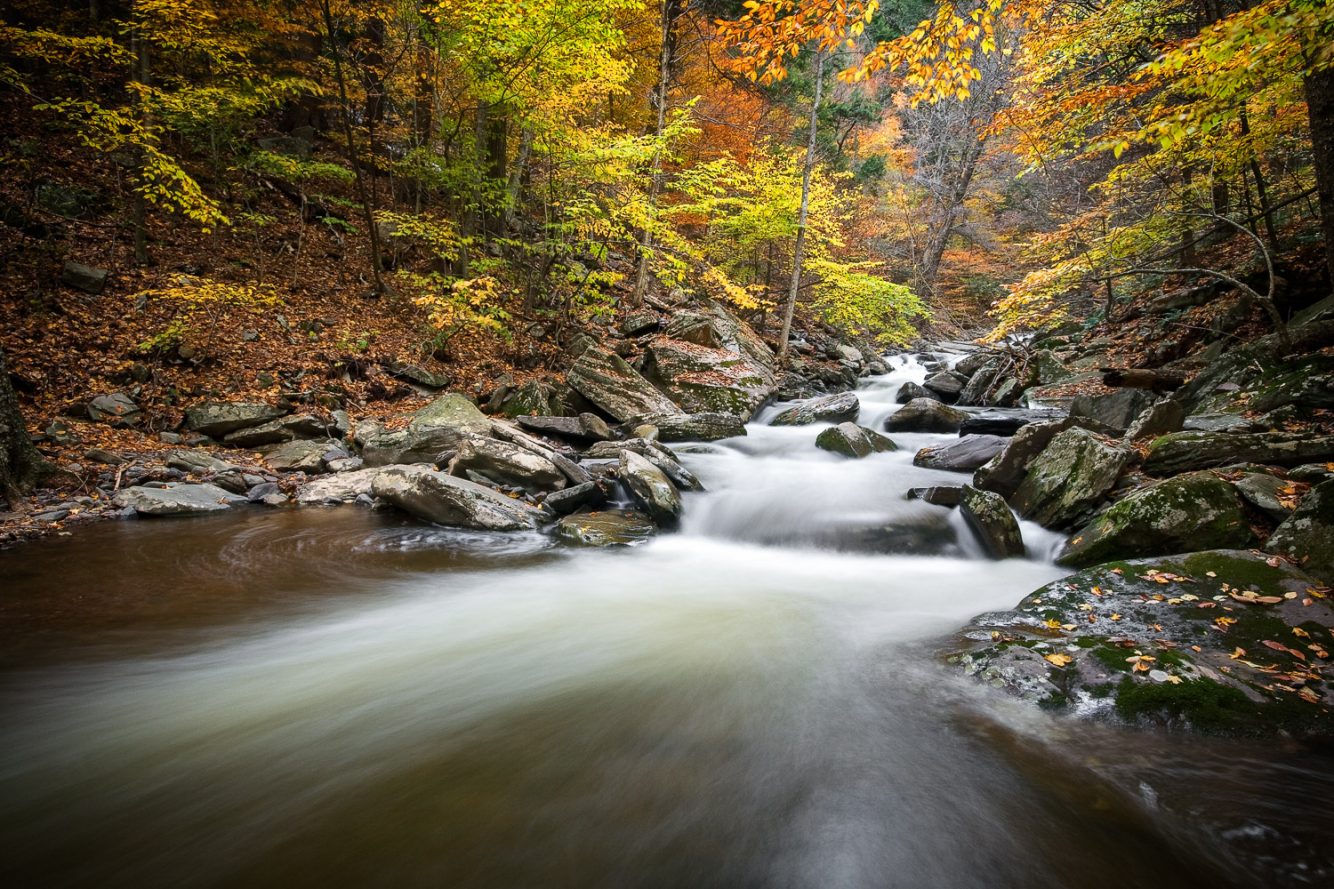
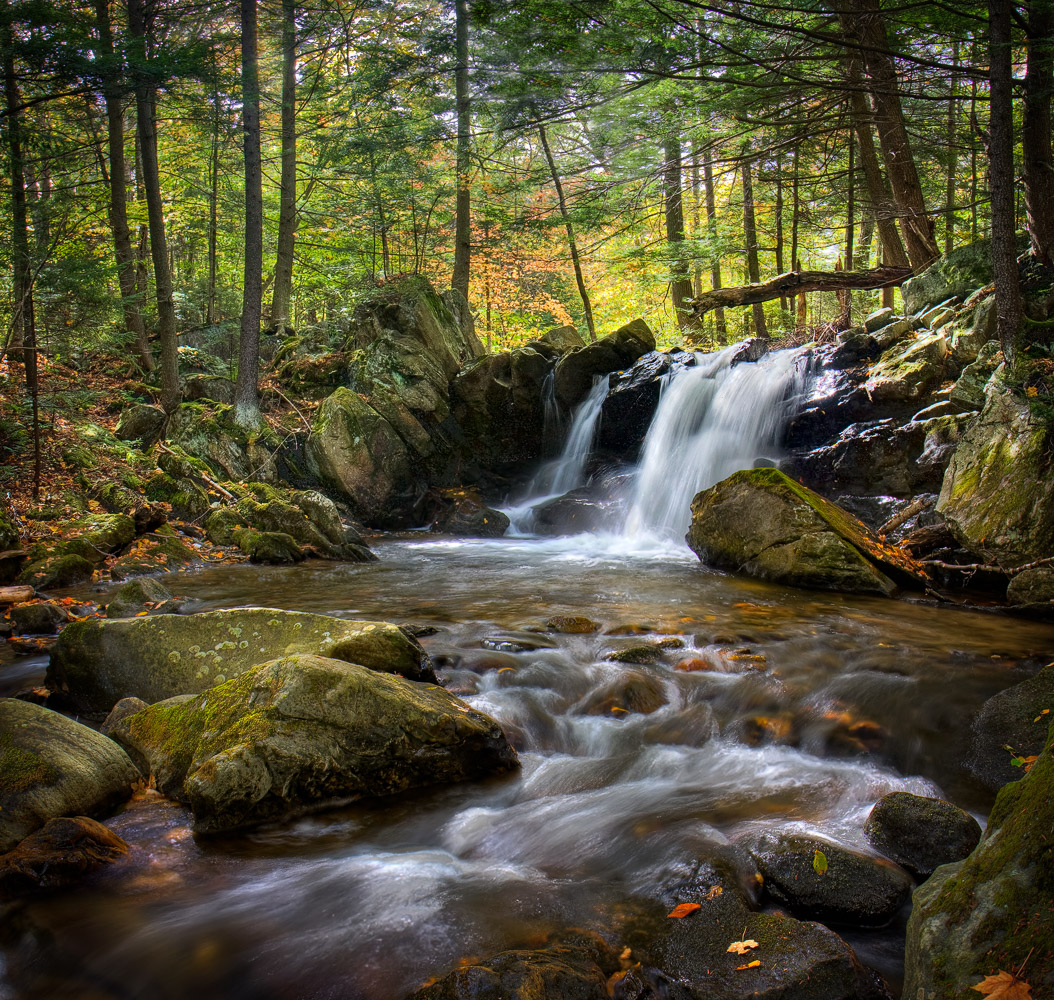
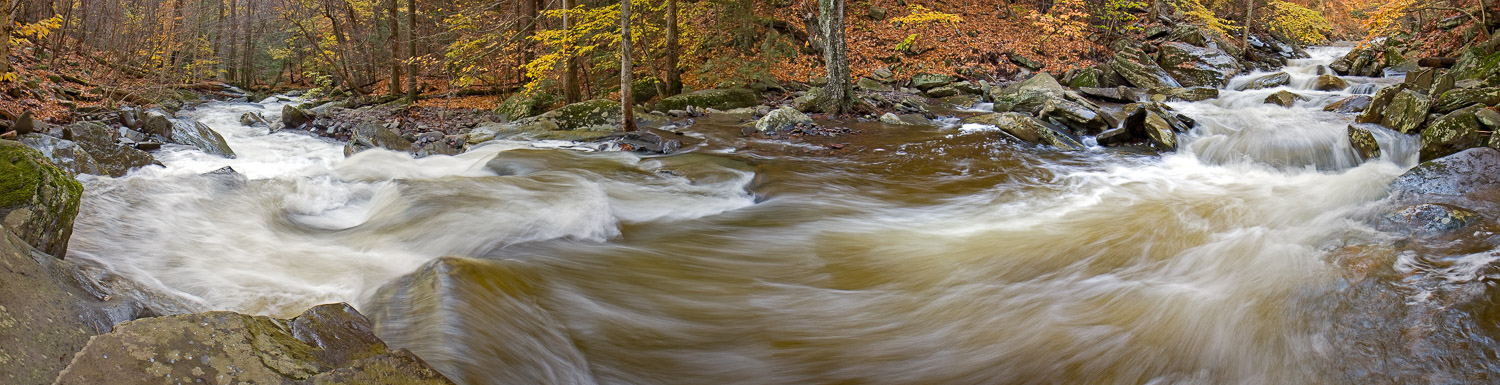
# 3 Use ND filters to slow the shutter speed down
Slowing the shutter speed down is one of the coolest photography tricks in my opinion, because it allows you to capture motion in an otherwise frozen moment in time. That motion captured, depending on how long your exposure is, can transform into some amazing visual art.
Note: To capture killer landscape photos with these slower shutter speeds I’m talking about you must use a nice sturdy tripod for maximum sharpness. Recommended Manfrotto Tripods >> I also recommend using the self timer feature so you are not touching the camera when the shutter releases.
Now, if the lighting is low enough, you can pull off slower shutter speeds without a ND Filter, but if it’s bright out and you want lets say a 2 second exposure, you must use a ND filter which is basically tinted glass.
Here are a few recommended variable ND FIlters (click here) and be sure to select the correct circular filter thread size for your given lens. The filter thread size is located on the front of the lens and is measured in MM for reference… Of course feel free to ask me questions below if you have them!

What the Neutral Density filter ultimately does is fool the camera into thinking it is much darker out than it actually is. Therefore the camera’s exposure metering system determines it needs to slow down the shutter speed or “increase time” in order to get a proper exposure.
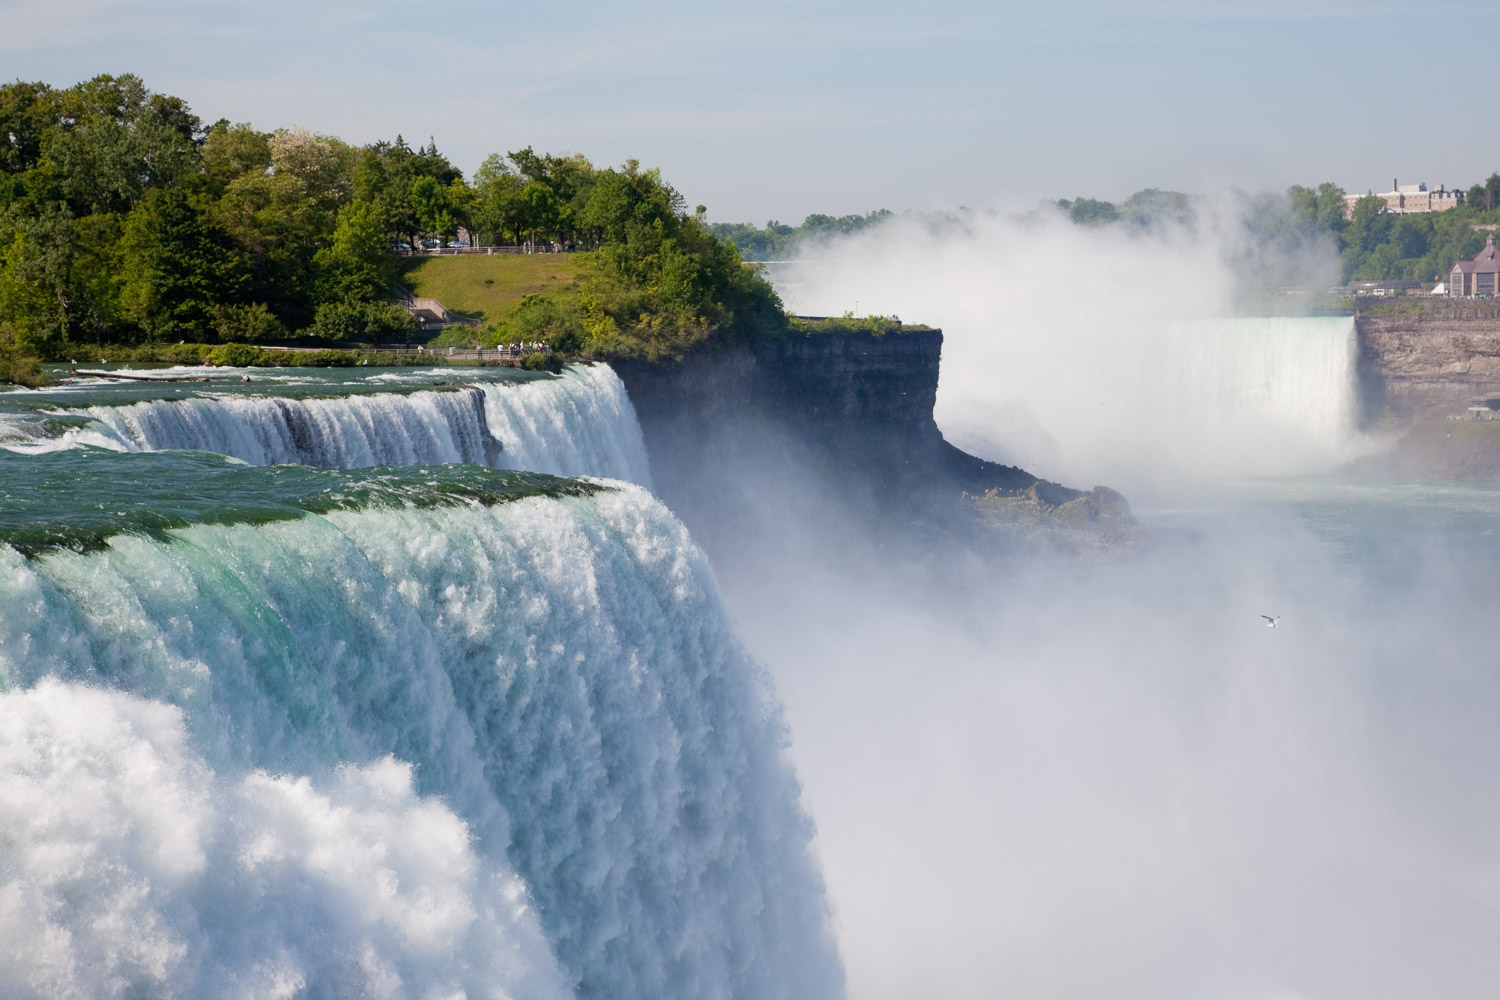
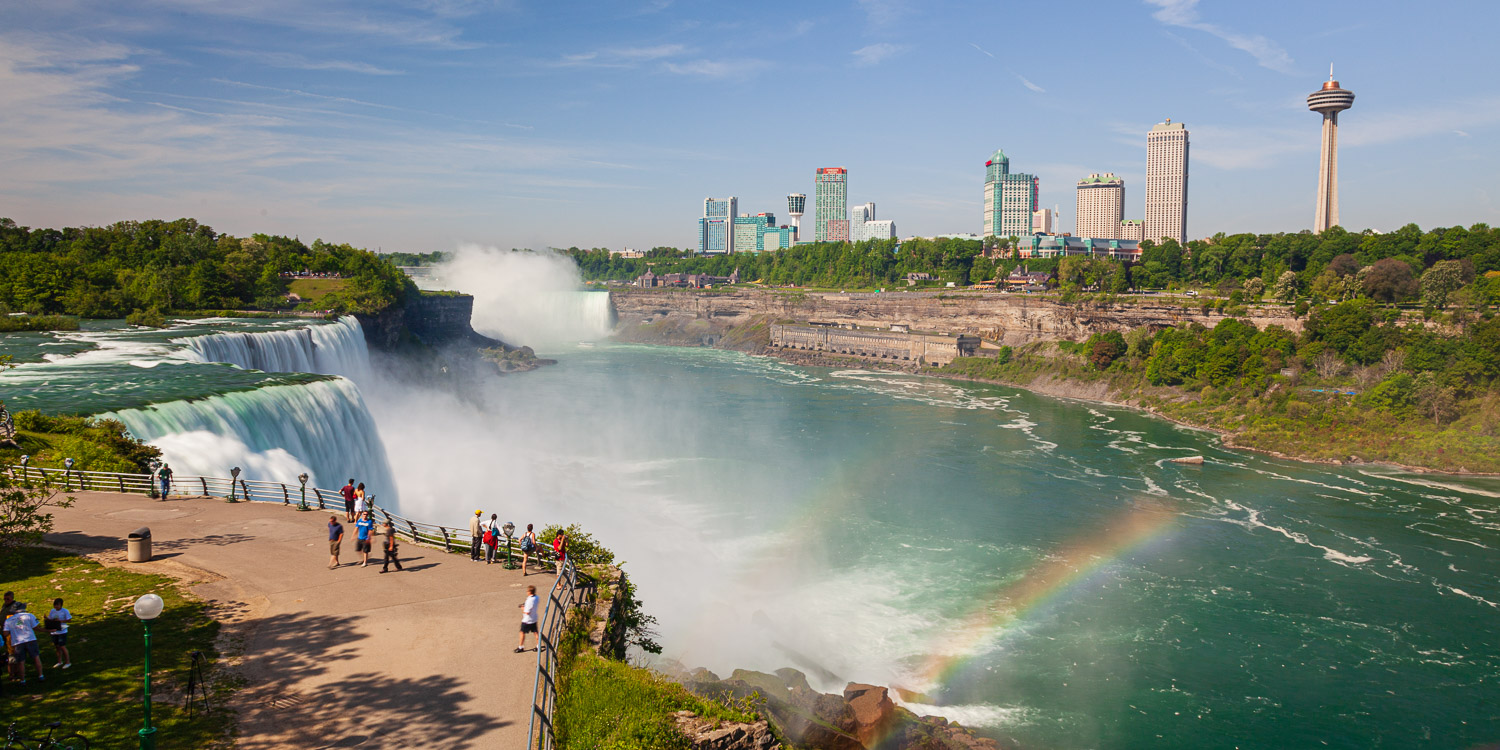
For example check out these photos from Niagara falls I took during the day in extremely bright conditions. This first image was taken at f/10 and the shutter speed was 1/200 second, so the motion was going to get frozen in place for the most part as you can see below.
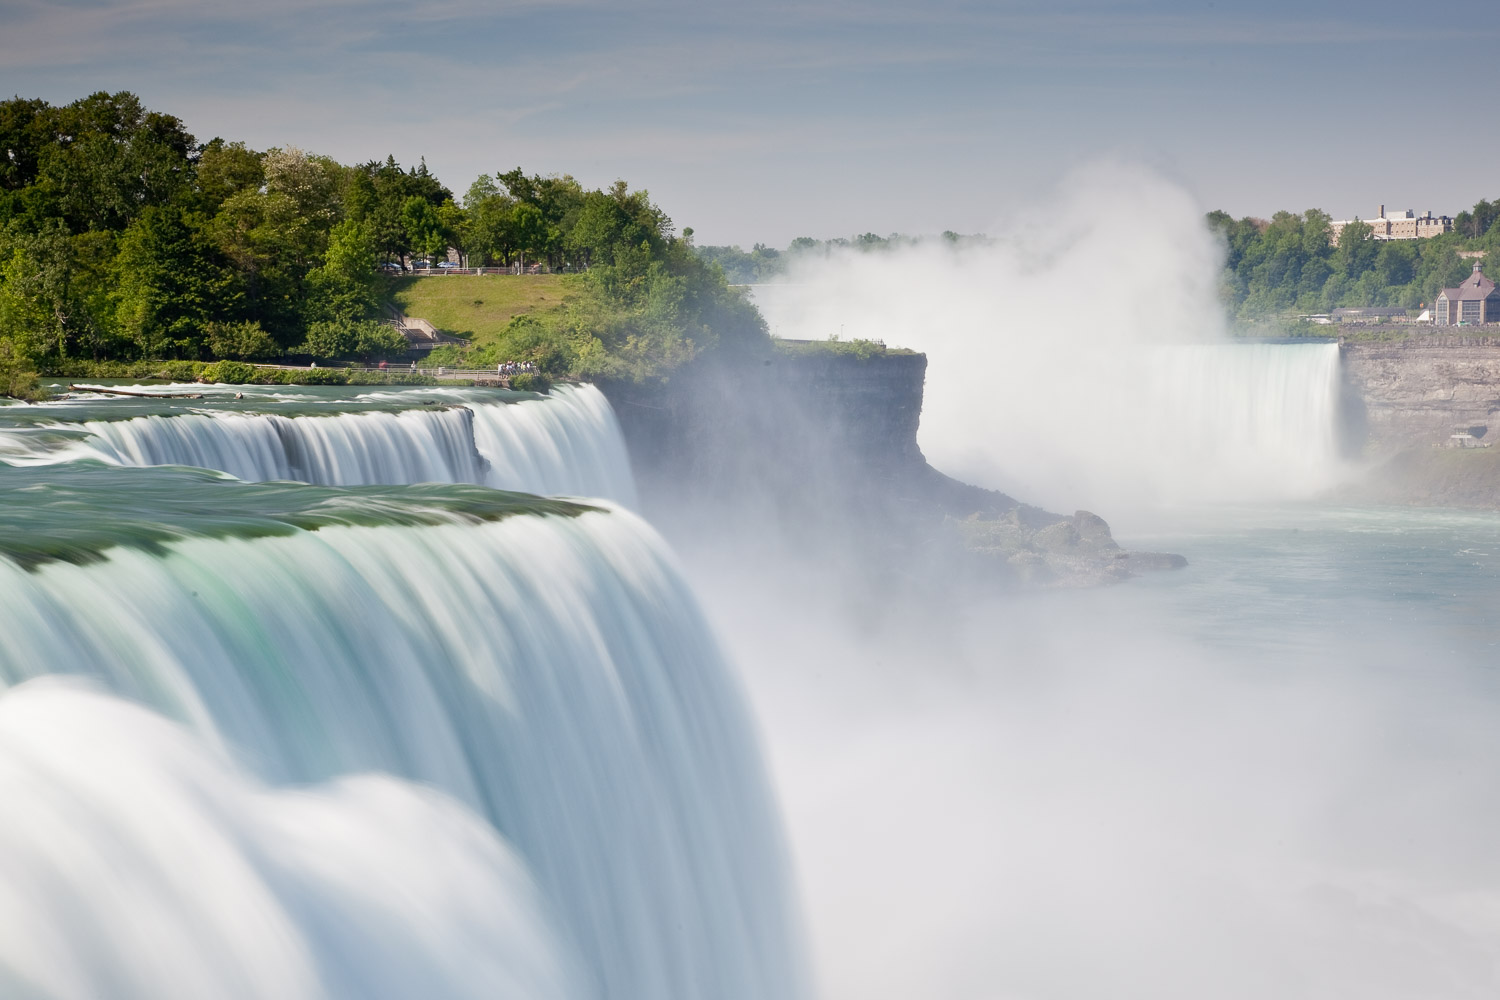
No now look at the same exact shot using my variable ND Filter to slow the shutter speed down to .5 seconds. So over the course of .5 seconds the water is rushing past and what the camera ends up capturing is this amazing silky smooth water effect in the daytime. Now that is cool!
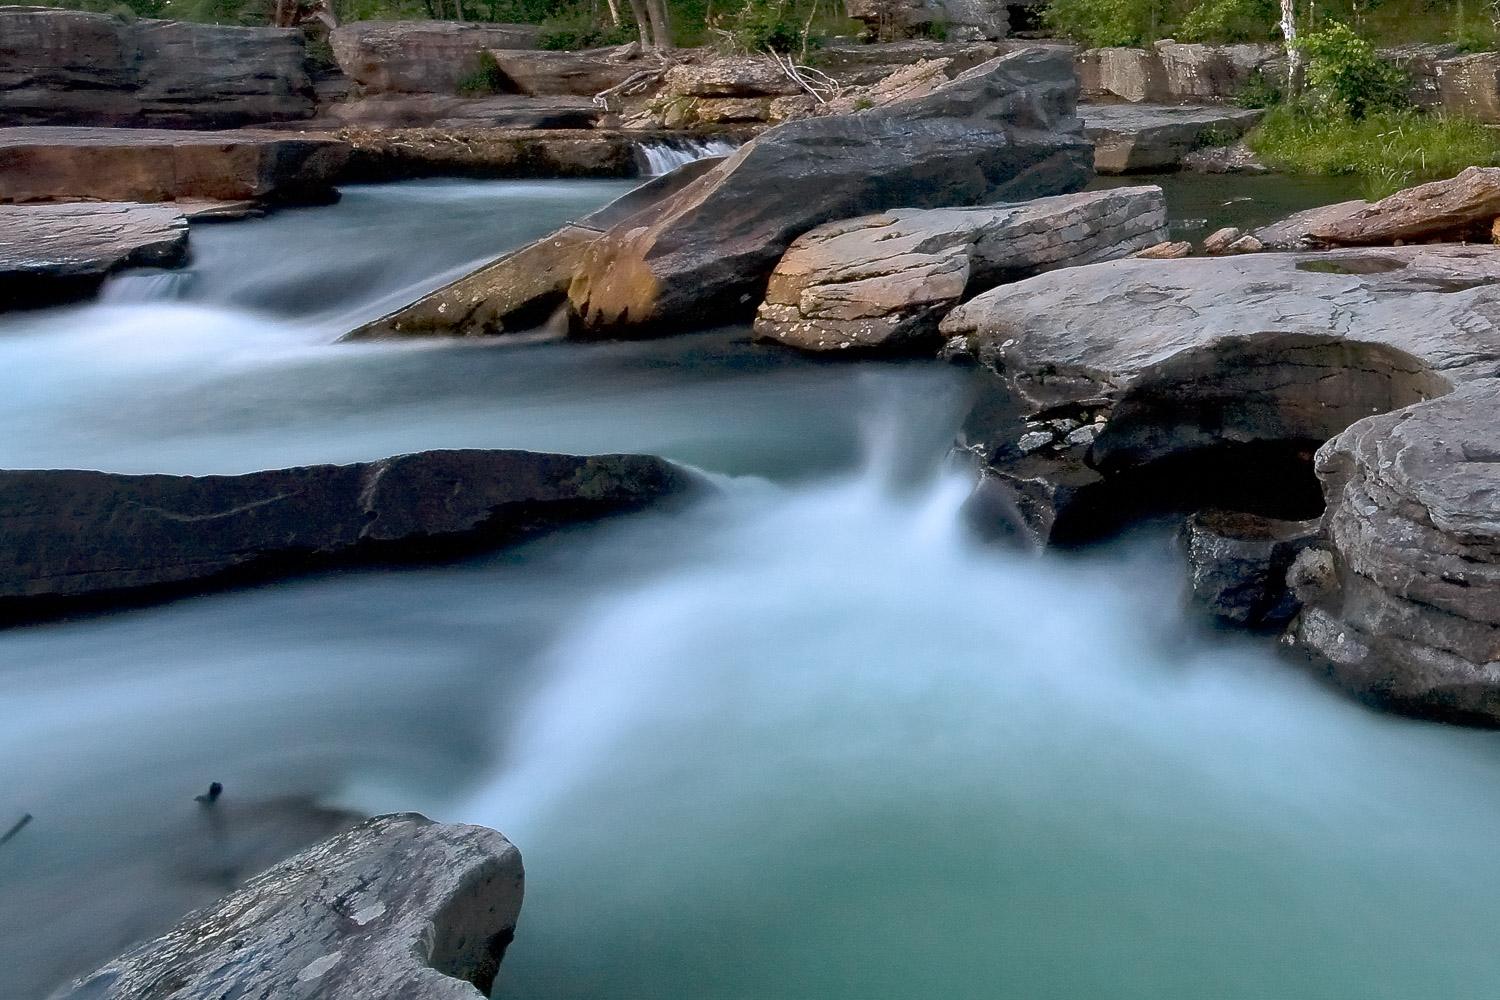
Here is another example using a ND filter and this time I was able to slow the shutter speed down to 10 full seconds!
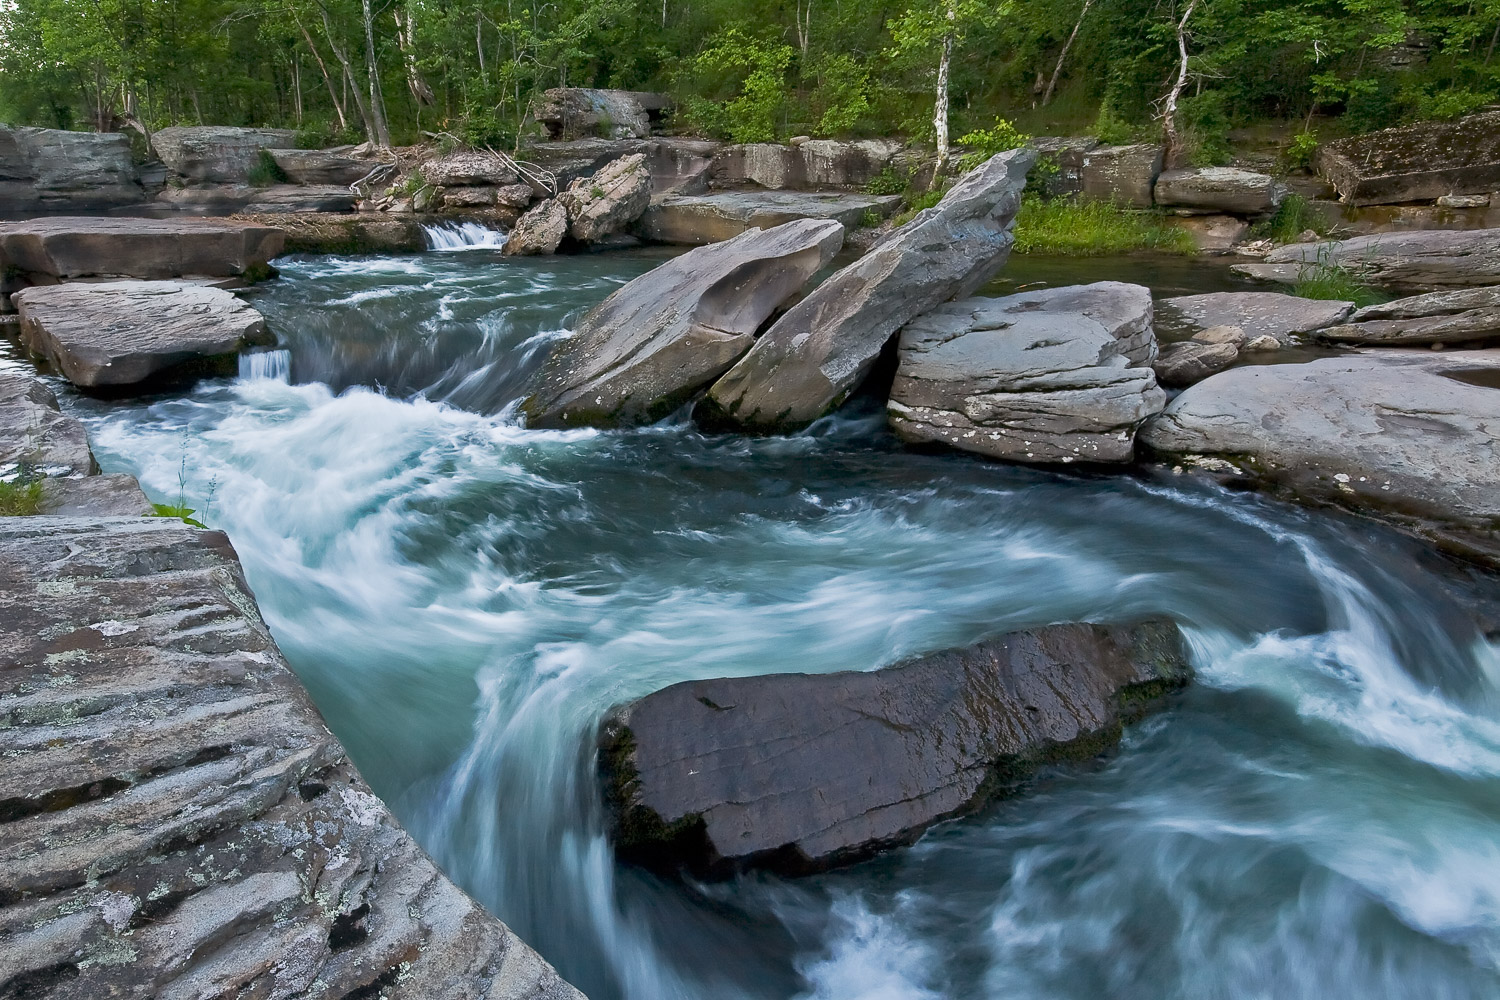
Below is another shot from the same session as the photo above and the exposure is .6 seconds. Note how much different the silky water effect is. They both captured motion, but the results are far different due to the difference in time the shutter was open for.
#4 Use HDR Photography if the scene has high dynamic range
I have lots of tutorials on HDR photography (Click Here) and it really is one of the best tools I know of for getting amazing landscape photos in certain lighting conditions. Sometimes the lighting is just perfect and you can get a killer exposure with 1 click. But often times the lighting is not so perfect and the camera will not be able to capture all the information in the shadows and in the highlights in one frame. Basically the dynamic range in the given scene exceeds the abilities of the sensor to capture in one shot.
In these situations, you can shoot multiple different exposures using the bracketing feature on your camera and then combine those exposure’s using software. The results are often incredible and totally worth the effort!
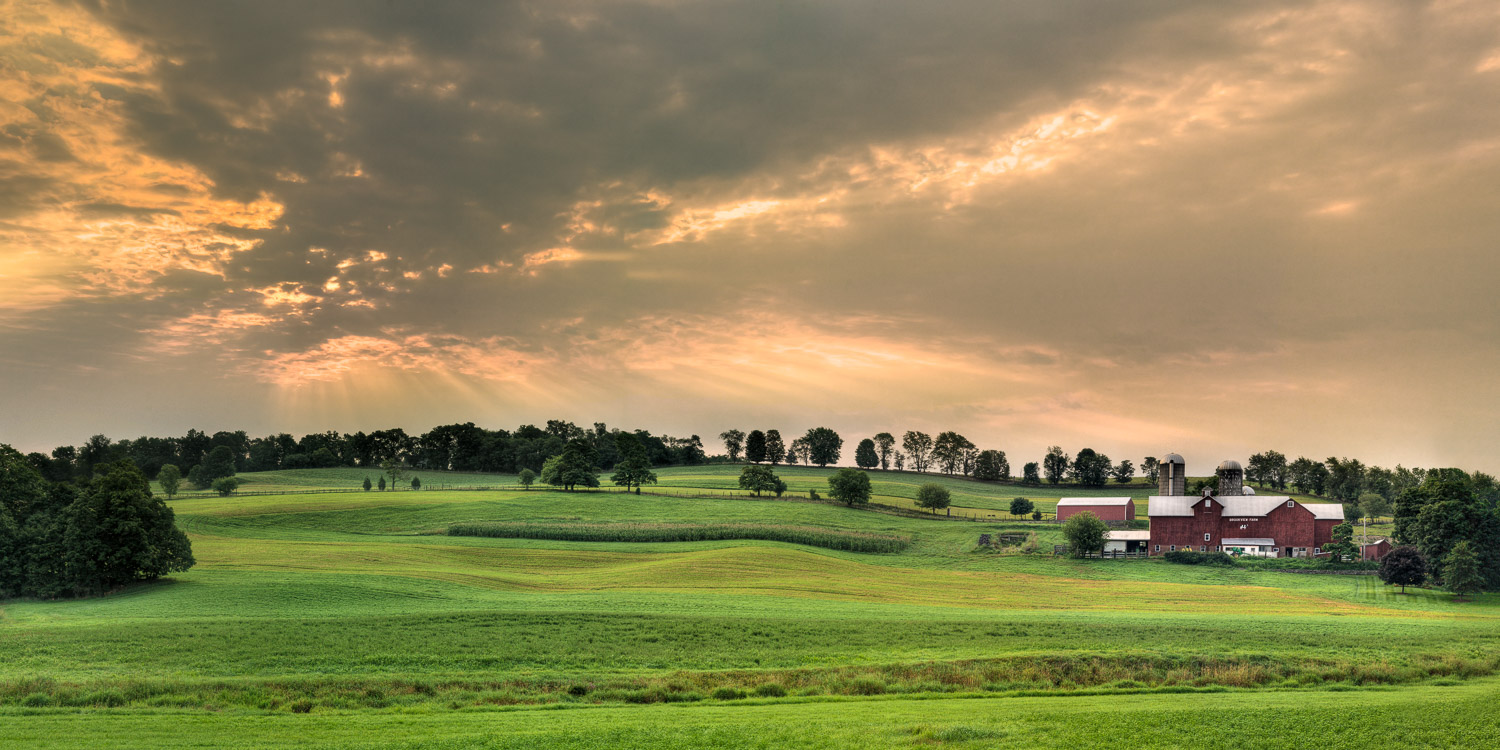
Here are a few of my favorite HDR Photos and as you will see, you can get a very surreal look if you want, or a more natural look depending on how you process the files…


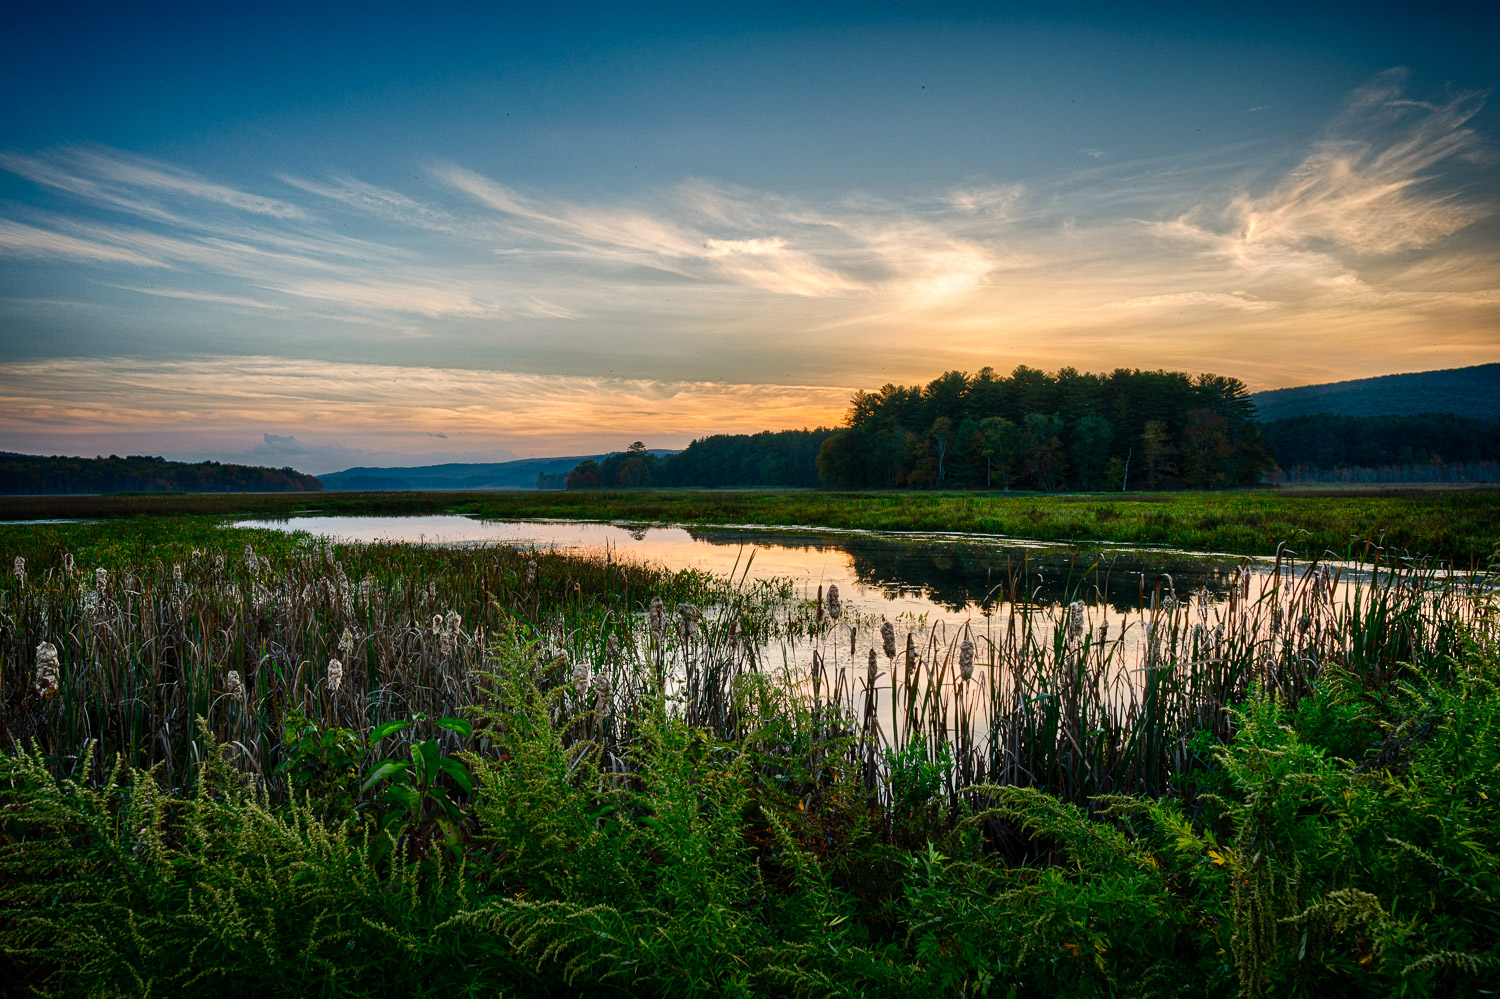
#5 Take a Panoramic
Often times you might be out there shooting and the scene is just so vast that you can’t capture it in a single frame, or there is nothing interesting in the foreground or background. In these cases you can either take multiple exposures going from left to right, for example, to capture the whole scene. Then you can combine those images in post, or you can edit a single exposure by cropping it into a panoramic.
An advantage to the panoramic when using multiple images and putting them together in post, is the super high resolution file you can create. These types of images can have an incredible amount of detail and will allow for gigantic prints if you ever wanted to do such a thing. For example, you might be able to get the whole scene with a wide angle lens, but your camera is only 24mp lets say. Well, you can zoom in and take multiple shots to cover the same scene and theoretically get a 24mp x # of shots yielding a very high MP panoramic result.
Let me show you a few examples..
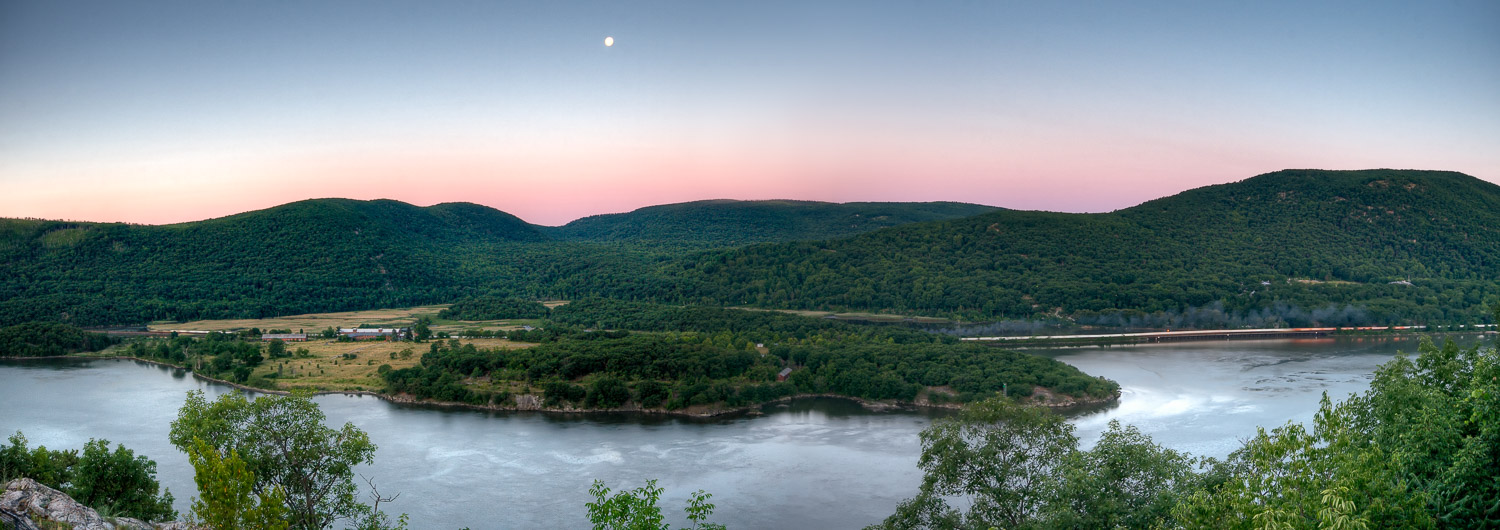
So this first image is made up of several HDR exposure’s and the total resolution of the master file is 11769 x 3022. I had the camera on a tripod and simple rotated the camera in order to capture about 7 shots total. I then combined the images using the panoramic tool in photoshop.
This next image was also made up of several exposures and the resulting resolution of the master file is 6111 x 2159.
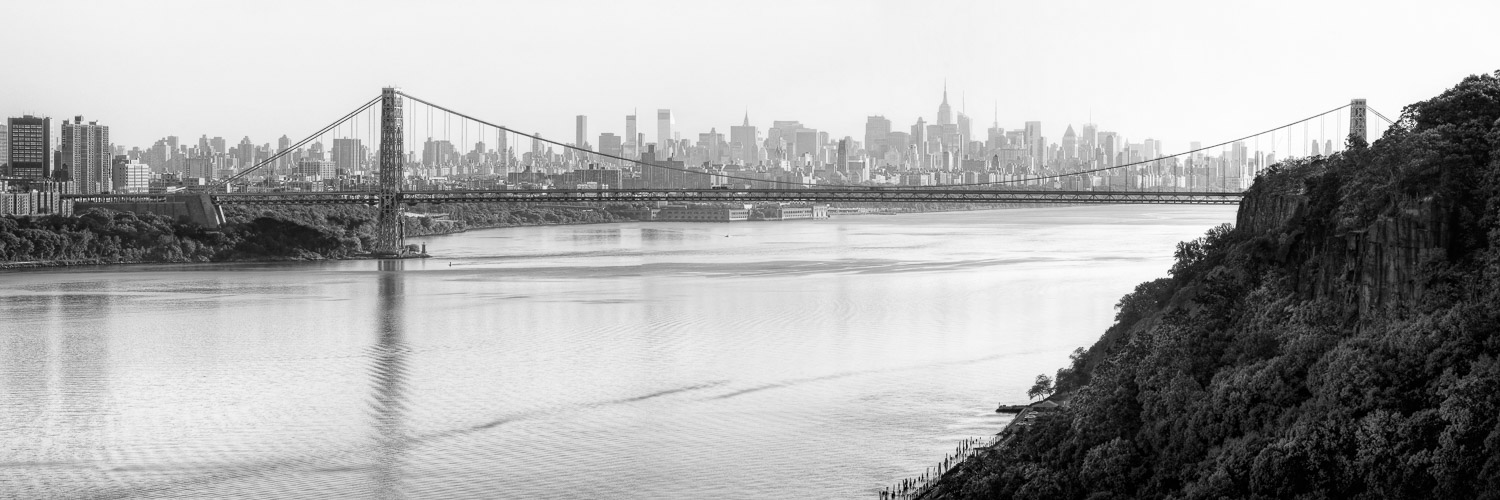
This next image is more of a cityscape and you may have seen it in a recent video of my studio where I showed you how I create youtube videos from start to finish. The print I have hanging is a large 6 foot canvas I printed then assembled a while back. I used to have a large format printer… The master file resolution on this image of the George Washington Bridge is 9483 x 3461
The next few images were just cropped in Lightroom from a single file to create the panoramic effect.
Conclusions
That is it for my top 5 tips for better Landscape Photos article. I really hope you all got something out of this tutorial. I really put in a lot of time and effort in to try and offer a different perspective on getting better landscape photos. I know there are literally thousands of tutorials on this topic so hopefully you got at least a few things to chew on for the next time you go out and shoot some landscapes.
Thank you so much for checking in and please feel free to ask questions or leave some comments below. Also, if you have some landscape photography tips, be sure to share them below in the comments area 😉
Have a great day and stay safe out there, Jay


