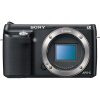
This Hands on Review will go over everything you need to know about the New Sony Nex-F3!! The Nex-F3 comes in black and Silver, but I opted for the silver model for this review.
Some of the topics covered in this Hands on Review include: Image Quality, Video Quality, Build Quality, Ergonomics, Value for the Dollar, the New Flip screen, and more!! If this sounds intriguing to you, please read on and you won’t be disappointed!! I had the pleasure to use the Sony Nex-F3 extensively for about one month alongside the incredible Sony RX100, which I just finished reviewing and can be checked out Click Here >> if your interested. What was great about having both cameras at the same time is the advantages that each camera had over one another become very clear!!
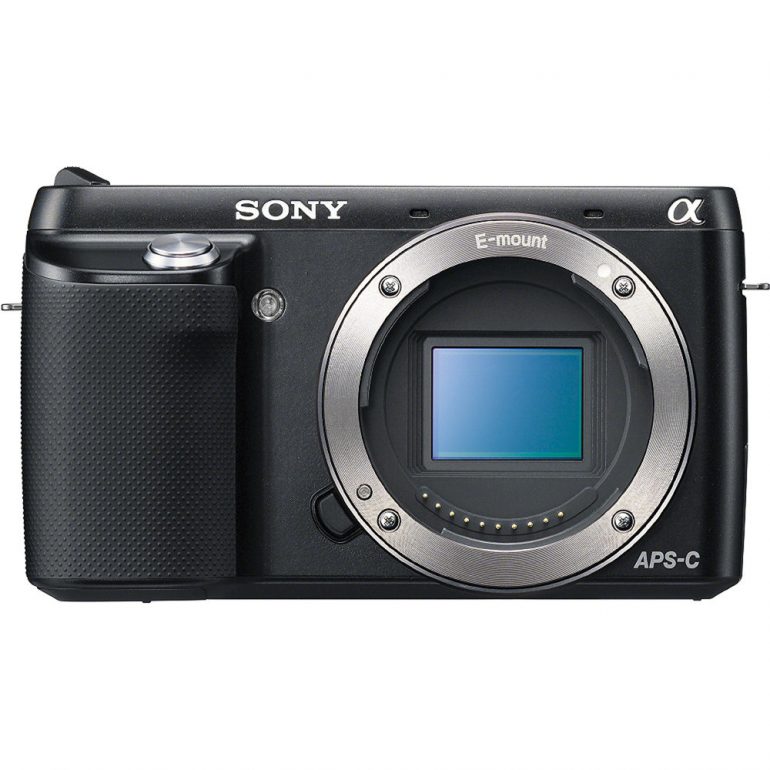
The Nex-F3 is a mirrorless camera and has the ability to use multiple lenses which makes it much more powerful right off the bat when compared to the RX100. It also has a much larger APS-C sized sensor which allows for better depth of field control and separation between subjects and backgrounds.
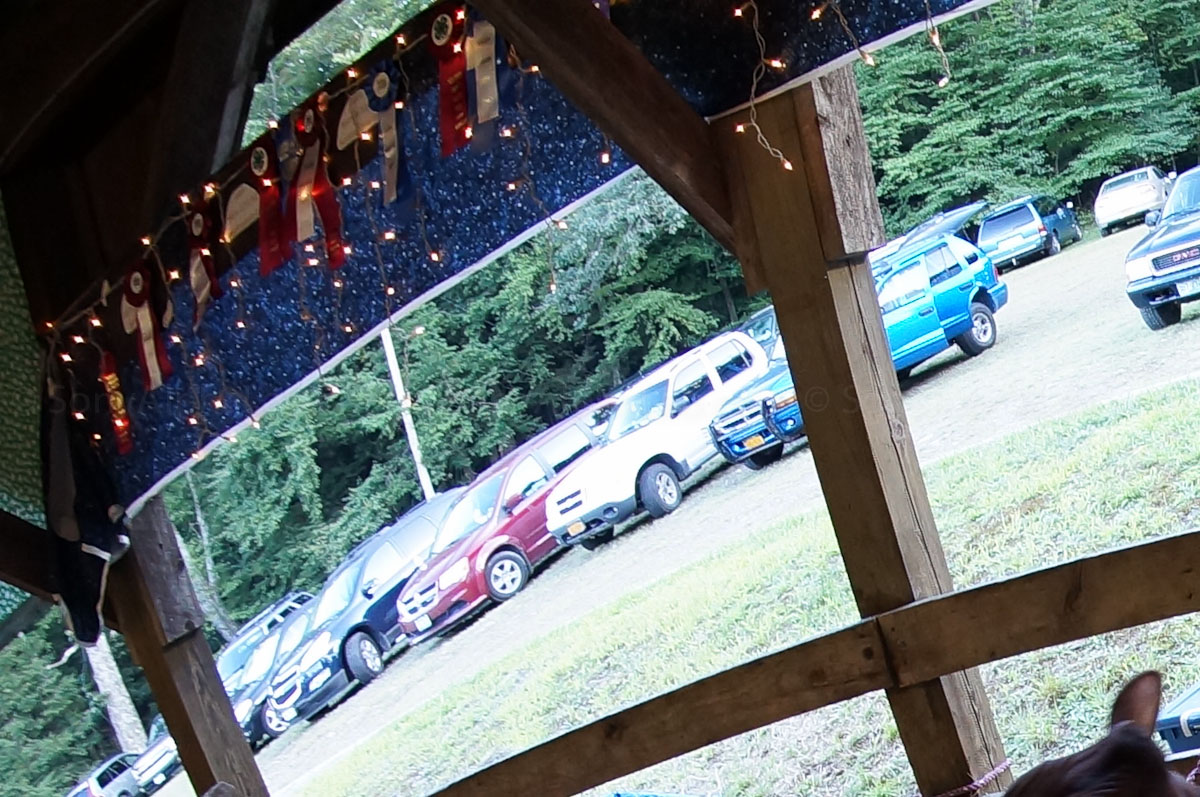
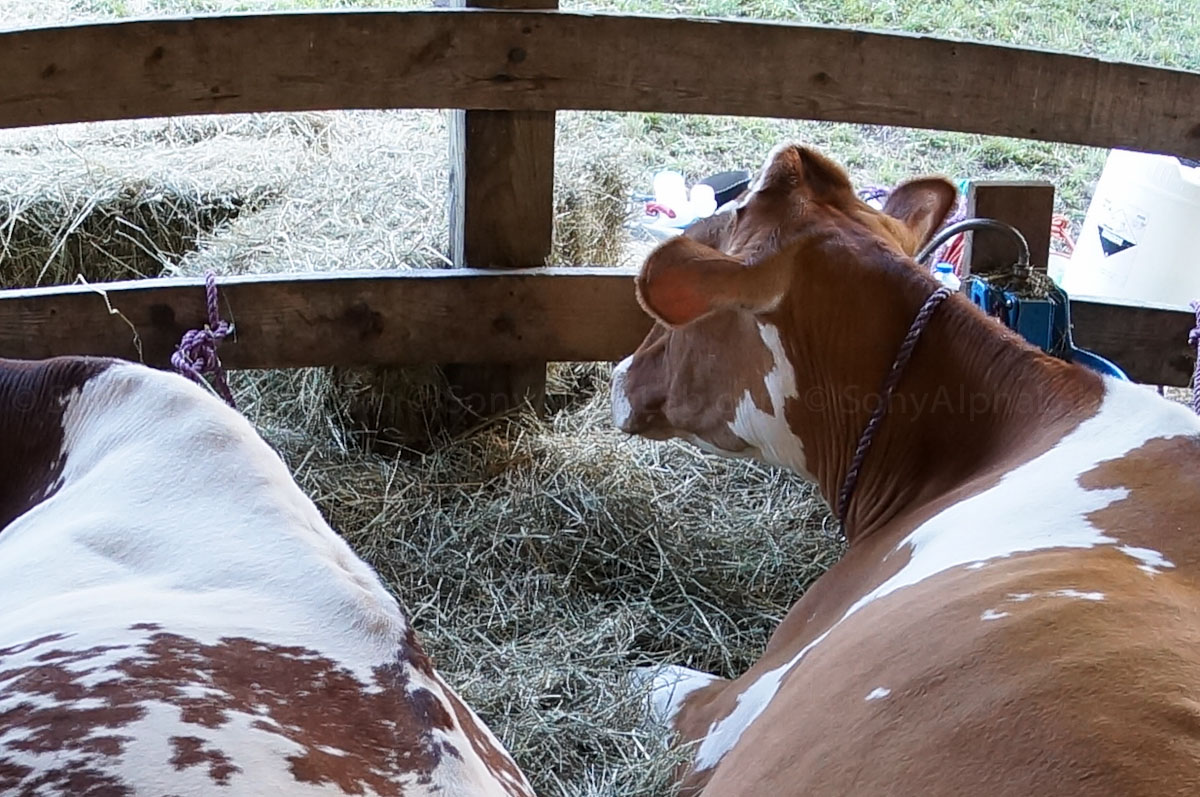
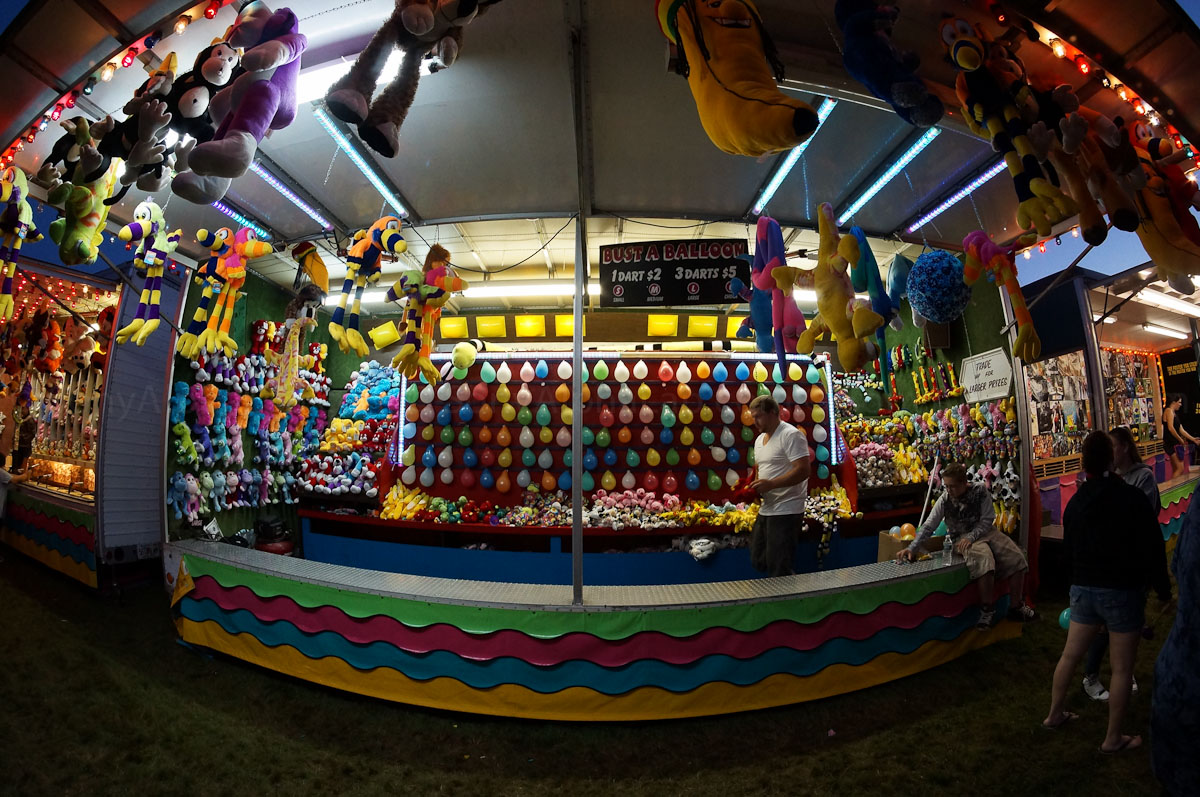
The Sony RX100 however, offers no burden of carrying at all, because it literally fits in your pocket!! Both cameras take a great photo, but the RX100 is still a point and shoot in the end and should be thought of as such. The Nex camera system however, is much closer to DSLR quality in a much smaller package. We went to the local fair the other day and I had both the Nex-F3 and the RX100 with me the whole time. I found myself using both cameras depending on the scene, but I was using the Rokinon 8mm fisheye on the Nex-F3, which is limiting for sure. An interesting note about carrying both these cameras was they were still lighter and easier to manage than a DSLR with a decent size lens. [divider]
Lenses and Accessories Used
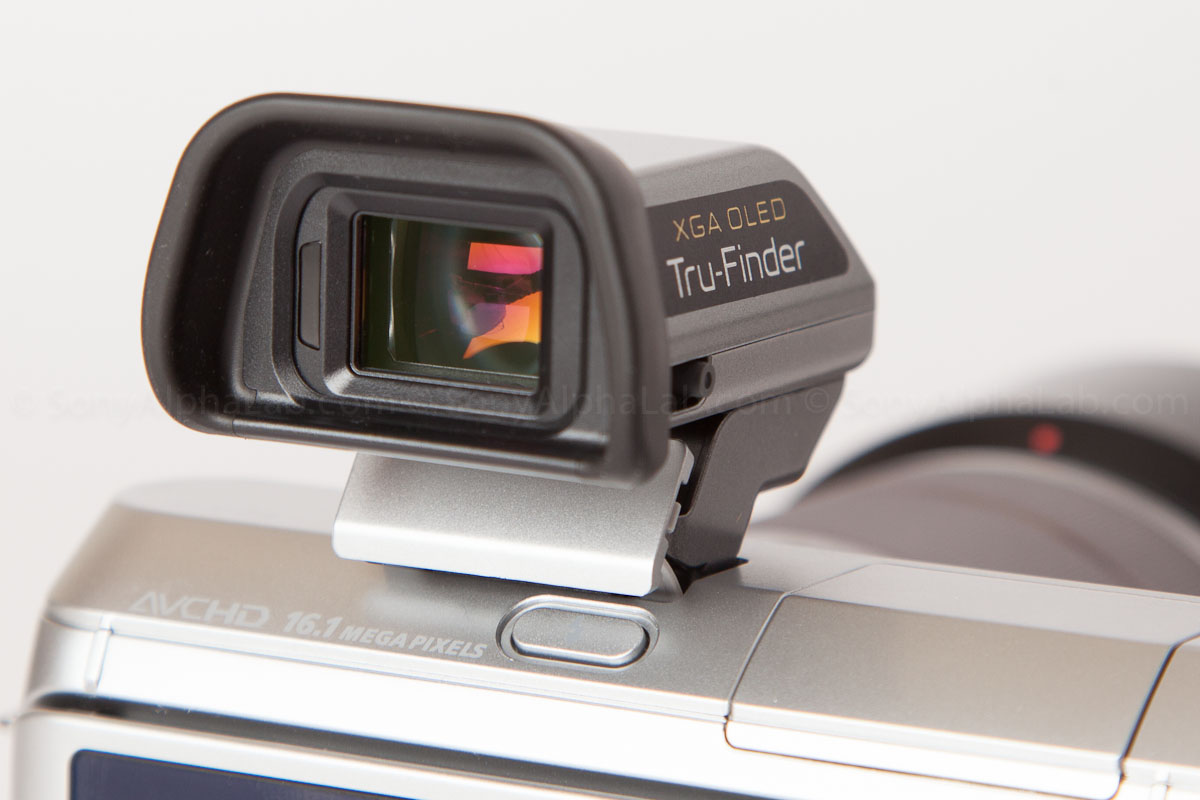
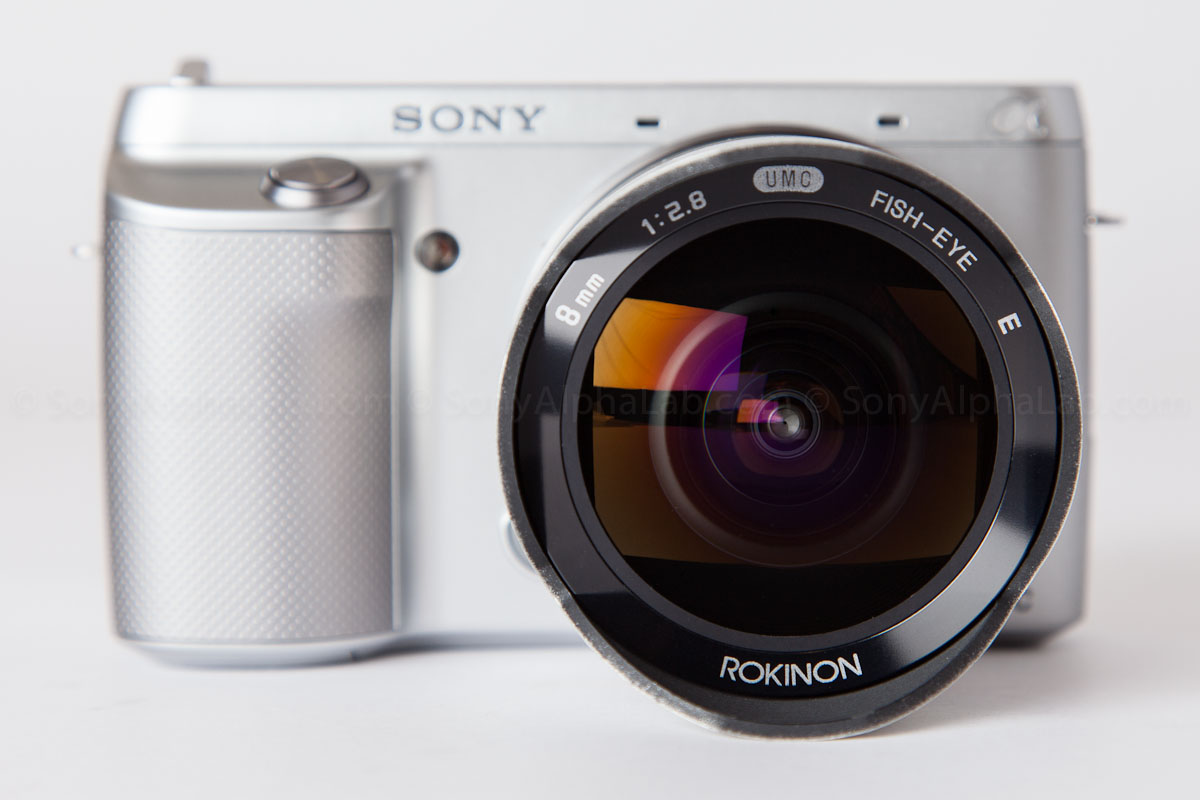
The lenses used for this review include the Sony 18-55mm kit lens, the New Sony 18-200mm f/3.5-6.3 OSS Zoom Lens (SEL18200LE), the Nanoha Macro Lens 5:1 from Yasuhara and the New Rokinon 8mm f/2.8 UMC Fisheye Lens. I could have also used my Canon lenses with the Fotodiox lens adapter, but I just didn’t have the time due to all the gear in my hands for the months reviews!! The accessories used for this Hands on Review were the Sony ECM-SST1 Compact Stereo Microphone, and the Sony FDA-EV1S OLED Electronic Viewfinder. I’ll show you pics and video of all this stuff, so don’t worry 😉
Sony Nex-F3 – Build Quality and Overall Design
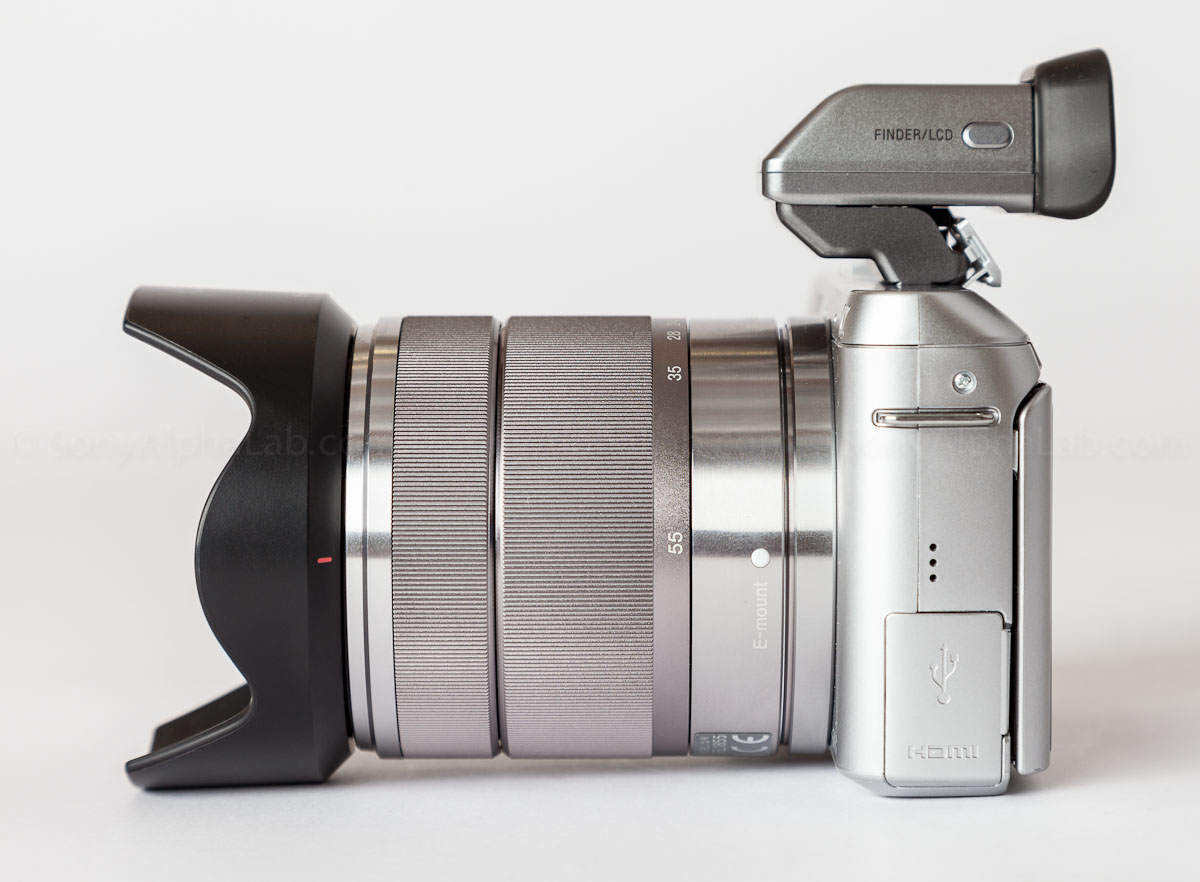
In this photo below I had the OLED Viewfinder attached and I must say after using it, I did not want to take it off the camera!!
The skin of the Nex-F3 is a smooth plastic that has a very slight texture to it, and the grip is now very similar to the Nex-5n which is a huge improvement. It doesn’t feel as rigid in my hands as the Nex-5n though, because the plastic actually flexes a tiny bit. It’s noticeable when you grab the screen on one corner for example. The E-Mount lens mount area is still rock solid, but the slight screen flex leaves room to desire the Nex 5 and 7 series models. Understandable Sony had to cut costs somewhere, and this new 3-series model has a ton more features than the previous version at the same price point of ~$598 US w/ the 18-55mm kit lens. The Nex-5n is ~$698 and you do gain the better build quality, 1080/60p video, and a few other things, but you lose the built in flash, a ton of new software features, and the flip-up screen design. It’s honestly a tough call if I had to pick between these two cameras with the $100 dollar price difference factored in.
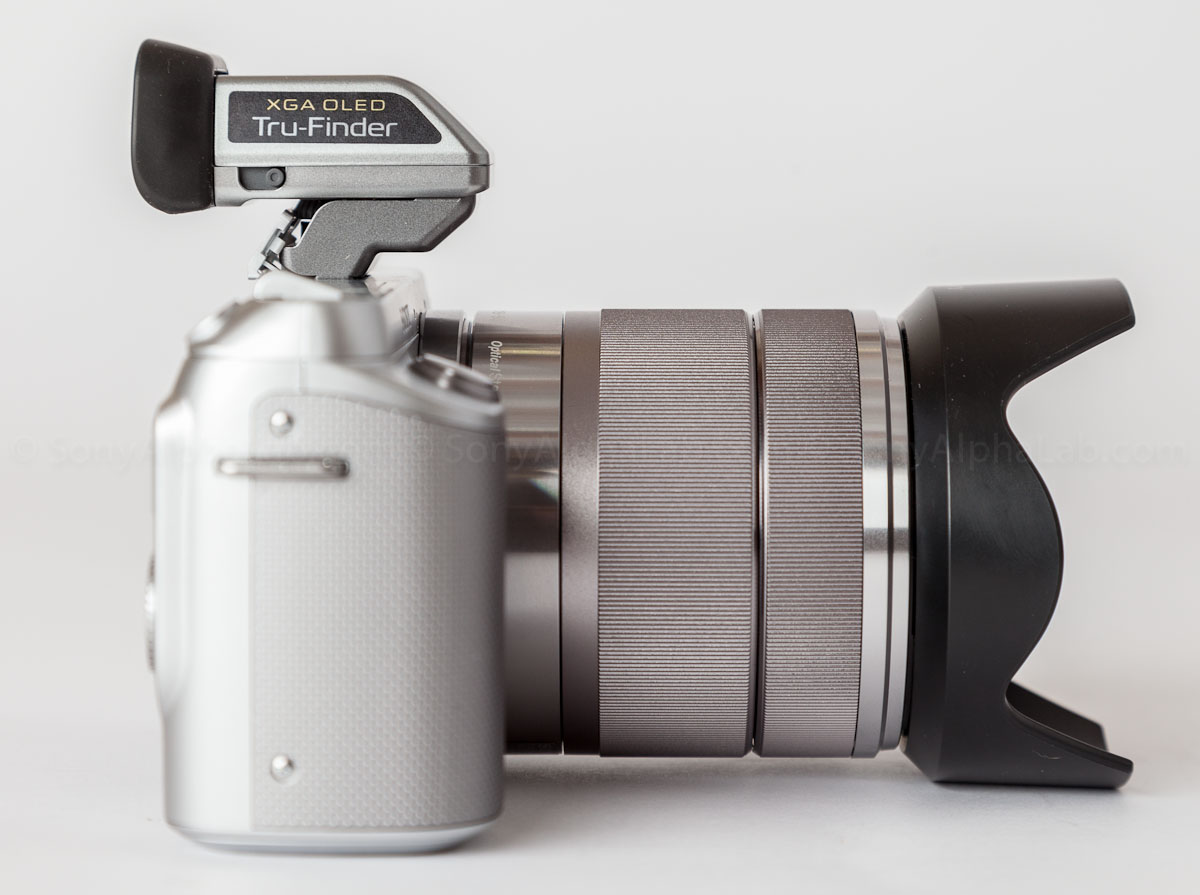
The Nex-F3 chassis has been completely re-designed to accommodate for the new linkage needed to flip the screen 180 degrees upward and 45 degrees downward. The two main mount points of the LCD screen are connected to retractable arms which allows it to rotate 180 degrees. This extra hardware also created the need for a slightly taller camera design. The extra height made for some room for a built in flash that is very similar to the Nex-7 design. The flash also works with the OLED Viewfinder and ECM-SST1 Mic attached to the powered auxiliary port, as it’s offset to the the right looking from the back.
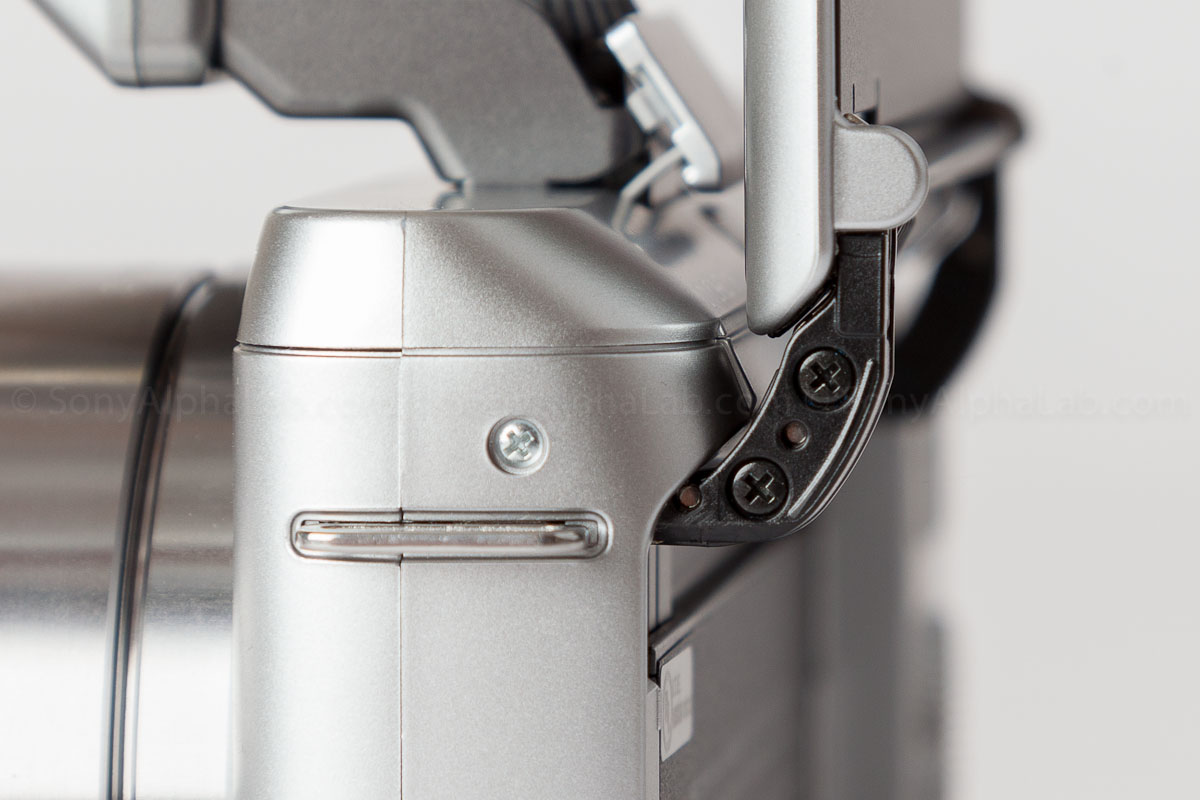
The Flip Screen is particularly useful for doing reviews , as it caters to self portraits or self recordings. Using this camera for reviewing equipment would be great, I could actually see what I’m doing and make sure the Autofocus is on what I want etc.. The flip screen does still aim down a little bit as well, but not near as much as it use to. You can still use it for overhead shooting, but it’s not as visible and is more likely to glare. In my opinion it’s worth losing the better overhead shooting for the advantage of self recording.
HD Video of all the Gear
Check out this Quick HD Video for a 360 degree look at the Sony Nex-F3, lenses, and Accessories used for this review!!
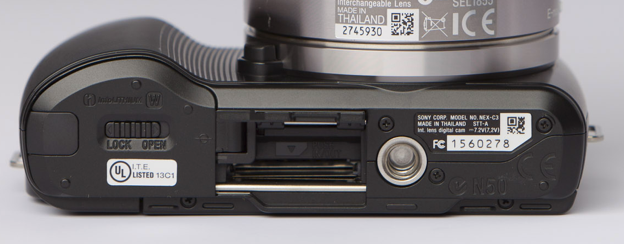
Nex-F3 Vs Nex-C3 – Bottom of the Camera The Nex-F3 has significantly more surface area on the bottom of the camera and Sony took advantage of this by beefing up the tripod mount area. This extra space in the middle was created by making the camera thicker for better sensor cooling and overall strength. You will need to remove your tripod /quick release plate in order to change the memory card though, but the battery shouldn’t be an issue for most common plates. The battery is now facing perpendicular to the camera body which allows for a much deeper grip than the Nex-C3. This makes it easier to hold by simply giving you more leverage. The very bottom of the screen also clicks into the chassis near the tripod mount point when in the fully closed position. See below for a closer look…
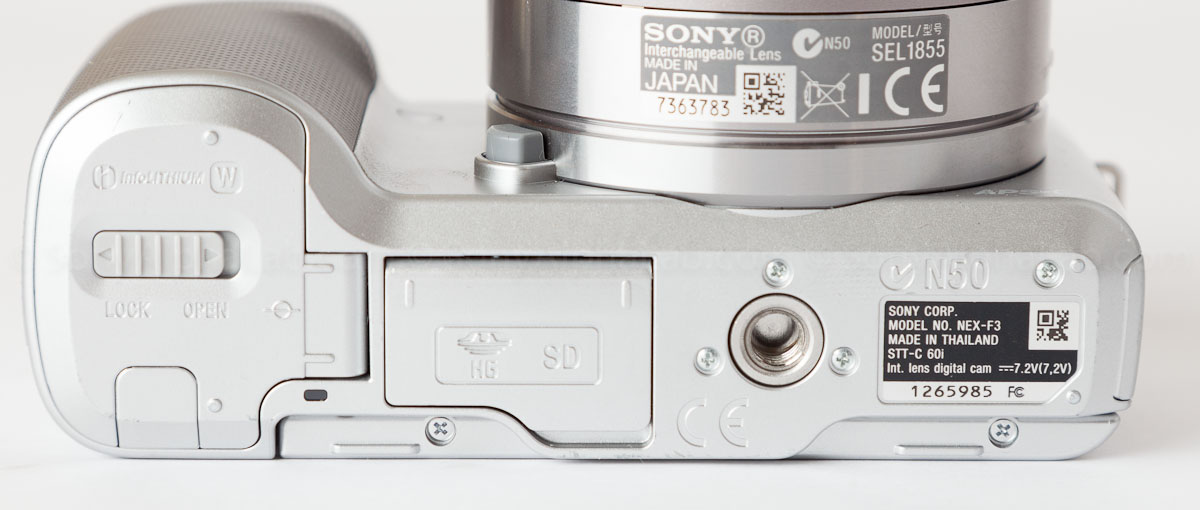
The newly designed shutter button area is also much better in my opinion. The power switch is now on its own, separated from shutter button and on top of the camera with the record button just behind it. Note how the record button has a protective ring around it to prevent accidental pressing. It’s a nice touch, but is to hard to press for my somewhat large fingers. I have to make a conscious effort to use my pointer finger instead of my fat thumb. This is a bit annoying at first, but I did get used to it after a few uses of the record button.

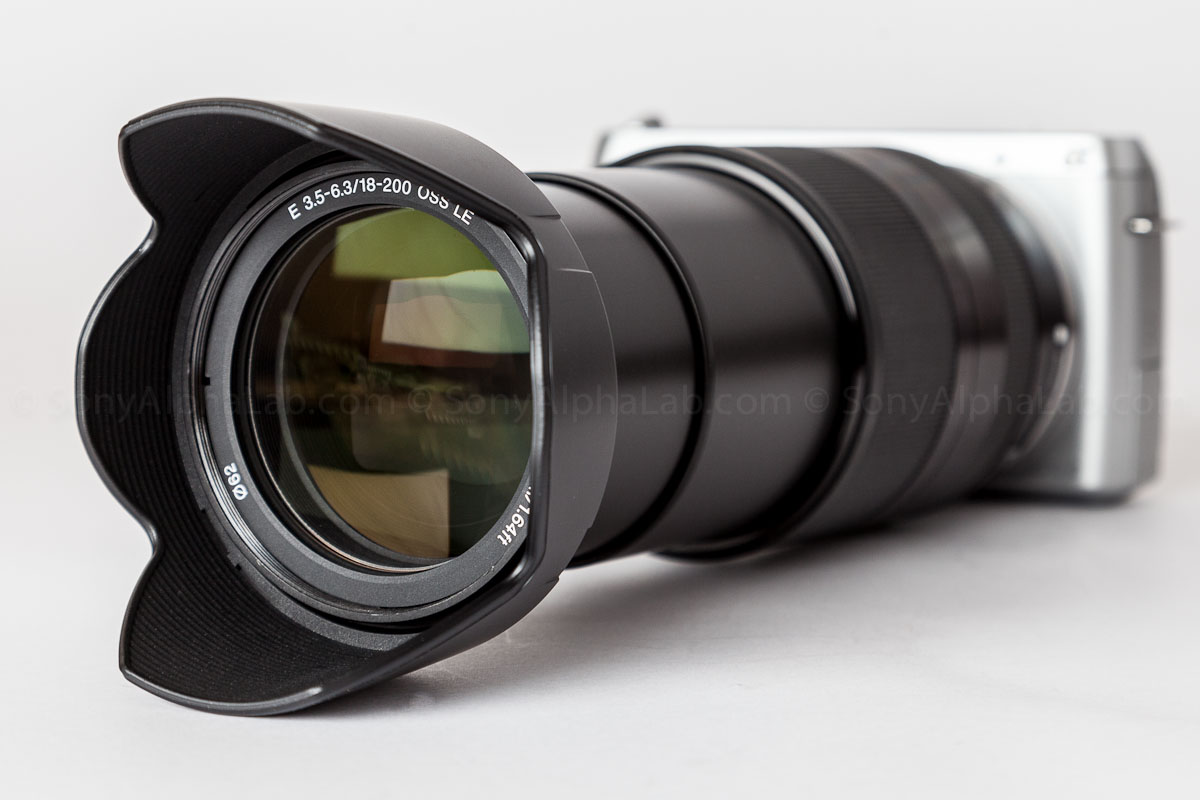
These little ergonomic improvements do make a difference, especially when using larger lenses like the New Sony 18-200mm f/3.5-6.3 OSS Lens as seen below.
A few Sample Photos and Image Quality
Here’s a few snapshots using the Sony Nex-F3 and the 18-55mm kit lens in full Auto Mode and exported from Lightroom 4 at 1200px 65% Quality for fast viewing.


As you can see from these sample snapshots, the Nex-F3 and kit lens combo are sharp, and can easily get you nice separation from backgrounds depending on your needs. The bokeh is also not bad for such an affordable lens with optical steady shot and near silent focusing built in. The color and contrast are also really good in my opinion. The Sony Nex E-mount Lens line is growing slowly but surely!! So, when you get a spare minute be sure to check out my Sony E-Mount Lens Guide >>, where all the available E-Mount lenses are located with direct links to my reviews, and best prices on the web!! [divider]
Nex-F3 – AF Performance
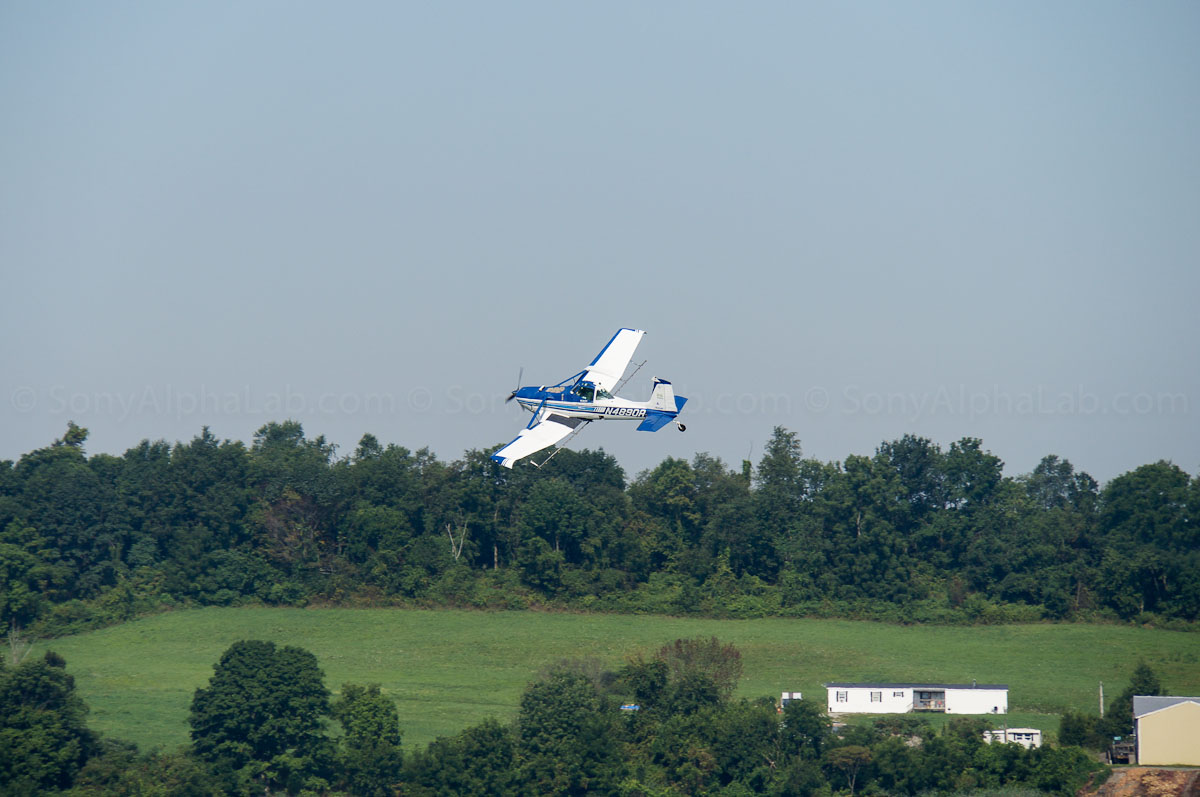
The AF is significantly faster and more accurate on the Nex-F3 than the older Nex-C3 in my opinion. I took a lot of test photos and the Nex-F3 was able to track a flying crop duster, moving dogs, and more without much issue. It seems to know where to start focusing better, which makes it faster overall at finding the target. I also found it much easier to track things using the viewfinder rather than the LCD screen as the glare on the screen is brutal in the daylight and you need to use your hand and/or body to help shade it sometimes. At dusk or dawn it’s totally usable though, and of course inside it works great. Really just broad daylight is tuff.
Continuous Shooting at 5.5 fps with focus tracking The Sony Nex-F3 is able to continuously rapid fire at 5.5 frames per second in high speed priority mode. A respectable speed for even a DSLR, and it can track objects as long as it’s not moving to fast away or towards the camera. Check out this crop duster photo below taken with the Sony 18-200mm f/3.5-6.3 OSS Lens. The Plane was panning back and forth in front of me and it was mid morning light which made it really difficult to use the screen. I was hand holding the camera as well, so when zoomed in at 200mm trying to track a plane with a screen in the daylight is close to impossible!! I happen to have the OLED Viewfinder accessory handy though, so I plugged it into the powered auxiliary port and WOW is it awesome!! Now I can see in the daylight and easily track the plane back and forth!!
Check out a few of these Crop Duster photos and also keep in mind I was using the New Sony 18-200mm OSS Lens @ 200mm wide open @ f/6.3!!

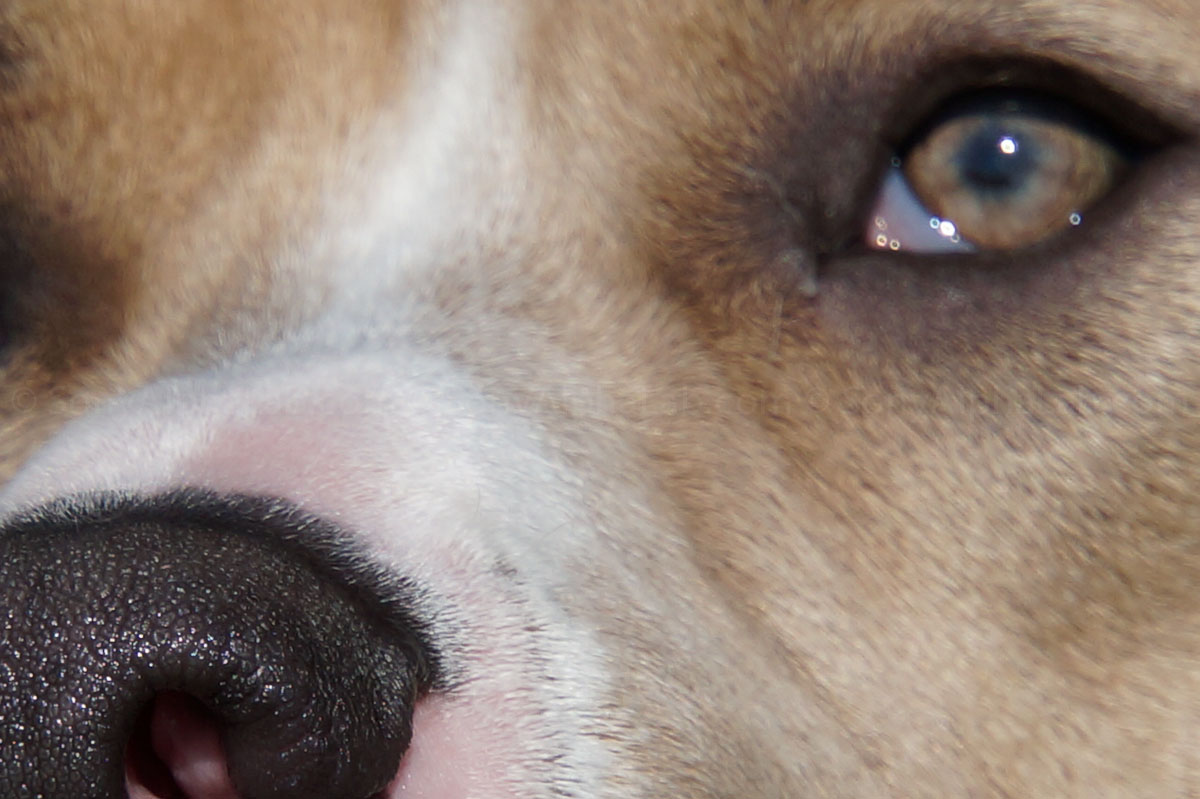
Sample Photos of the Dogs
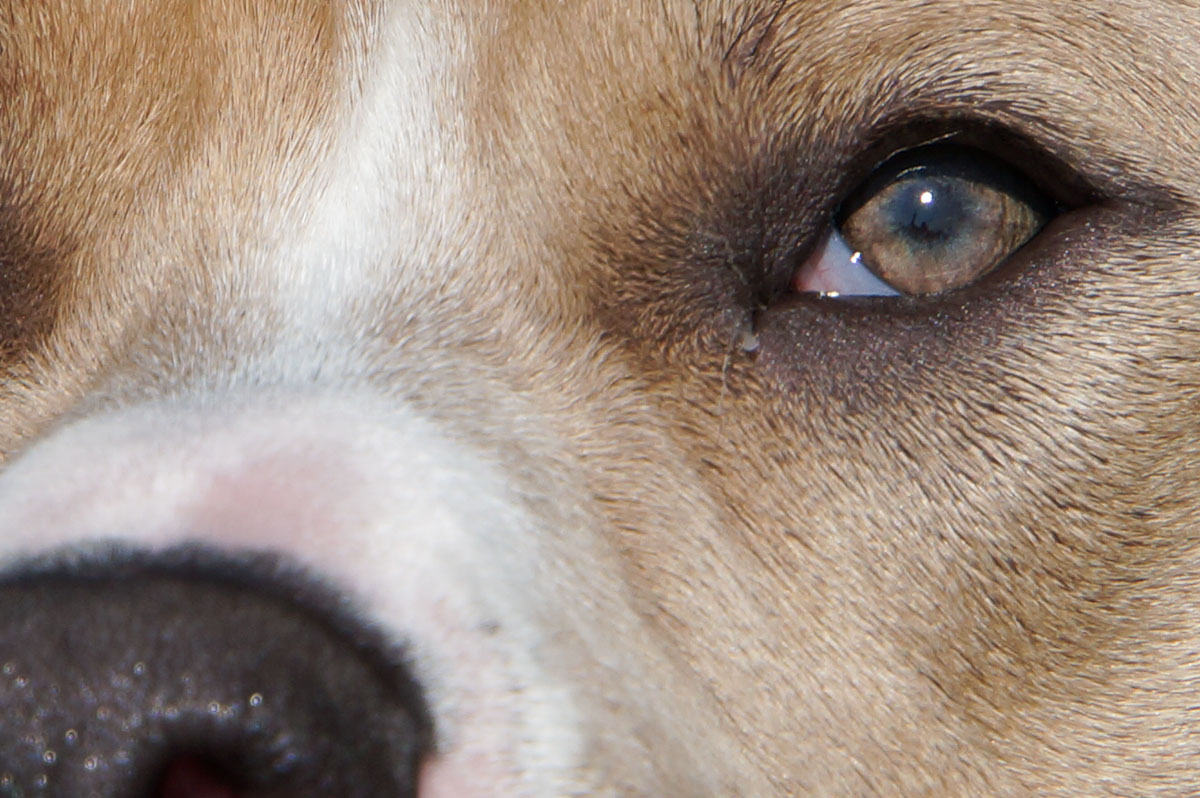
I also was able to take some pics of the dogs which is never easy if you have ever tried!! They never stop moving, so the focus is often missed when using any camera, but again a LCD screen in the daylight makes it really tuff. So, I used the Sony FDA-EV1S – XGA OLED Tru-Finder Electronic Viewfinder again and it made the job incredible easy. I must tell you after using the OLED Viewfinder I did not want to go back to the screen for outdoor shooting. It almost became a must have once I started using it. Funny thing is, I was able to manage before with just the LCD screen, yet the successful hit rate was considerably less in sunny situations. I missed the focus on this Photo of Sandy, and I wanted to show you just how shallow the depth of field is, even at f/8!! The focus is on her nose in this shot below and when you see the 100% crop I think you will be impressed with the separation that can be achieved. Big sensors Rule!


The Nex-F3 and Sony 18-200mm f/3.5-6.3 OSS Lens nailed the focus on the second try. The dogs constantly move and these slight misses are very common even with a Phase Detection AF, like on the A57 I recently reviewed over Here >>

Real World HD Video Sample Footage
I played around with some video on the Nex-F3 and it works really well for family fun and even more serious work. I only used it for testing purposes, but the face recognition technology works great in tandem with the AF system to help keep your subjects sharp in the frame. This worked particularly good for Layla as she was playing with her M’s 🙂 The Nex-F3 is capable of taking HD video in a variety of formats including 1080/60i or 24p AVCHD format, or in PC-friendly 1080/30p MP4 format. If you want upload directly to YouTube, the .mp4 format is the way to go!! AVCHD is the better quality, but you will need to convert it in order to share with your friends on the web easily. This format is great for DVD’s and Blue-ray Disks though.
Here’s more Nex-F3 sample HD footage in some really bright sun!!
Menu System
The Sony Nex-F3 is a introductory model and is really designed for the beginner photographer looking for much better image quality and flexibility. With that in mind, the menu system makes sense, as it’s picture based and simplified. Sony set it up so you really don’t have to know much about photography to get a really great image. If you scroll through the camera shooting modes for example, the screen will change giving you a sample image and short explanation of that particular mode or effect. It’s great for newbies and people that love picture based menus. There is also a Tips Pop-up screen that will help you along. That feature I turned off immediately though, as I did not need it. Pro’s however will not like this menu system in my opinion. It takes to long to find key settings like HDR, Focus Modes, and things like that. The Nex-7 has Pro oriented menus as does the RX100!! These are clearly more pro oriented cameras as far as price points and build quality.
Other Powerful Nex-F3 Features
The Nex-F3 has a ton of scene modes and photo effects. Here’s a few of my favorites: AutoPano Mode Autopano mode is always fun to use and delivers a pretty good result. I do find the shutter speed is often not fast enough for the sweeping speed the camera wants to use. This results in slightly soft results at times. To combat this I try to raise the ISO to make sure the shutter speed is fast enough!! The stitching work done in camera is also pretty good, but not flawless by any means. Wires and complex geometric will often slightly miss-align when viewed at 100%. Mind you the 100% crop of the Autopano is gigantic, and the small imperfections would be hard to see on any reasonable sized print. So, there is some advantages to using the old fashioned method of Photoshop as it does allow for more flexibility in it’s blending methods etc.. However, for an in camera feature it works fantastic in my opinion, because the result is very good and the effort/ time invested is almost next to nothing. Why not make some effortless Panos!!


Clear Image Zoom Clear image zoom is a new feature to the Nex Series cameras and basically doubles the effective zoom range of whatever lens your using. In the sample image below I was using the 18-200mm lens and was at the maximum focal length of 200mm. I took a photo of an old historic sign that offers some nice detail and the background was far enough away that it separated a bit as well. So, to be clear this first image below is with No clear image zoom applied!!
Here’s a 100% Crop so you can see how crisp the original photo is with No Clear Image Zoom

Now here is the Clear Image Zoom feature set to maximum which effectively doubles the zoom to 400mm!!

Here’s a 100% Crop so you can see how well the details were retained even though the image is 2x digital zoomed!!
As you can see the the results are very impressive and I was hand holding the camera and lens just to let you know. This feature really does work, and Sony basically has a mini Photoshop type algorithm running on the camera that allows this to work on the fly for photos. Basically it uses smarts to up-sample the image and enlarge it by actually adding pixels!! This is called re-interpolating the image. Now, you don’t get something for nothing, so you will loose slight detail for sure, but it still works really well in my opinion and can certainly expand your focal range capabilities with usable results!!
AutoHDR First the standard J-peg that the Sony Nex-F3 also writes to the memory card then the AutoHDR image. Having a single exposure version of the image is nice feature encase you don’t like the results of the AutoHDR, or want to do some additional editing and/or layer blending.

The AutoHDR certainly opened up the shadows and retained the highlights, although not the most dynamic scene.

This next scene has much more dynamic range and the AutoHDR really made a big difference. First the normal exposure, then the AutoHDR!!

Take a look at the boxes in the garage behind the green dumpster and the clouds.

This feature works really well in my opinion, and I use it all the time with the Sony cameras!! It’s also a lot fun to do some additional editing with the programs like the Nik Filters, and Lightroom, because you can really make these AutoHDR’s sing!! [divider]
Sample Photos and Image Quality
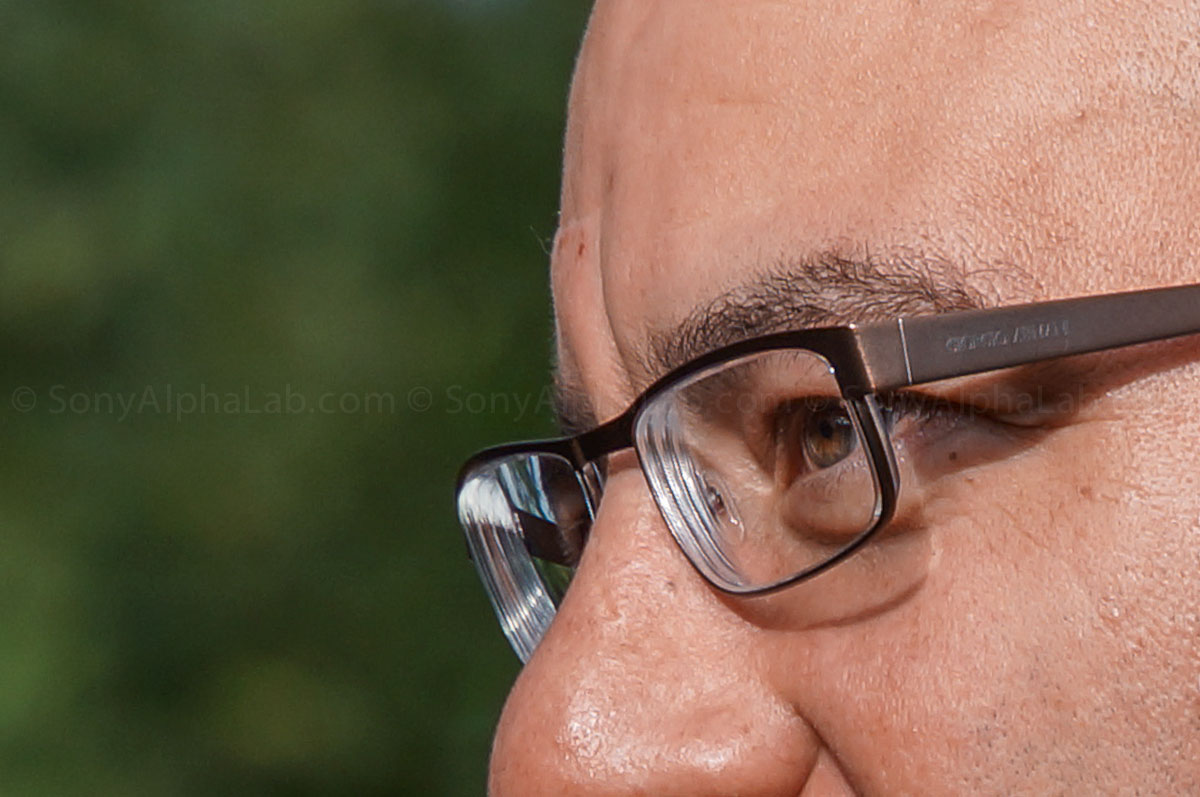
My very good friend Doug day dreaming about something. Note how the image has a 3D look to it. That “look” is courtesy of an APS-C sized sensor and a high focal length lens relatively close to the subject. The separation between the background and Doug is what I’m referring to specifically. The same exact shot on a full frame sensor would look even more “3D” as the separation would be even stronger. Large sensors offer much more than just surface area, low noise, and mega-pixels!! Sony made a really smart move when they decided to create the Nex camera line!!


Take note here of the actual image quality! The Nex-F3 is capable of taking fantastic photos in my opinion. Especially when you put some really nice glass on it like the 18-200mm!!
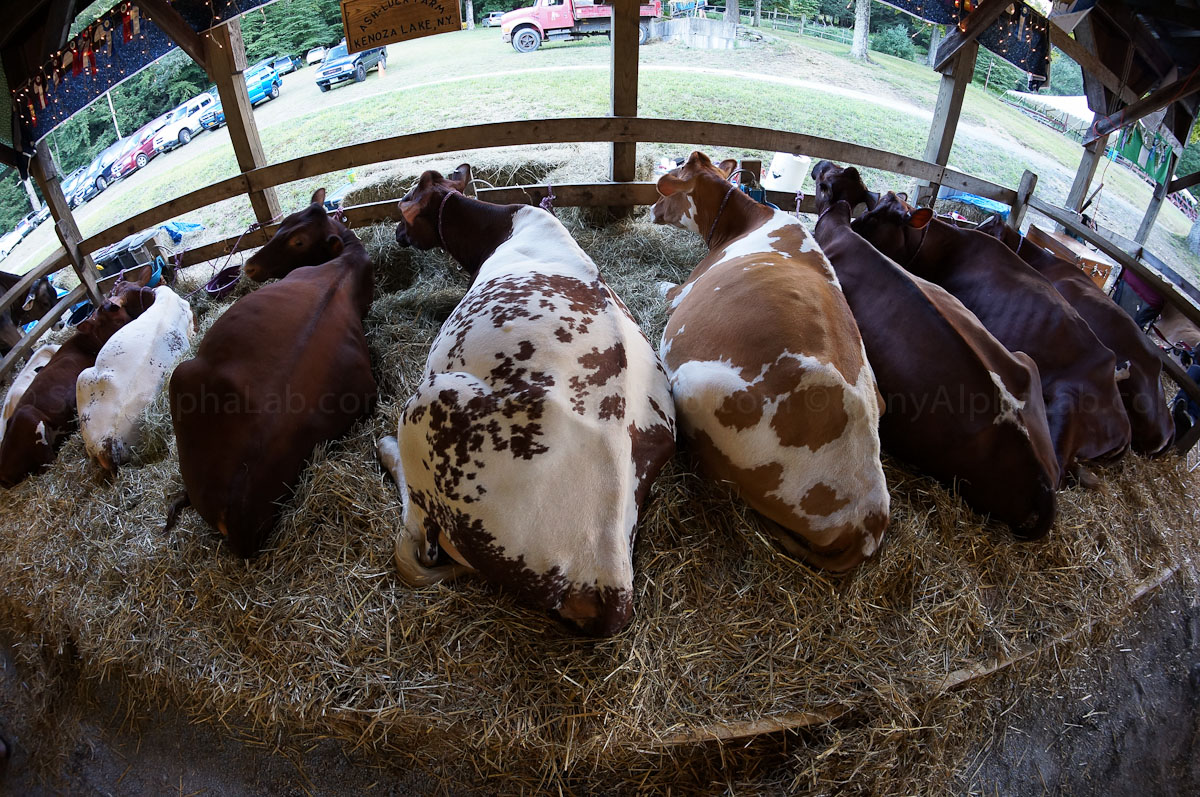
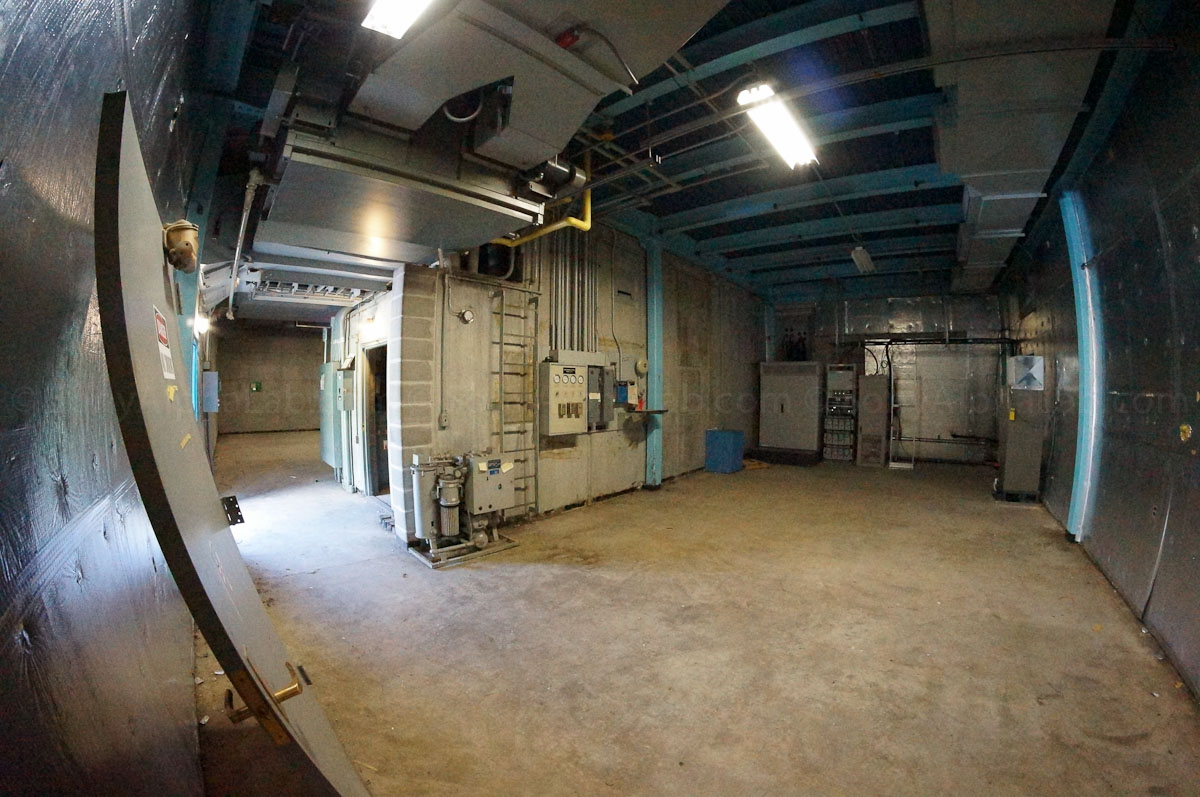
I took a photos at the local fair with the Nex-F3 and the New much smaller Rokinon 8mm f/2.8 UMC Fisheye Lens. This lens is fully manual so you do have to enable the “shoot without lens” feature in the menu. Other wise the camera will say “no lens attached”. In any event I was using mostly f/8 and f/16 with it, but since the lens has no electronics the exif data is limited to the shutter speed and ISO. A nice benefit to having no electronics and/or focusing motor, is it keeps the costs down and allows for much better optics with more room inside the lens housing also. This lens is really nice quality so stayed tuned for the full review where I will have many more sample pics at 100% crops!! Another important note about image quality. Check out the shadow and highlight detail in the 100% crops below. It’s really good with low noise and I was shooting in Jpeg mode, so it’s also compressed. If I was shooting raw I could pull some detail back from the highlights for sure.


As you can see from these sample photos and 100% crops, the Sony Nex-F3 and New Rokinon 8mm f/2.8 UMC lens make a killer combo!! Super sharp corner to corner with excellent color and detail retention in both the dark shadow areas and super bright florescent lights in the middle area. Image Quality is awesome on the Nex-F3, how can you argue??
High ISO Testing
The Nex-F3 has a ISO range of 100-25600 which is a very respectable. What really matters though is image quality. If the image is not usable, what difference does it make how high the ISO goes?? Just keep that in mind when comparing High ISO images from any camera, as it’s easy to get caught up in the High ISO wars. I took these next few shots hand held and set to the Max ISO without using Hand Held Twilight Mode. The Hand Held Twilight Mode actually works similar to the AutoHDR feature, except it retains the noise free detail from each image and then blends up to 6-frames together. That feature not only works great, but it also expands the ISO to 25600, as you can’t use it normally when shooting in a regular mode like aperture priority. The Max ISO for regular modes is 12800, and I have a really good sample shot below from an old communication tower!!
ISO 12800
ISO 3200
ISO 1600 Really poor lighting in this photo!

In my opinion ISO 1600 is totally usable, and even ISO 12800 as noisy as it is doesn’t look that bad at normal viewing size. If it was converted to BW I bet the noise would add a nice grainy effect and make some image usable depending on the situation of course. I did shoot using ISO 6400, but I deleted by mistake thinking I would take more High ISO sample pics. That never happened though, but it was slightly noisier than ISO 3200 and again, usable depending on the intent of the photo. If you’re looking for 100% noise free images, ISO 400-800 is about the limit. With some noise reduction, ISO 800 – 3200 are usable in my opinion. Beyond that were talking some noticeable detail loss, although certainly better than no photo at all. That ISO 12800 image above was hand held in almost darkness!! Pretty impressive if you ask me, and if I used a tripod could have easily shot at ISO 100 instead 😉
A Few More Sample Photos
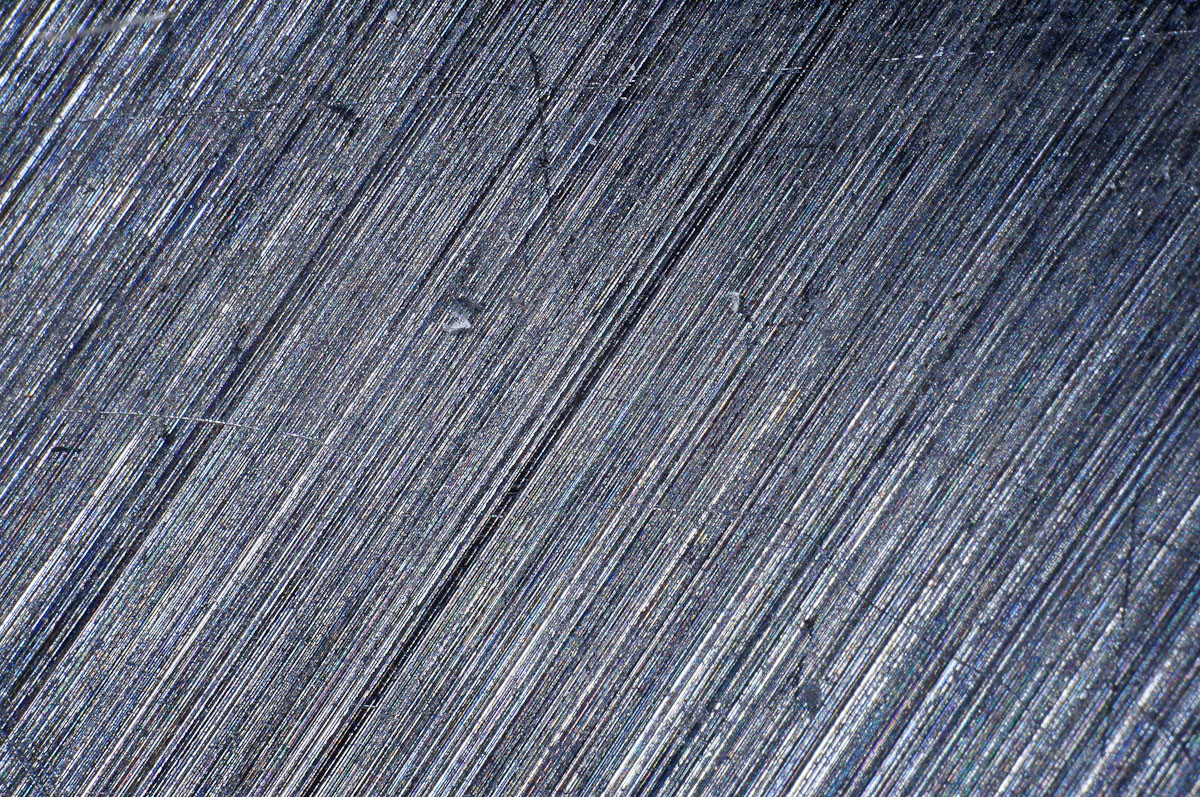
I also had the pleasure of using the incredible powerful Nanoha Macro Lens 5:1 from Yasuhara. This lens is definitely for the Macro enthusiast as 4:1 and 5:1 magnification is no joke!! This lens is also fully manual, so the setting for “shooting without a lens” will need to be enabled on the Nex-F3.
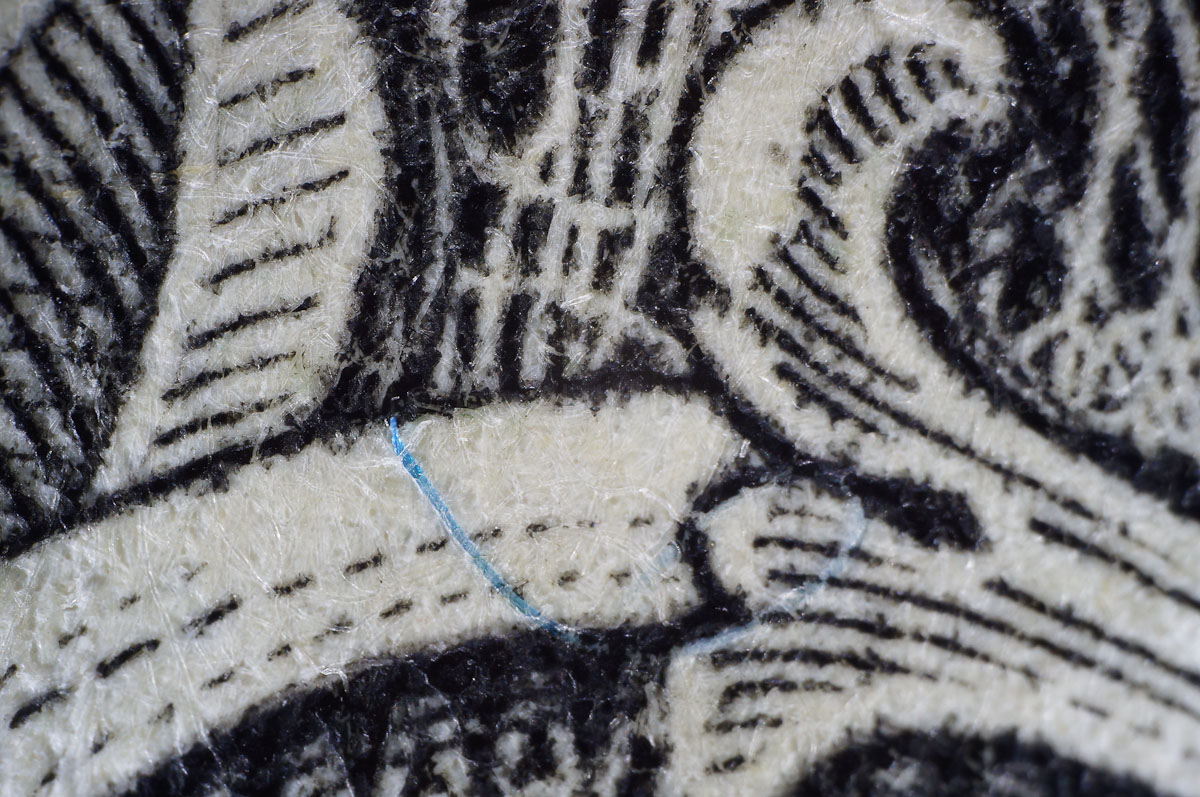
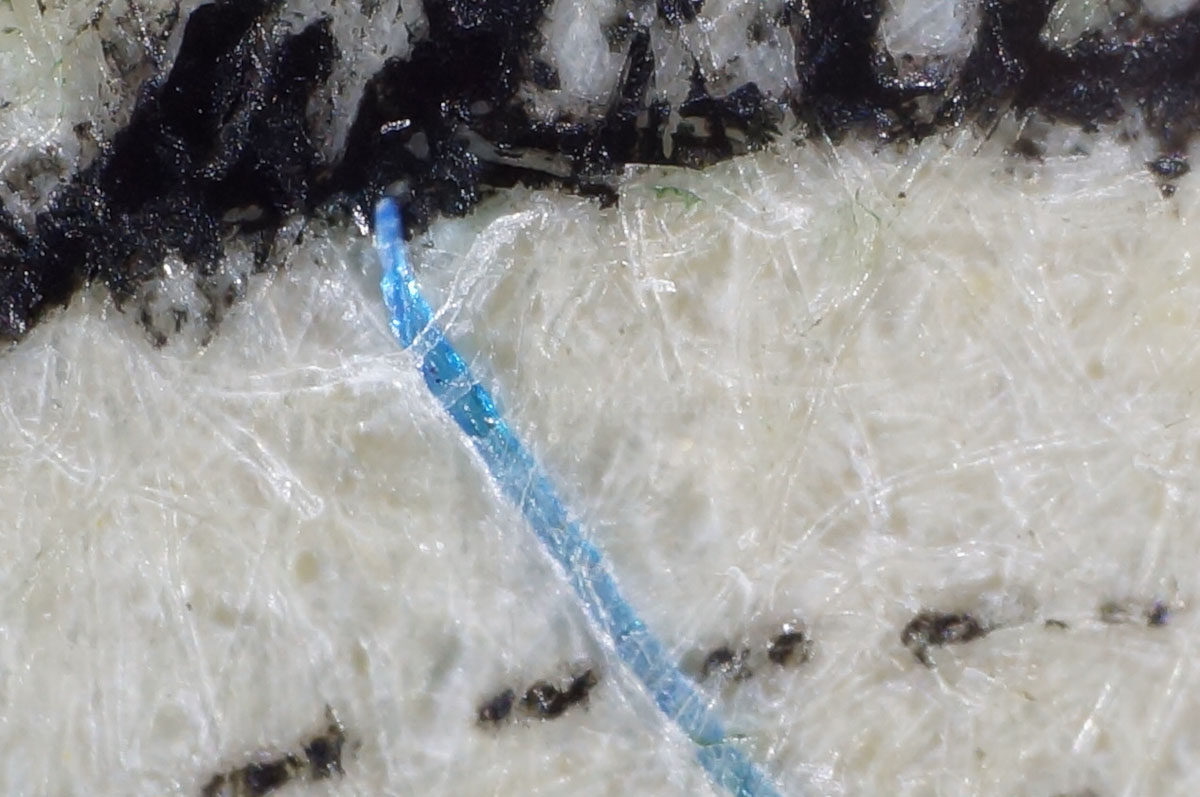
Money is actually a weave of fibers with special colors thrown in to help protect against counterfeiting. Pretty cool as I never saw this before up close!!


Conclusion
The Sony Nex-F3 has been significantly upgraded from the previous 3-series model, the Nex-C3. The New flip screen design is great for doing self portraits or self video type stuff like I do for these reviews. The build quality leaves a little room for improvement as the smooth plastic is a tad flexible on the screen mount points in particular. Nothing to cry about mind you, but worth noting as the Nex-5N and Nex-7 both have a more rigid skins. The Nex-F3 can still be used for over head shooting, but the screen only aims downward at 45 degrees now due to the new design. It’s a bit harder to see for overhead shooting, but still works great for really low to the ground shots. I didn’t shoot that much video with the Nex-F3, but I did do an overheating test by letting the video record for 29 minutes using the 1080/60i setting. This setting creates the most heat on the sensor and I was able to record two 29 minute clips in a row no problem. I tried for a 3rd, but the memory card filled up. It seems to me Sony learned from their mistakes on the previous models and addressed the internal heat issues somehow. Perhaps the larger overall size is all it took, or maybe there is some extra heat sinks inside? Not really sure, but the camera was only slightly warm after filming for 60 strait minutes. High ISO performance is also pretty good and when using the Handheld Twilight Mode it’s really good!! I’ve used this mode many times on other Sony cameras, but forgot to try it on the Nex-F3 unfortunately. Trust me it works!
Battery life has also been improved as this entire review was done on two charges! Plus I took many additional photos with each lens used for those upcoming reviews.
Image quality is great in my opinion and can really be taken advantage of with additional high quality lenses! The Fisheye and 18-200mm lens in particular were a lot of fun to use. The Macro is a bit harder to use, but still has really interesting results!
The Sony Nex-F3 goes for ~$598 US, and for that amount of cash, you get a very powerful camera capable of taking DSLR quality photos in a much smaller form factor. Just look at the sample photos up close and I’m sure you will agree. I highly recommend the Sony FDA-EV1S – XGA OLED Tru-Finder Electronic Viewfinder for an accessory, as tryng to accurately see the screen in bright sun is not very easy. The high quality OLED viewfinder makes it really easy for those situations, and you can simply unplug when not needed.
That is about it for this review, and if you liked this review please consider clicking our links if you decide to do some shopping!!
As always feel free to address any questions or concerns in the comments area below, and please consider sharing this review with your friends if you found it useful.
Thanks, Jay