
I took bunch of photos while reviewing the Sony FE 85mm f/1.4 GM Lens using my Sony A7r, and in this article I wanted to show you what editing some of the raw files can get you! I don’t have my full written review of this lens up yet, but you can check out my youtube version of the Sony FE 85mm f/1.4 GM Lens review Here >
I wanted to show you guys a few edited photos in particular, because for the most part I usually show you what raw files look like and by comparison, they are very flat and boring. Even with a killer lens and camera, raw files still need a little love!
I edited a photo of Jase, Layla, and a few photos of my brothers Harley plus a few others I wanted to share… I also included the original raw files for comparison purposes..
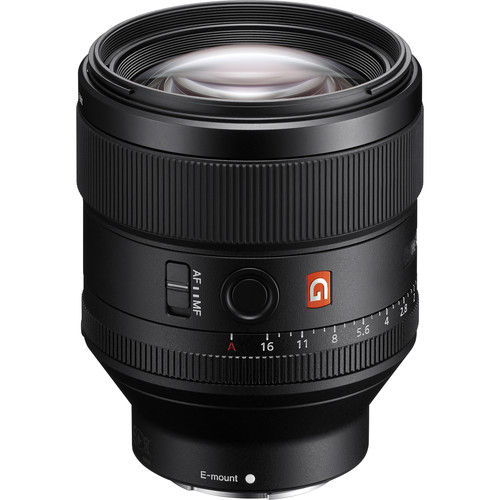
So here is the killer piece of glass I was using:
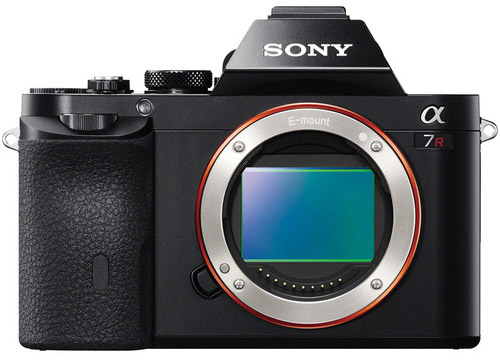
And here my older Sony A7r camera that was used for these photos.
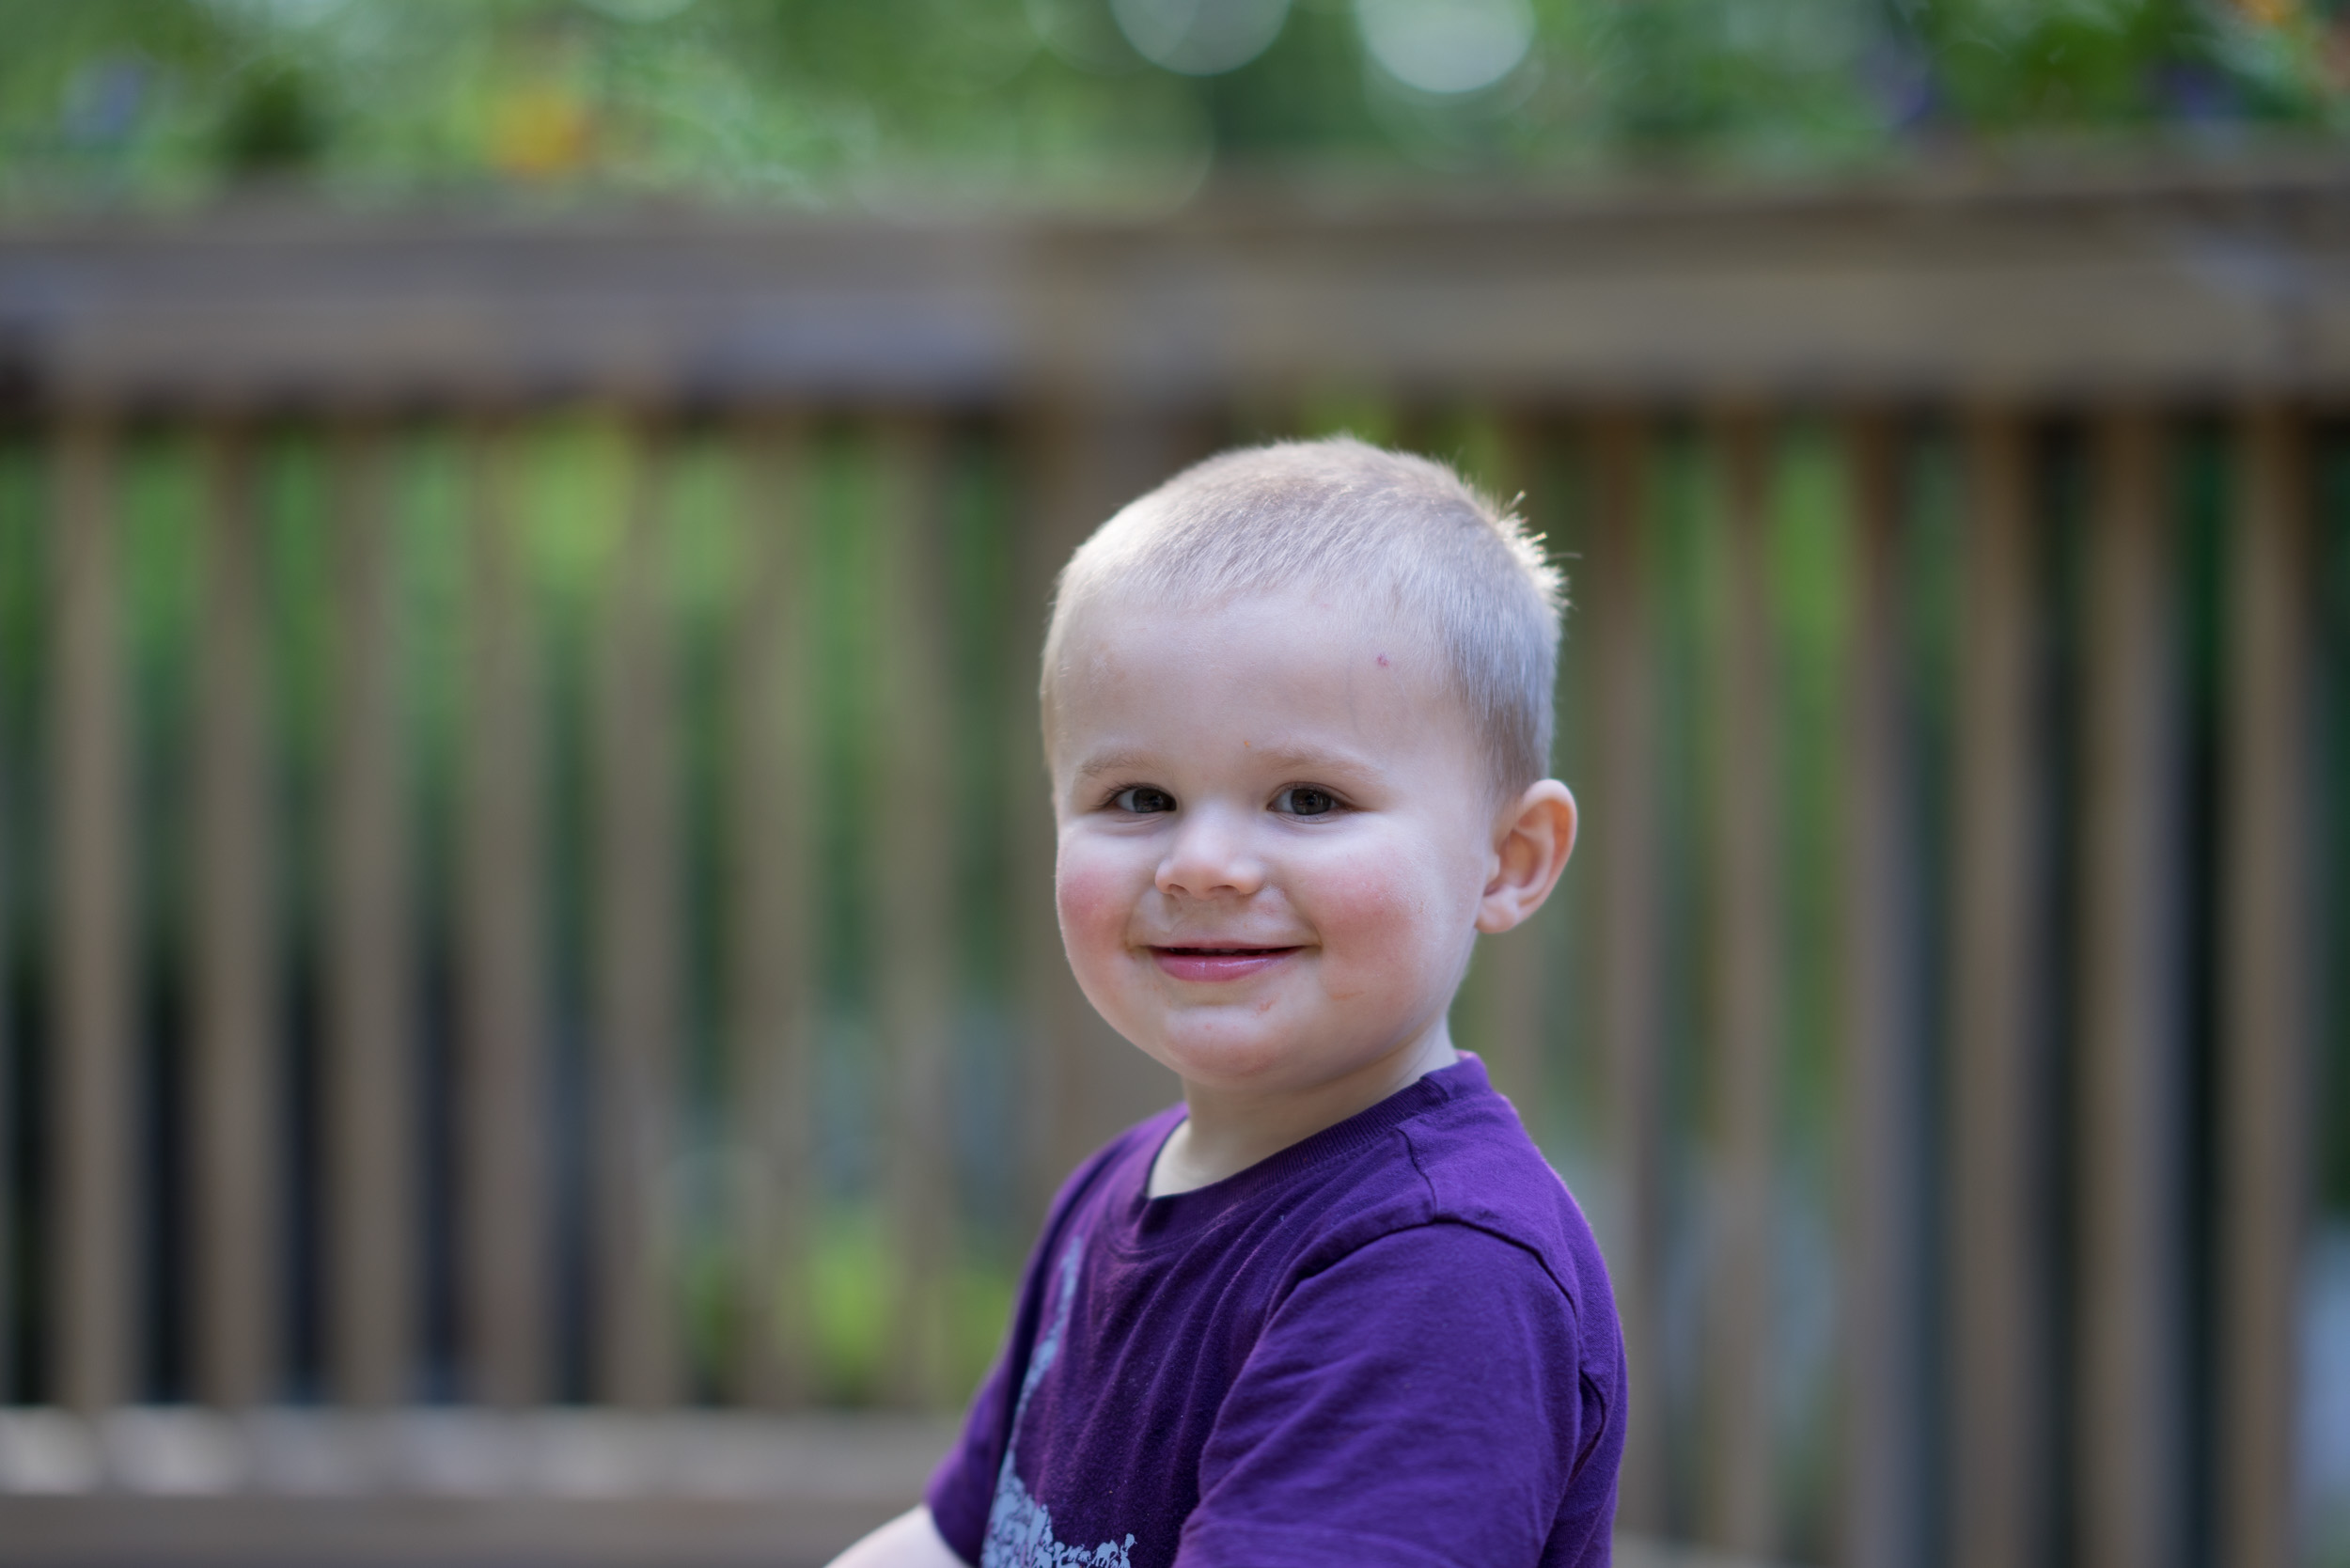
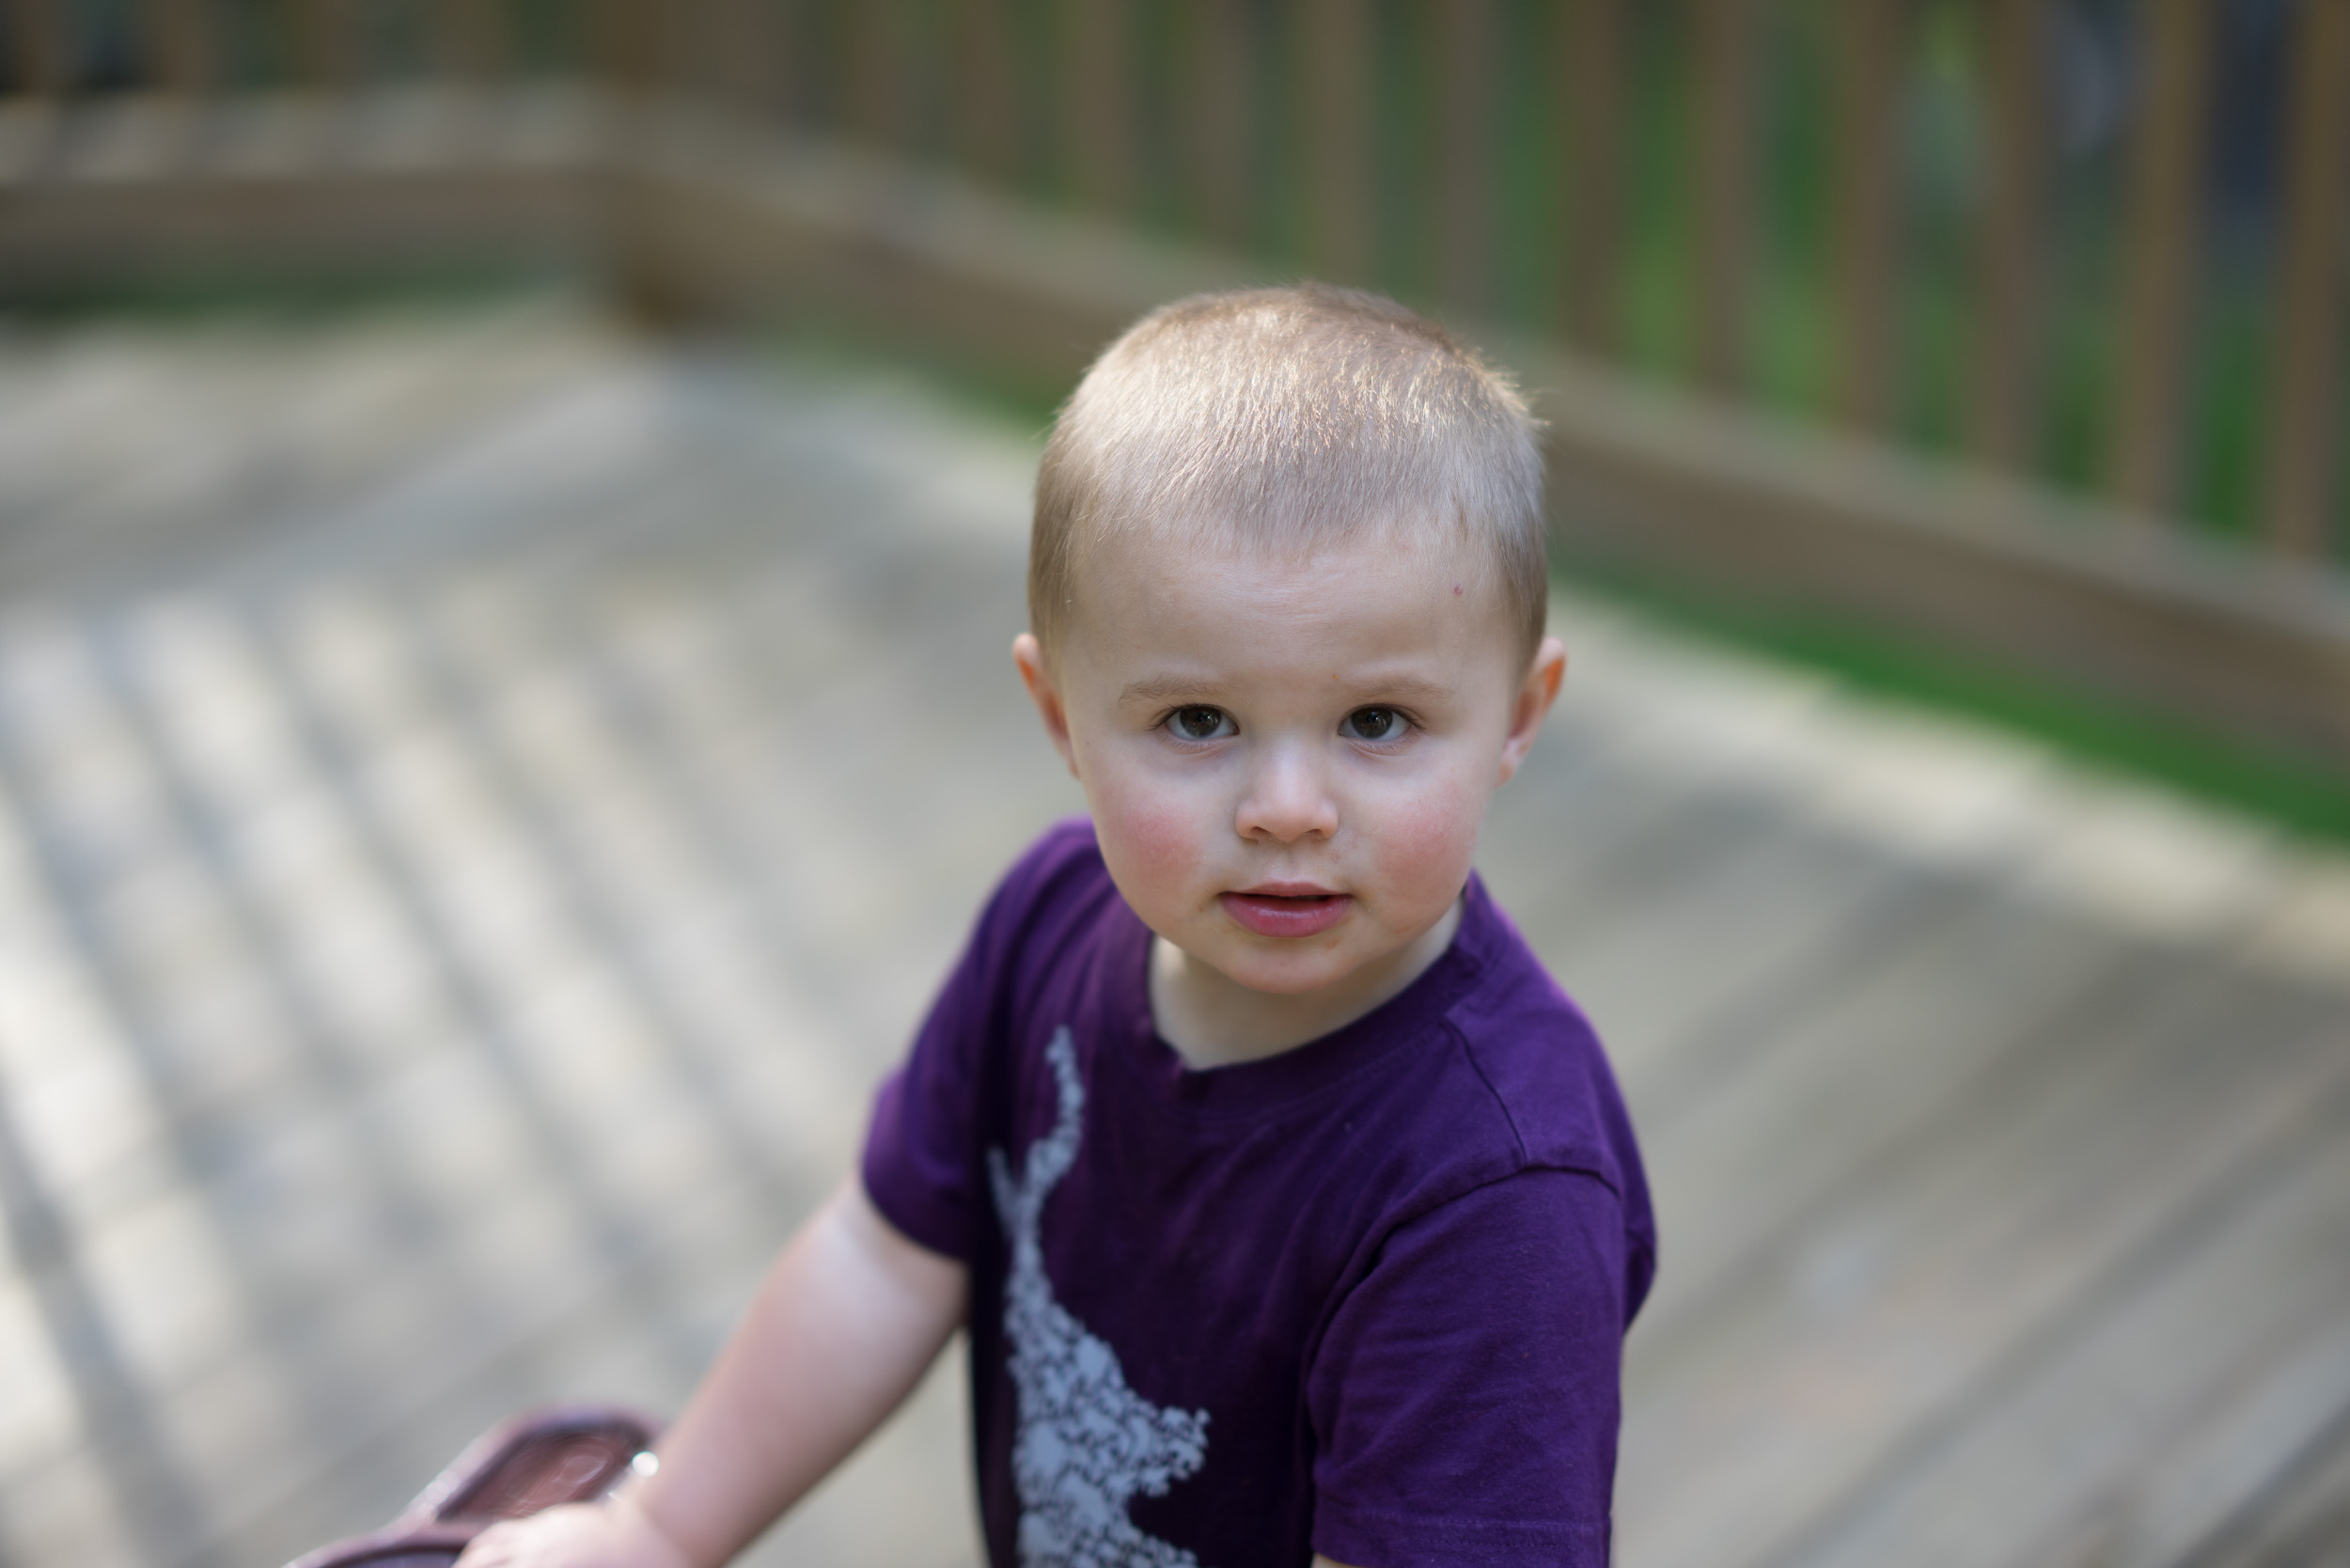
Jase
So this first image of Jase was taken on our deck and I had the Sony FE 85mm f/1.4 GM Lens set wide open to f/1.4. My now officially old Sony A7r did a great job focusing even though it only has contrast af. The Sony facial recognition technology works awesome in my opinion and made getting this otherwise somewhat difficult shot easy. It really is only difficult because he never stops moving, though… Note how buttery the deck railing in the background looks thanks to the killer optics!
For the edit I went into Photoshop and cleaned up the face a little bit and then brightened the eyes mostly. I then darkened the background a lot to add some more visual punch to the subject. With this sort of edit, it almost looks like I was using an off camera light source, but in fact he was mostly back lit by the sun as you can see in his hair mostly. I probably went a little to far with the color in this edit…. Please let me know what you think!
Be sure to click the edited photos for the ultra high res ~2500px versions!

Here is a BW version I created using the virtual copy feature in Lightroom. Basically using the photo above as the source, I created a virtual copy and then applied a BW color filter preset of Green.

Un-edited raw photo version which looks really boring and flat in comparison to the edits in my opinion 😉
Here is another photo of Jase I edited in Photoshop which I thought came out pretty good 🙂 Layla told me this photo was nothing special, but I liked his little eyebrows which to me were showing curiosity and intelligent thoughts going on. Granted I am Dad and all…
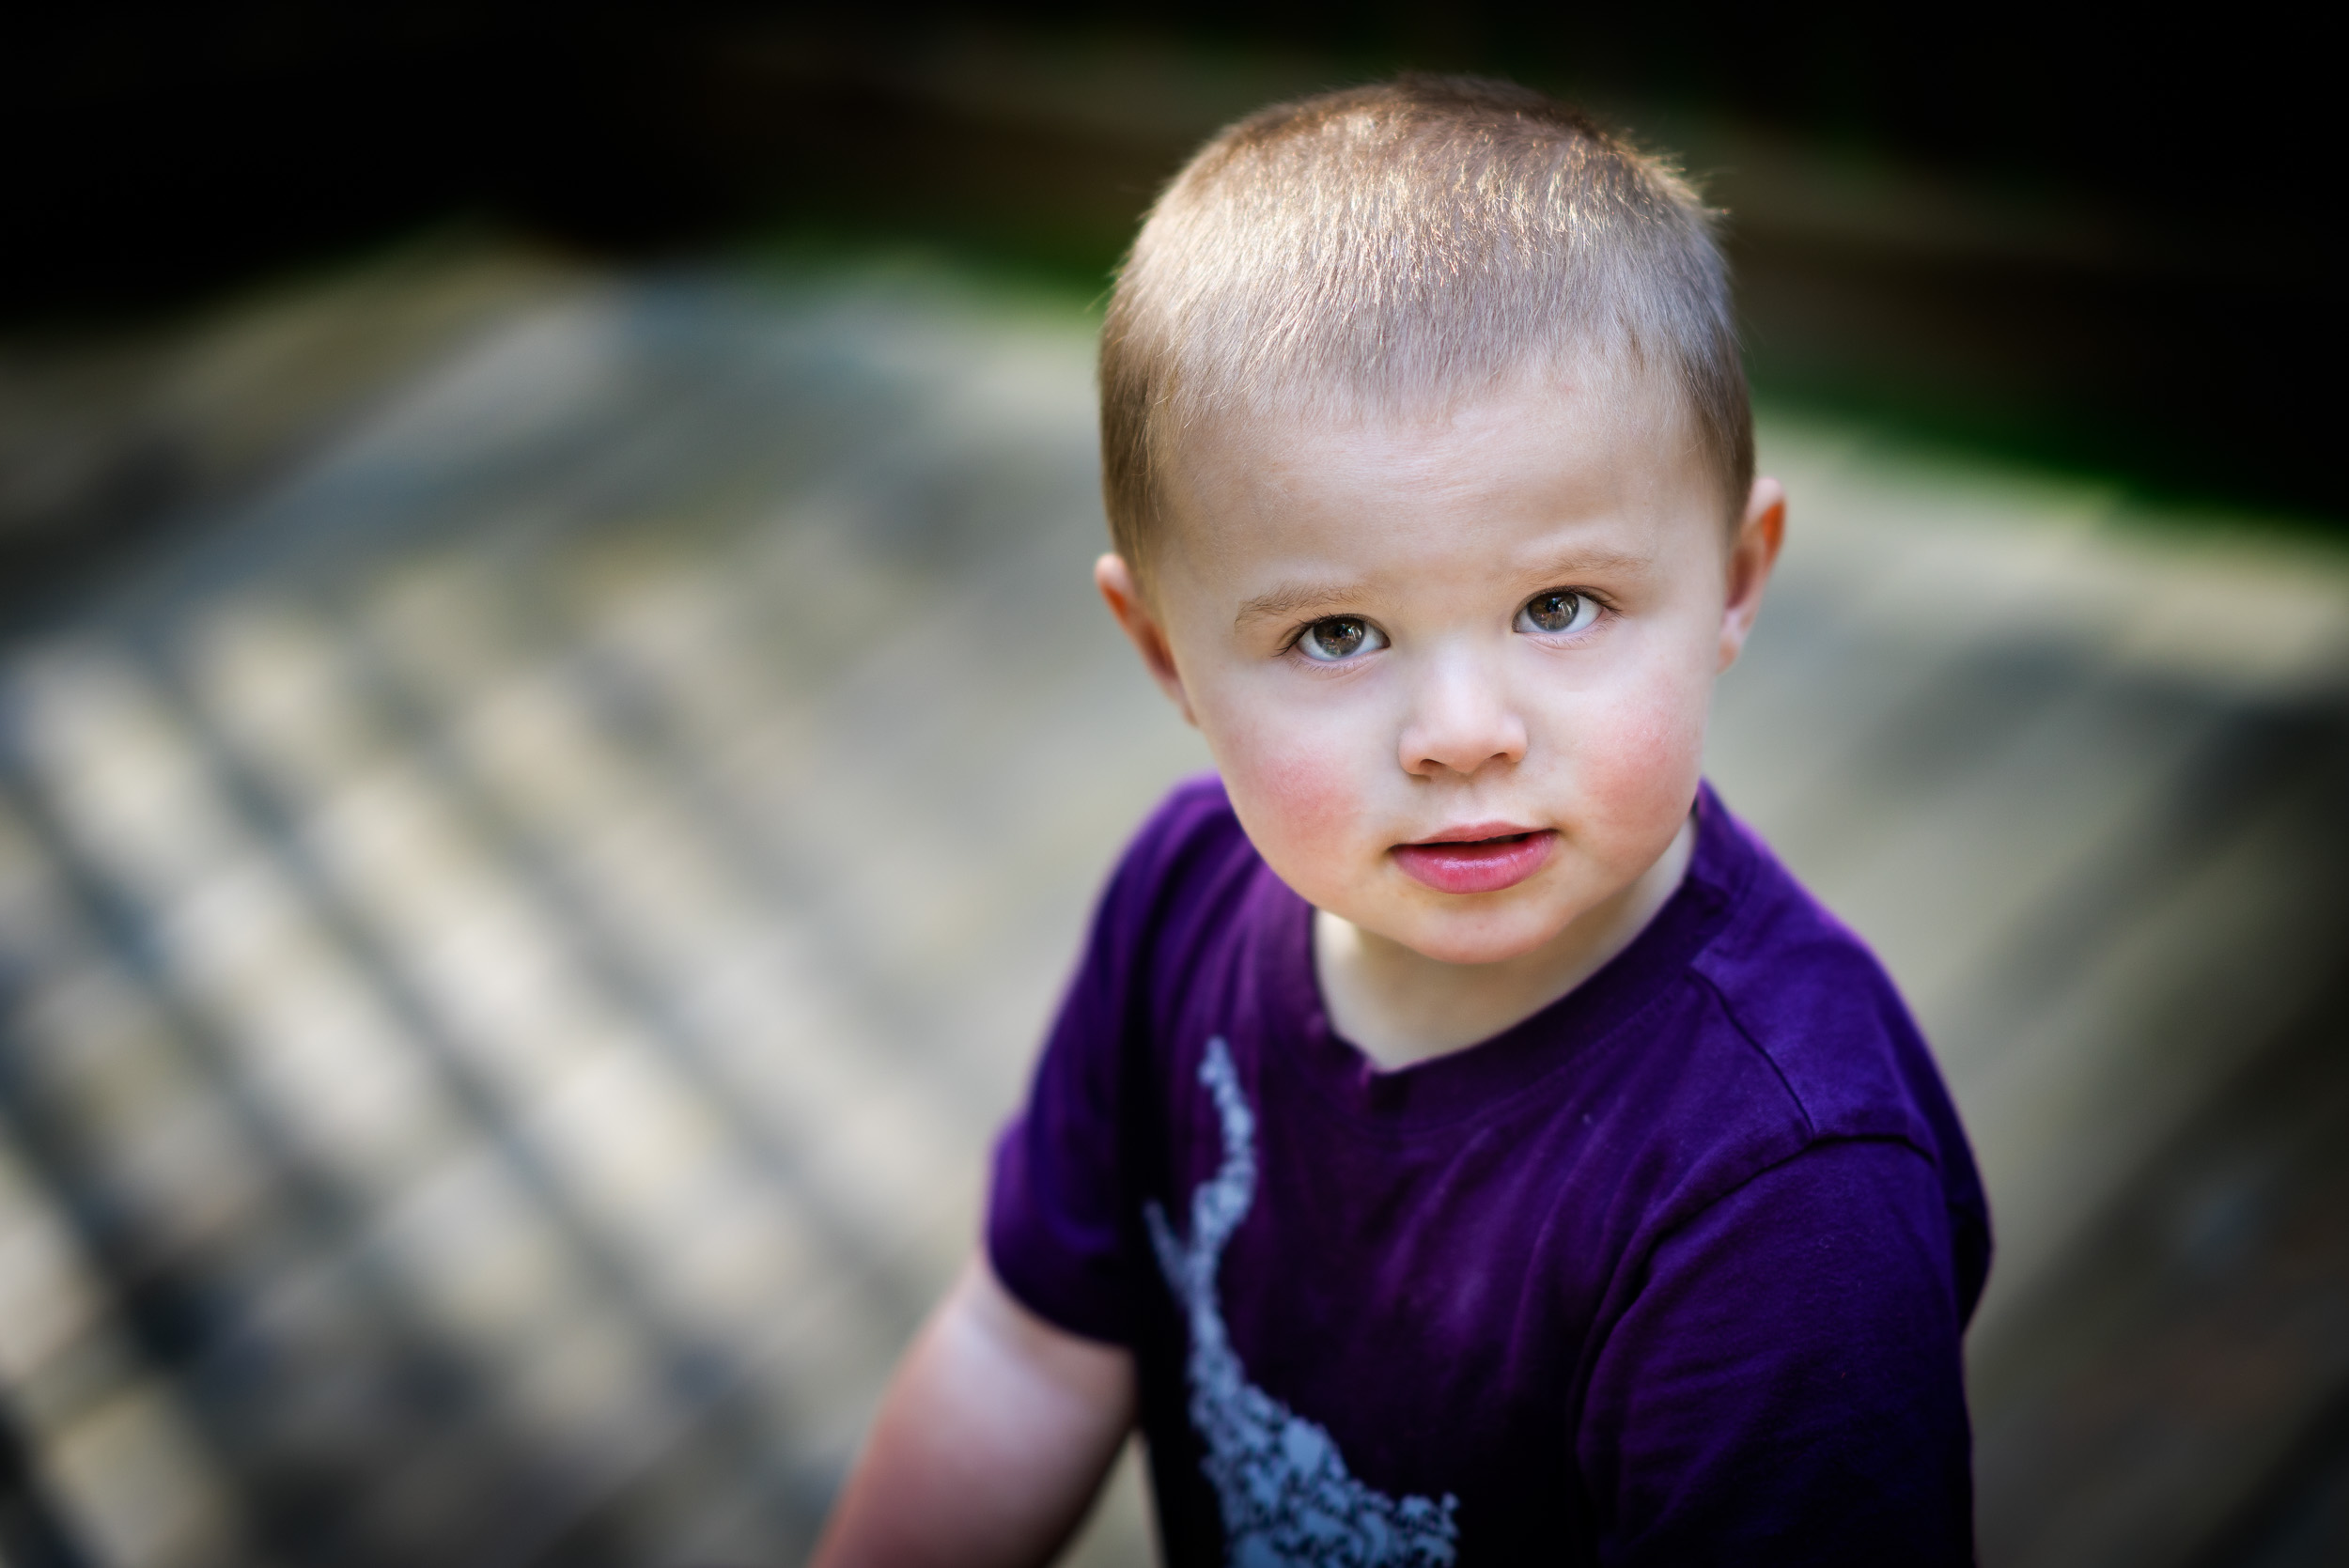
Again, the raw file is pretty static and boring looking in comparison if you ask me… I tend to shoot making sure the horizontal and vertical lines are as correct as possible, but as you can see in the edit, coping and rotating the image a bit in this case added some visual drama. At least to my eye anyway…
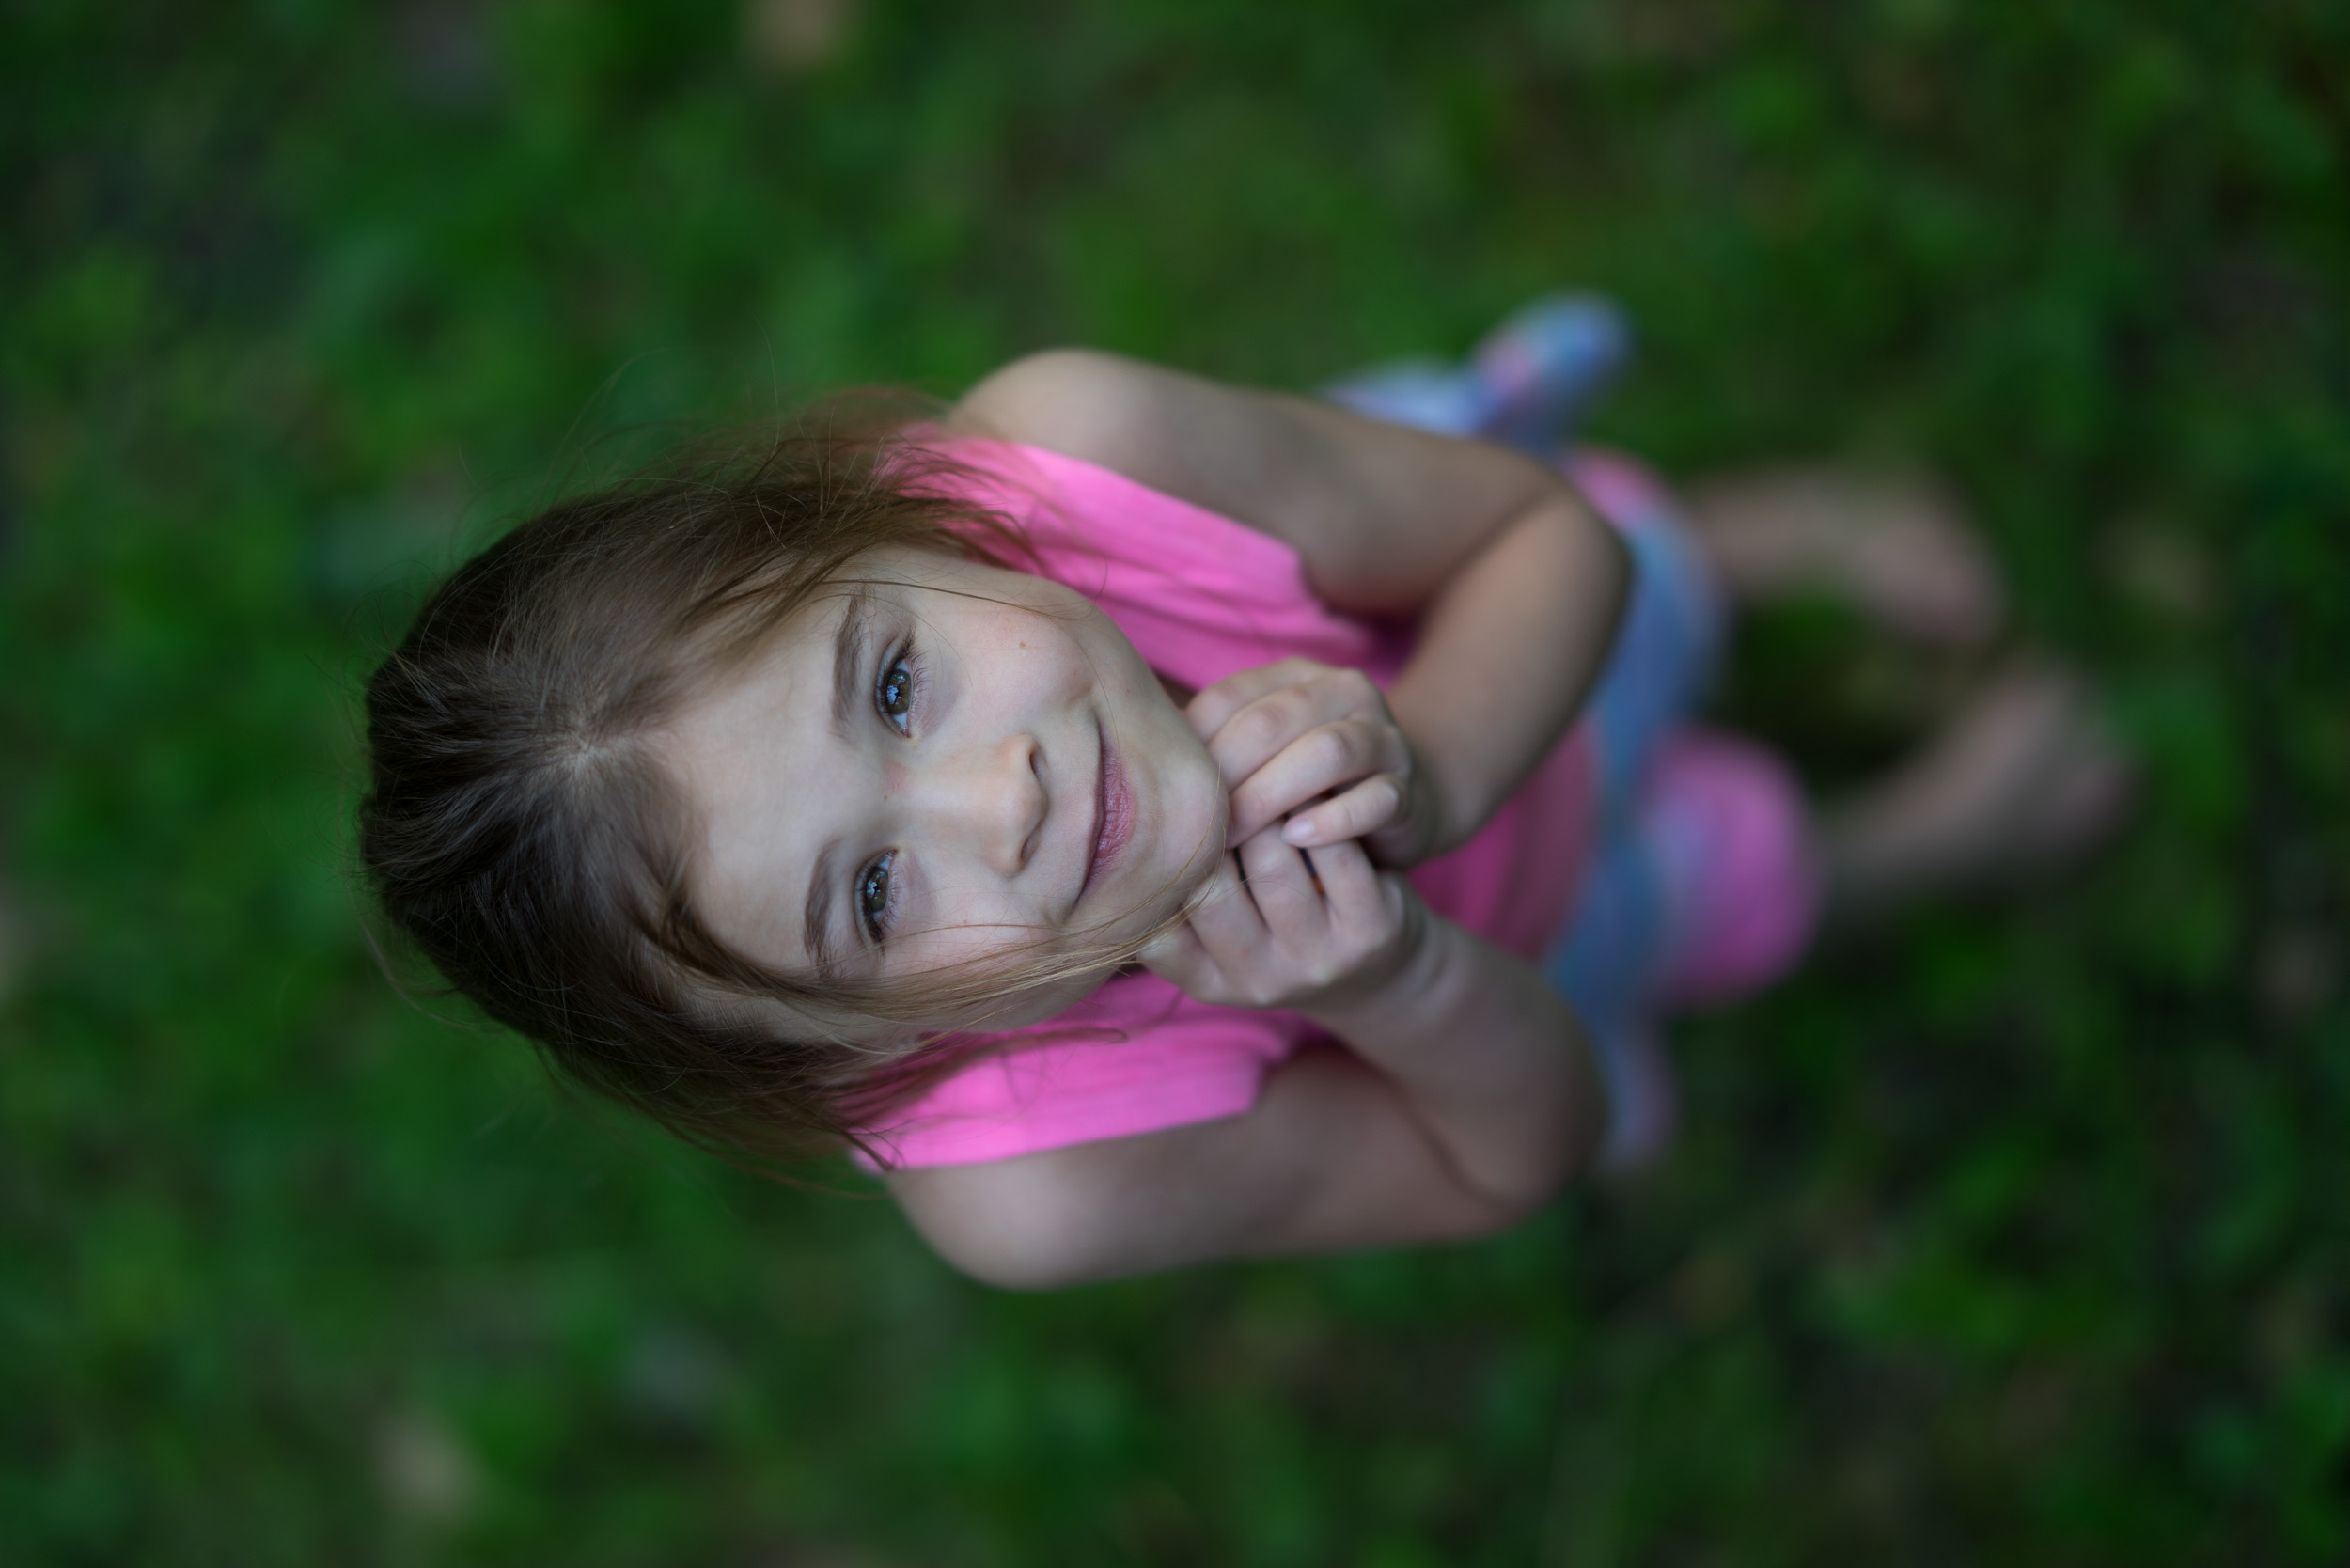
Layla
I did a pretty quick edit on this Layla photo, but basically I used the nik filters for the dreamy look via glamour glow. I then also used the vignette blur effect and a regular vignette also. I also rotated the image 90 degrees… The original raw file was a bit cool in color as well, so I warmed the colors up a lot and brightened the image.

Raw file…
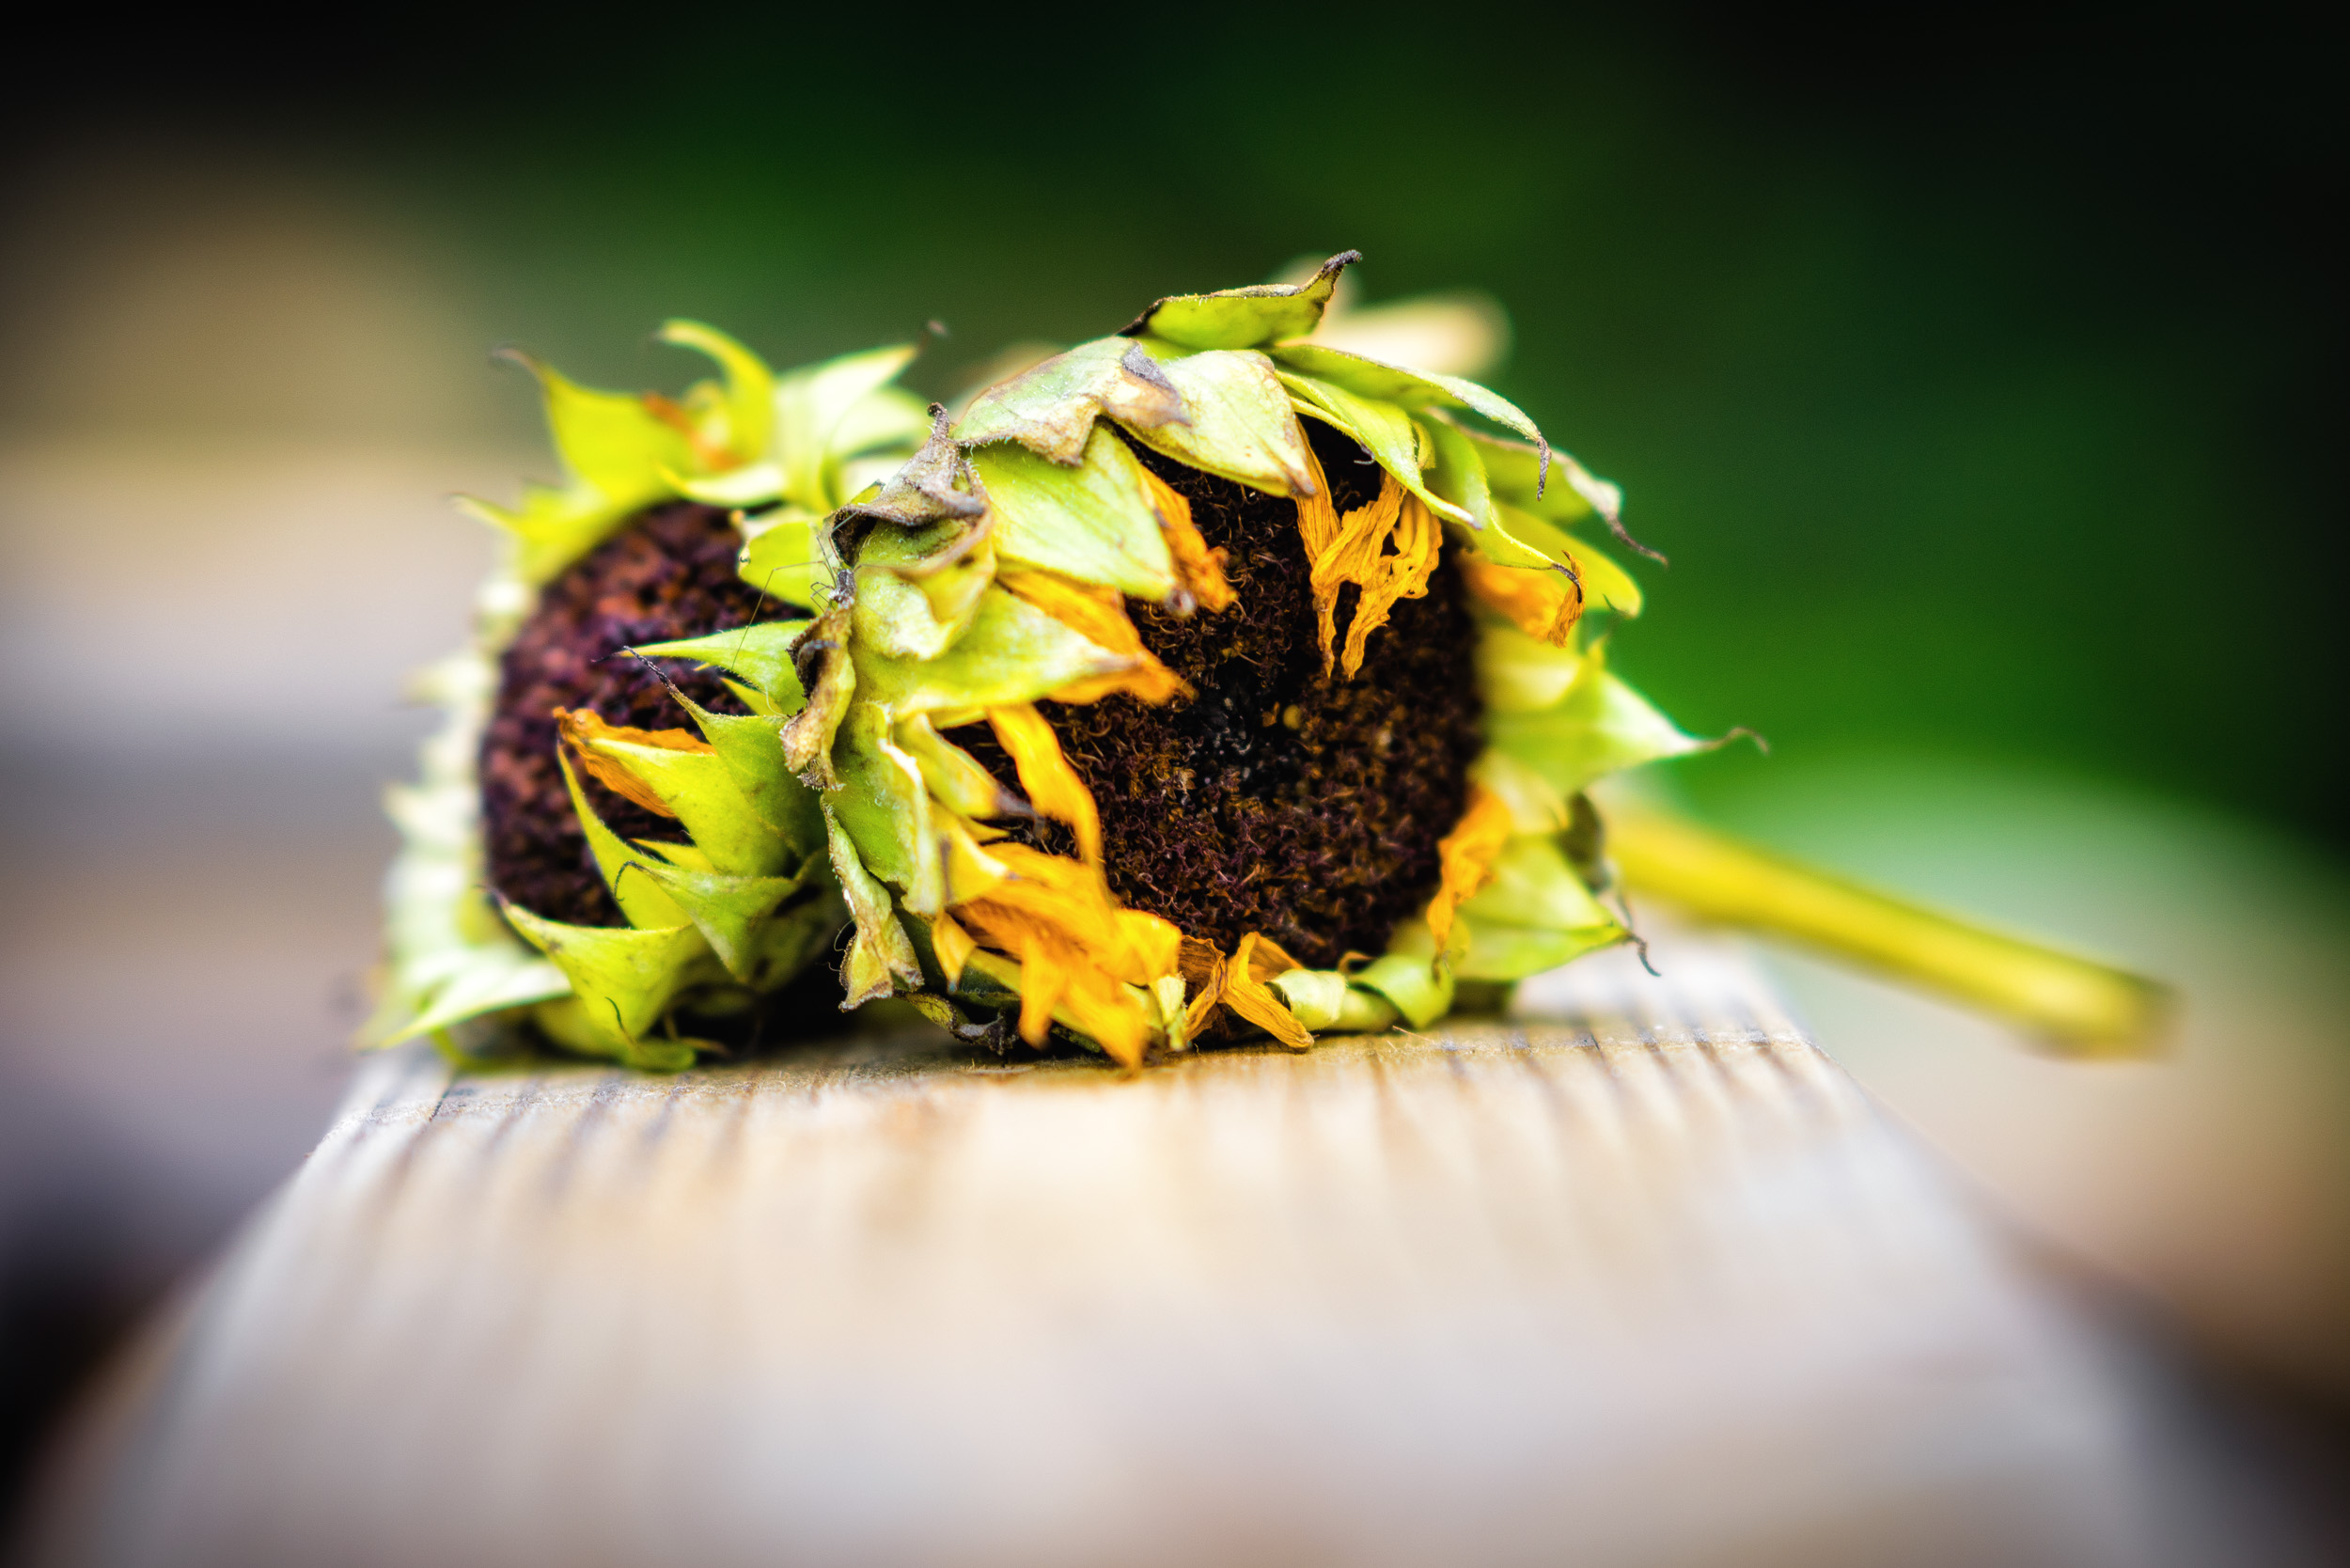
Randoms
So here is an image of some sun flowers on my deck railing. The depth of field fall-off of this lens is incredible and I wanted to exploit that in this frame. The colors were also very rich, so I wanted to push them pretty far to try and create a more visually interesting image. For the edit I cropped the image first, then went into the Nik filters to apply some tonal contrast and glamour glow effects..
Be sure to click the edited photos for the ultra high res ~2500px versions!
And again, the raw photo version:

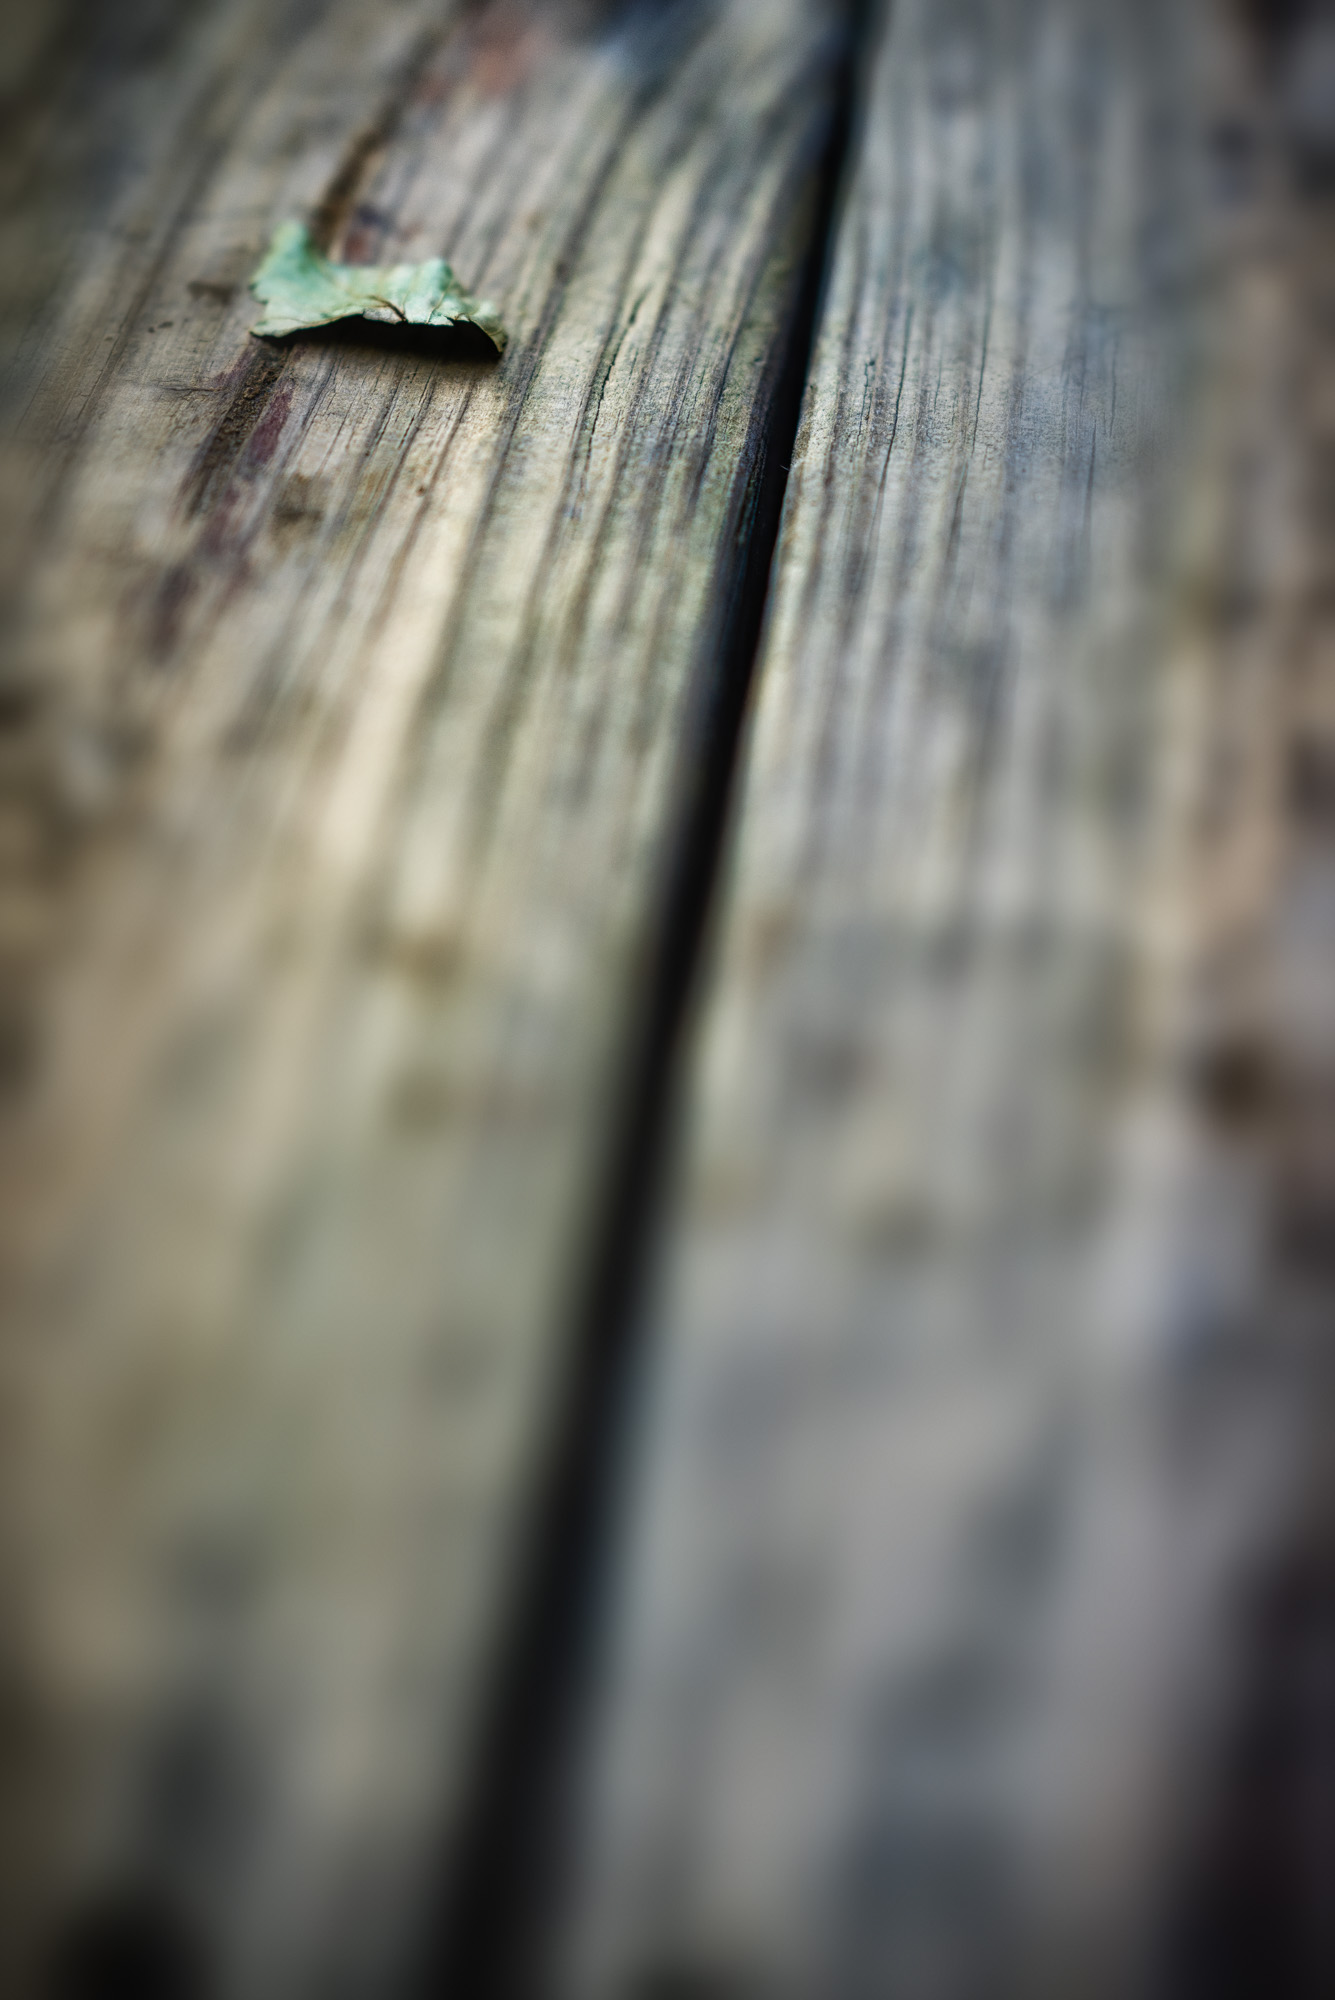
Here is just a snapshot of my deck and I wanted to show you how far an image can actually be pushed if you really wanted to. I think this is pushed a bit to far, but in some cases you may want an effect like this. Again, I used the Nik filters and tonal contrast plus glamour glow for this image…
Raw file:
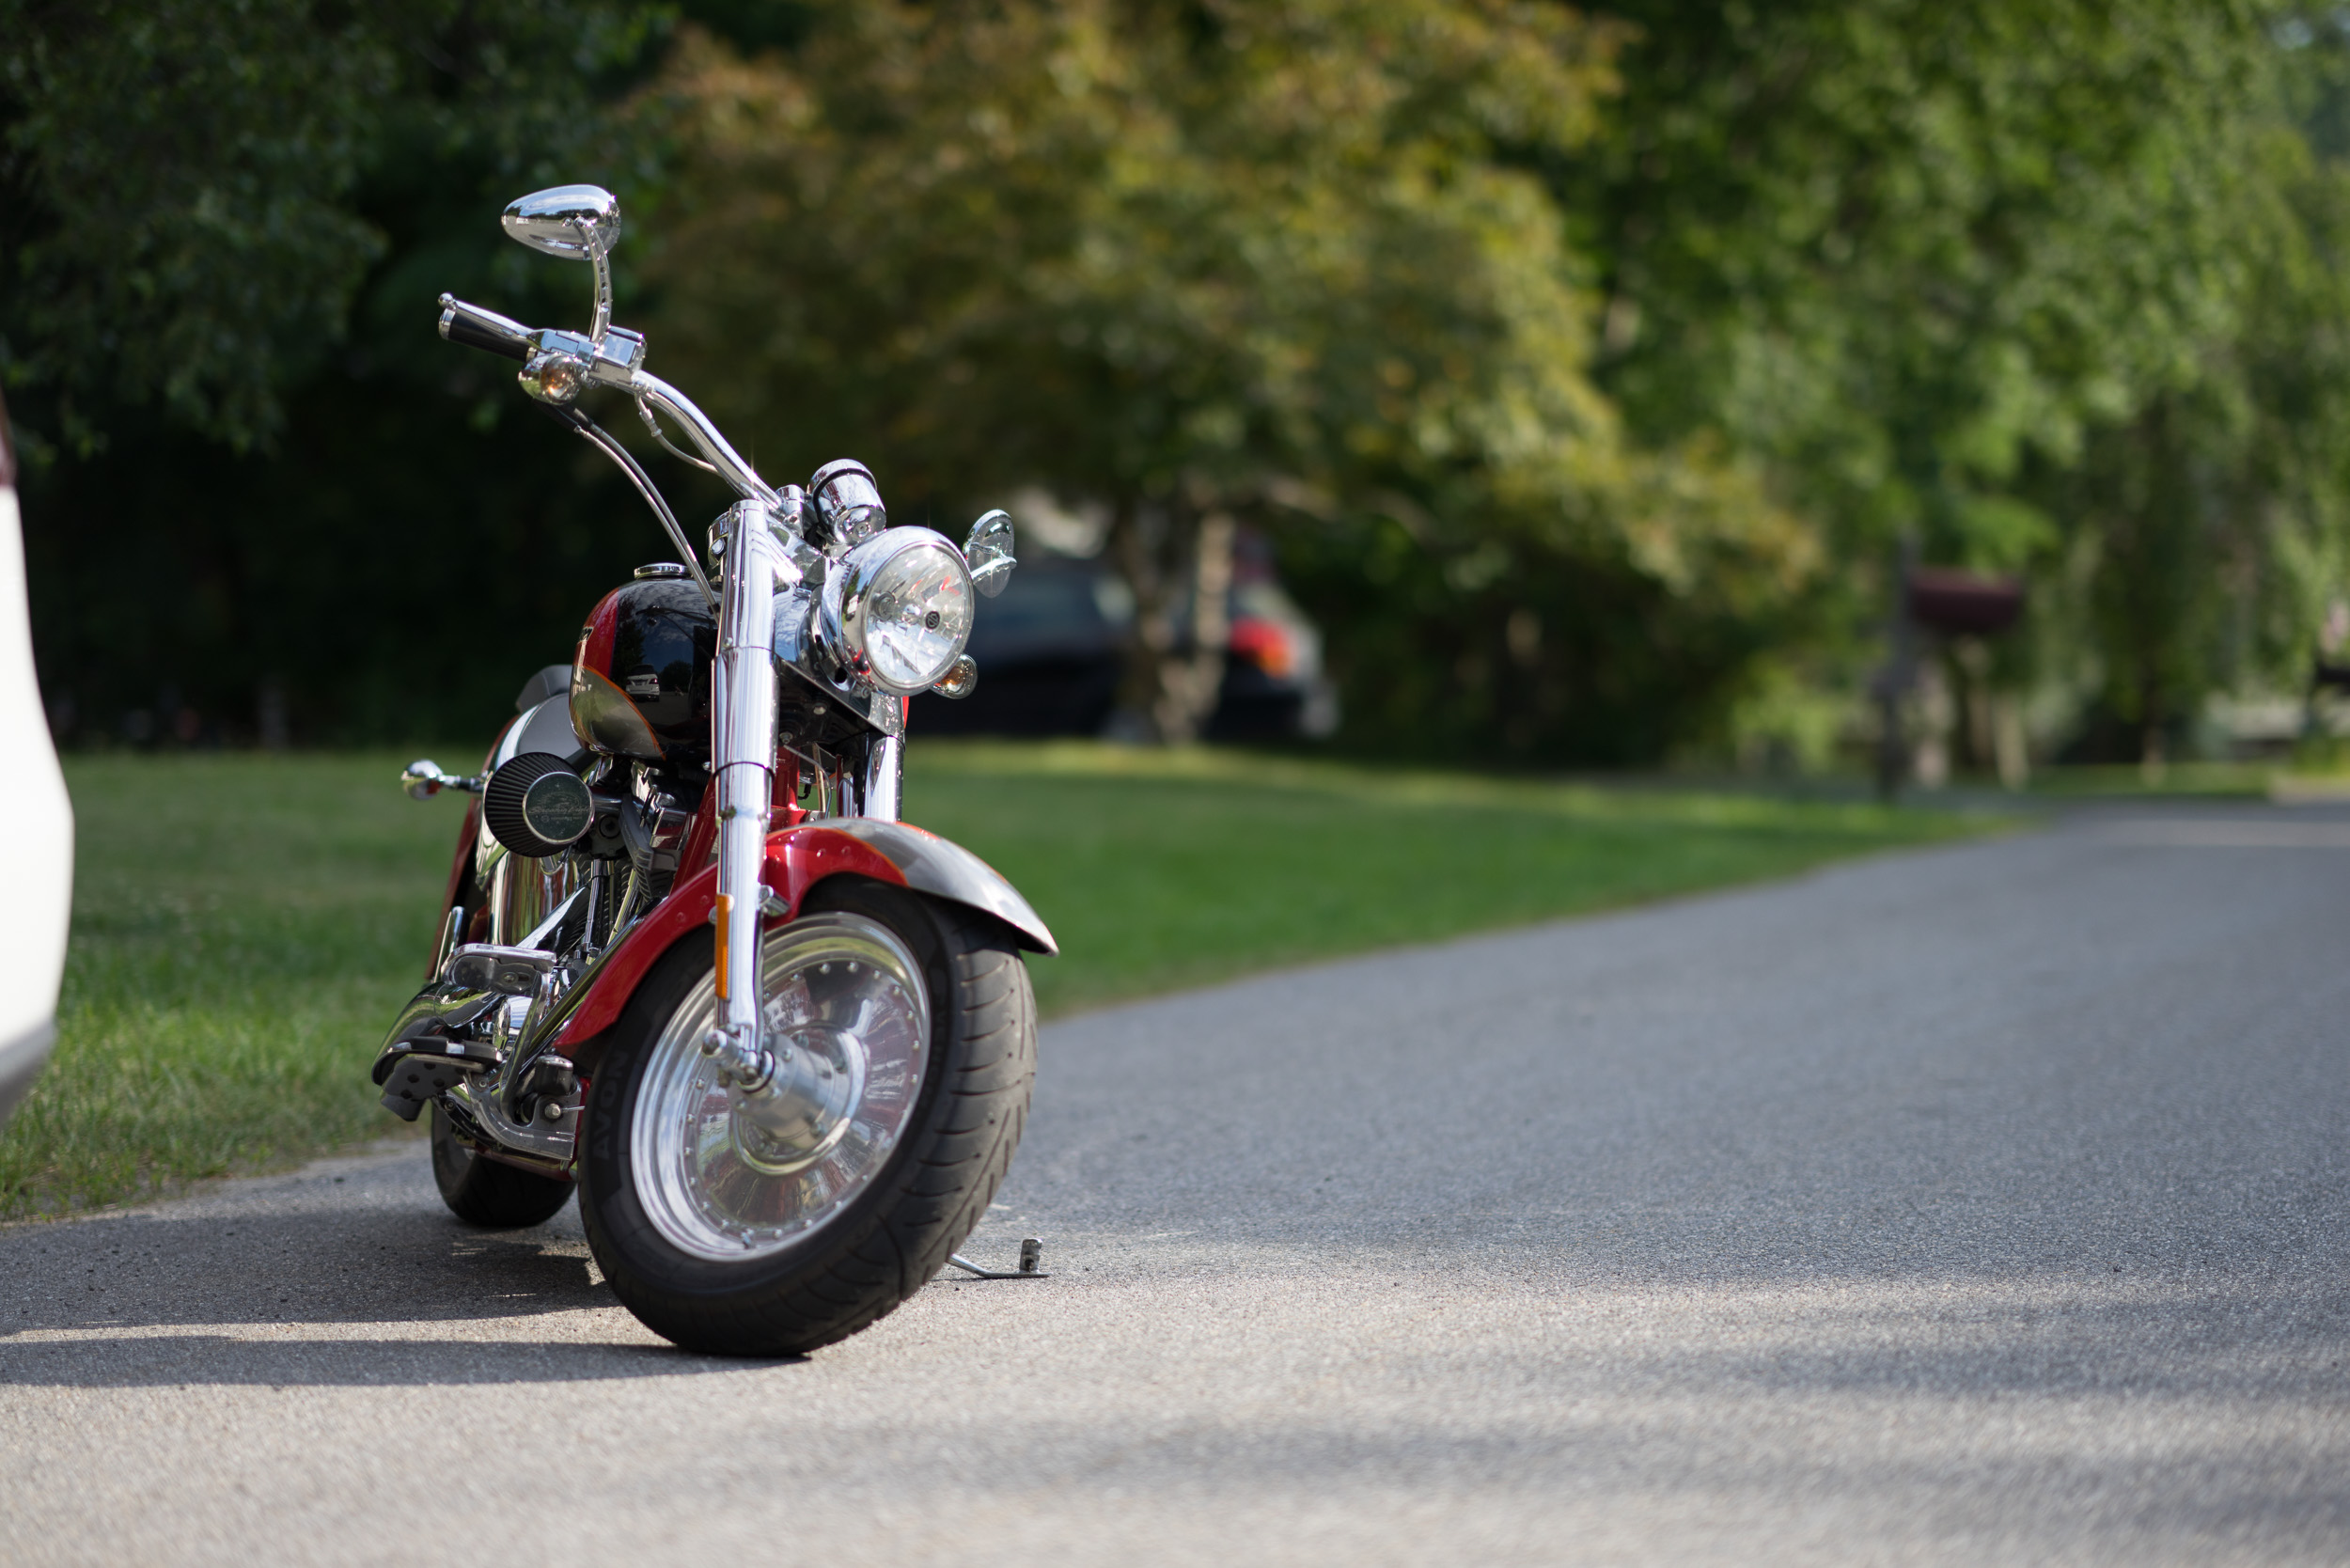
Harley
Lastly, I wanted to show you two frames of my brothers awesome Harley Davidson Fat Boy Screaming eagle addition motorcycle..
This first frame I cropped vertically and cloned out the car that was in the background. I also darkened the background to add some 3d pop to the bike. I then added some contrast and a vignette to finalize the edit.

Origional Raw file:
And another more close-up view:

Raw file:

Closing Remarks
So that is about it for this article and I really hope you got something out of it. Again, the purpose was to illustrate how powerful editing can be when it comes to taking a photo to the next level. All these edits were pretty basic really, but still they made drastic changes in the visual department for sure! Also, making the subject stand out more was my goal for the most part in the end…
More importantly, the Sony FE 85mm f/1.4 GM Lens is magical and I tried to show off a few photos that illustrate that. The sharpness is awesome and the depth of field is just incredible. On the Harley shot you can see how the front tire is a bit soft, but the gas tank area is sharp. This is at almost 20-30 feet away, so the depth of field is razor thin and awesome for creating that separation from backgrounds… Also the buttery bokeh renderings of the backgrounds are very please to the eye in my opinion.
So what do think? Please let me know below in the comments area!
If you are interested in watching a tutorial on how I did this more advanced than just Lightroom editing, please let me know in the comments section below. I will be happy to make a video tutorial on this, but It does take some time, so please let me know!
Have a great day everybody and thanks again for checking in,
Jay
Gear used for this article:
Sony A7R @ BH | AMZ
Sony FE 85mm f/1.4 GM Lens @ BH | AMZ
Lightroom + Photoshop Photography Plan
Nik Filters


